


5 Ingredient Sandwich Bread (easy)
Soft, spongy and delicious: this sandwich bread is made with just 5 ingredients! It’s easy to make, incredibly satisfying and once you try it, you’ll definitely want to bake your own bread more often!

Disclosure: This post may contain affiliate links. I may earn a small commission for my endorsement, recommendation, testimonial, and/or link to any products or services from this website.
Okay, that was a tiny bit dramatic. Technically, this bread has 7 ingredients but are we really counting salt and water? I’m not.
What I am counting is how easy this recipe is! You’re not going to stop buying bread forever cause sometimes you just don’t have the time or you don’t want to bake and that’s totally fine. But when you do, this is the recipe you’ll want to make!
If you’ve been failing at baking bread: Here’s Why!
If you think baking a loaf of bread at home is just not for you because every attempt has been a dense fail: it’s not YOU. It’s probably your yeast, your proofing or something else that’s completely fixable!
Believe me when I tell you: baking bread is actually one of the easiest things you can do. It’s all about getting a few key things right and once you do, you’ll realise how simple and rewarding homemade bread is!
When I first started baking bread, neither my dough nor my loaves rose and I was completely confused. I genuinely thought bread baking was just something bakeries could do, not me. Turns out, the problem was simply my yeast. I had been using an old pack that had been sitting in my cupboard for who knows how long and the moment I bought a fresh packet of active dry yeast and used it the same day, my bread finally rose properly! It was never me: it was just the yeast.
Here’s what I think might be going wrong and how you can fix it:
- Your yeast is dead: The most common issue is dead yeast. If your yeast isn’t active, your dough won’t rise and you’ll end up with a dense loaf. Always proof your yeast in warm water (if using active dry yeast) or check the expiry date before using.
- Proofing the dough long enough but not too long: Underproofing means your dough hasn’t had enough time to develop air pockets which makes the bread dense. Overproofing can cause the dough to collapse and lose its structure. The dough should double in size during proofing and when you gently press it: it should spring back slowly.
- Proof your dough in a warm environment: Yeast needs warmth to work properly so if your kitchen is too cold, your dough won’t rise well. The best way to create a warm environment is to place a bowl of hot water inside your switched off oven and close the door. Let it sit for a few minutes to warm up the space and then place your dough inside to proof. This gentle warmth helps the dough rise evenly without the risk of overheating or killing the yeast!
- Always preheat your oven before baking: Preheating your oven is very important for good bread. A cold oven can cause uneven baking and a dense loaf. I like to preheat my oven for atleast 30 minutes before baking to ensure a warm environment for the bread to rise properly.

My Latest YouTube Video
Ingredients you need to make a soft and light loaf of bread
- All purpose flour: This is the base of the bread. You can also use bread flour but you might need to add a little more liquid since it is higher in protein content and absorbs more moisture than all purpose flour.
- Warm milk: It keeps the bread soft and gives it a richer, almost sweeter flavour. You can use any plant based milk too if you prefer.
- Warm water: Helps activate the yeast and keeps the dough hydrated.
- Active dry yeast: This is what makes the bread rise. Make sure your yeast is alive and active or the dough won’t rise properly. You could alternatively use instant yeast or fresh yeast.
- Honey: Adds a hint of sweetness and also helps feed the yeast, giving the bread a better rise. You can also use sugar.
- Salt: Sweet or Savoury, everything needs salt. No further explanation needed 🙂
- Extra virgin olive oil: Adds moisture and makes the bread soft. You can alternatively use butter which will give a richer taste, while olive oil keeps it lighter.

Welcome to shivangi kooks! Here I share easy and delicious vegetarian recipes that’ll make you go: this is just so so goood!
More Recipes


Step by step directions to make this bread
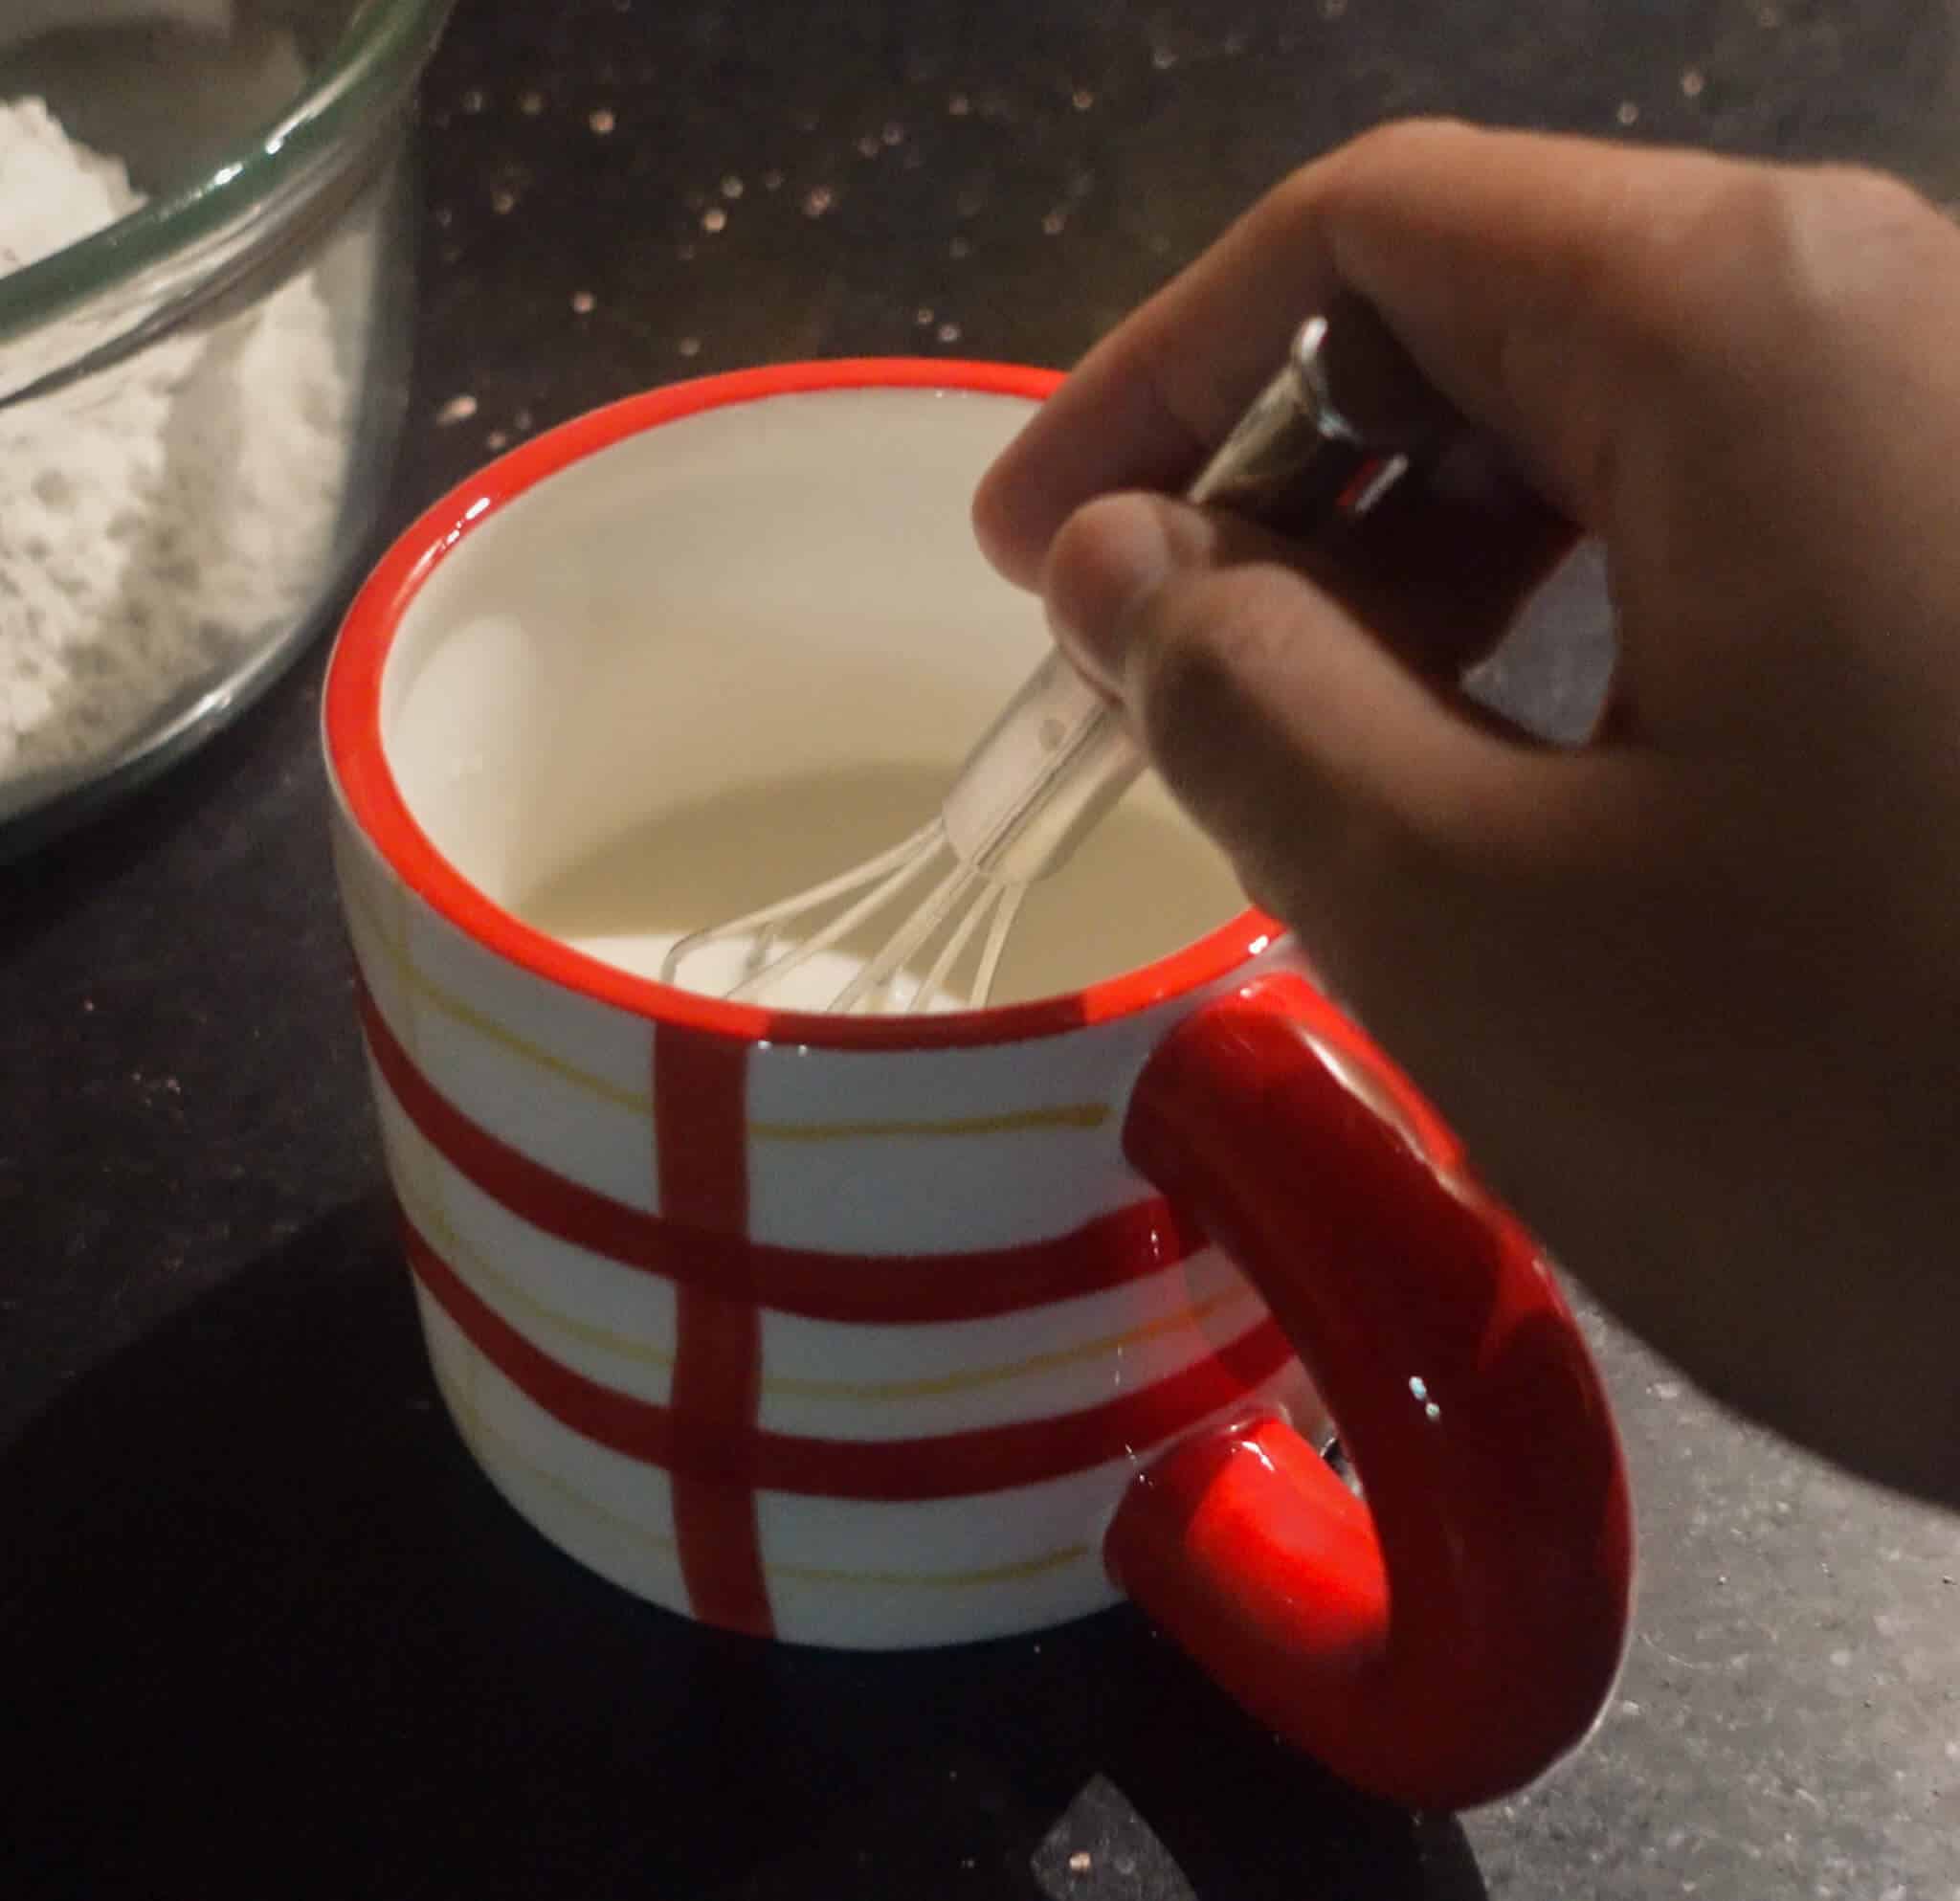
Activate the yeast: In a small cup or bowl, mix 1/2 cup warm milk, 3 tbsp warm water, 1/2 tbsp honey and 1/2 tbsp active dry yeast. Give it a good whisk, cover and let it sit for about 10 minutes till it becomes bubbly and foamy. This is how you know your yeast is alive and ready to use. If it doesn’t foam up, your yeast might be expired or inactive so it’s best to start over with a new pack of yeast.
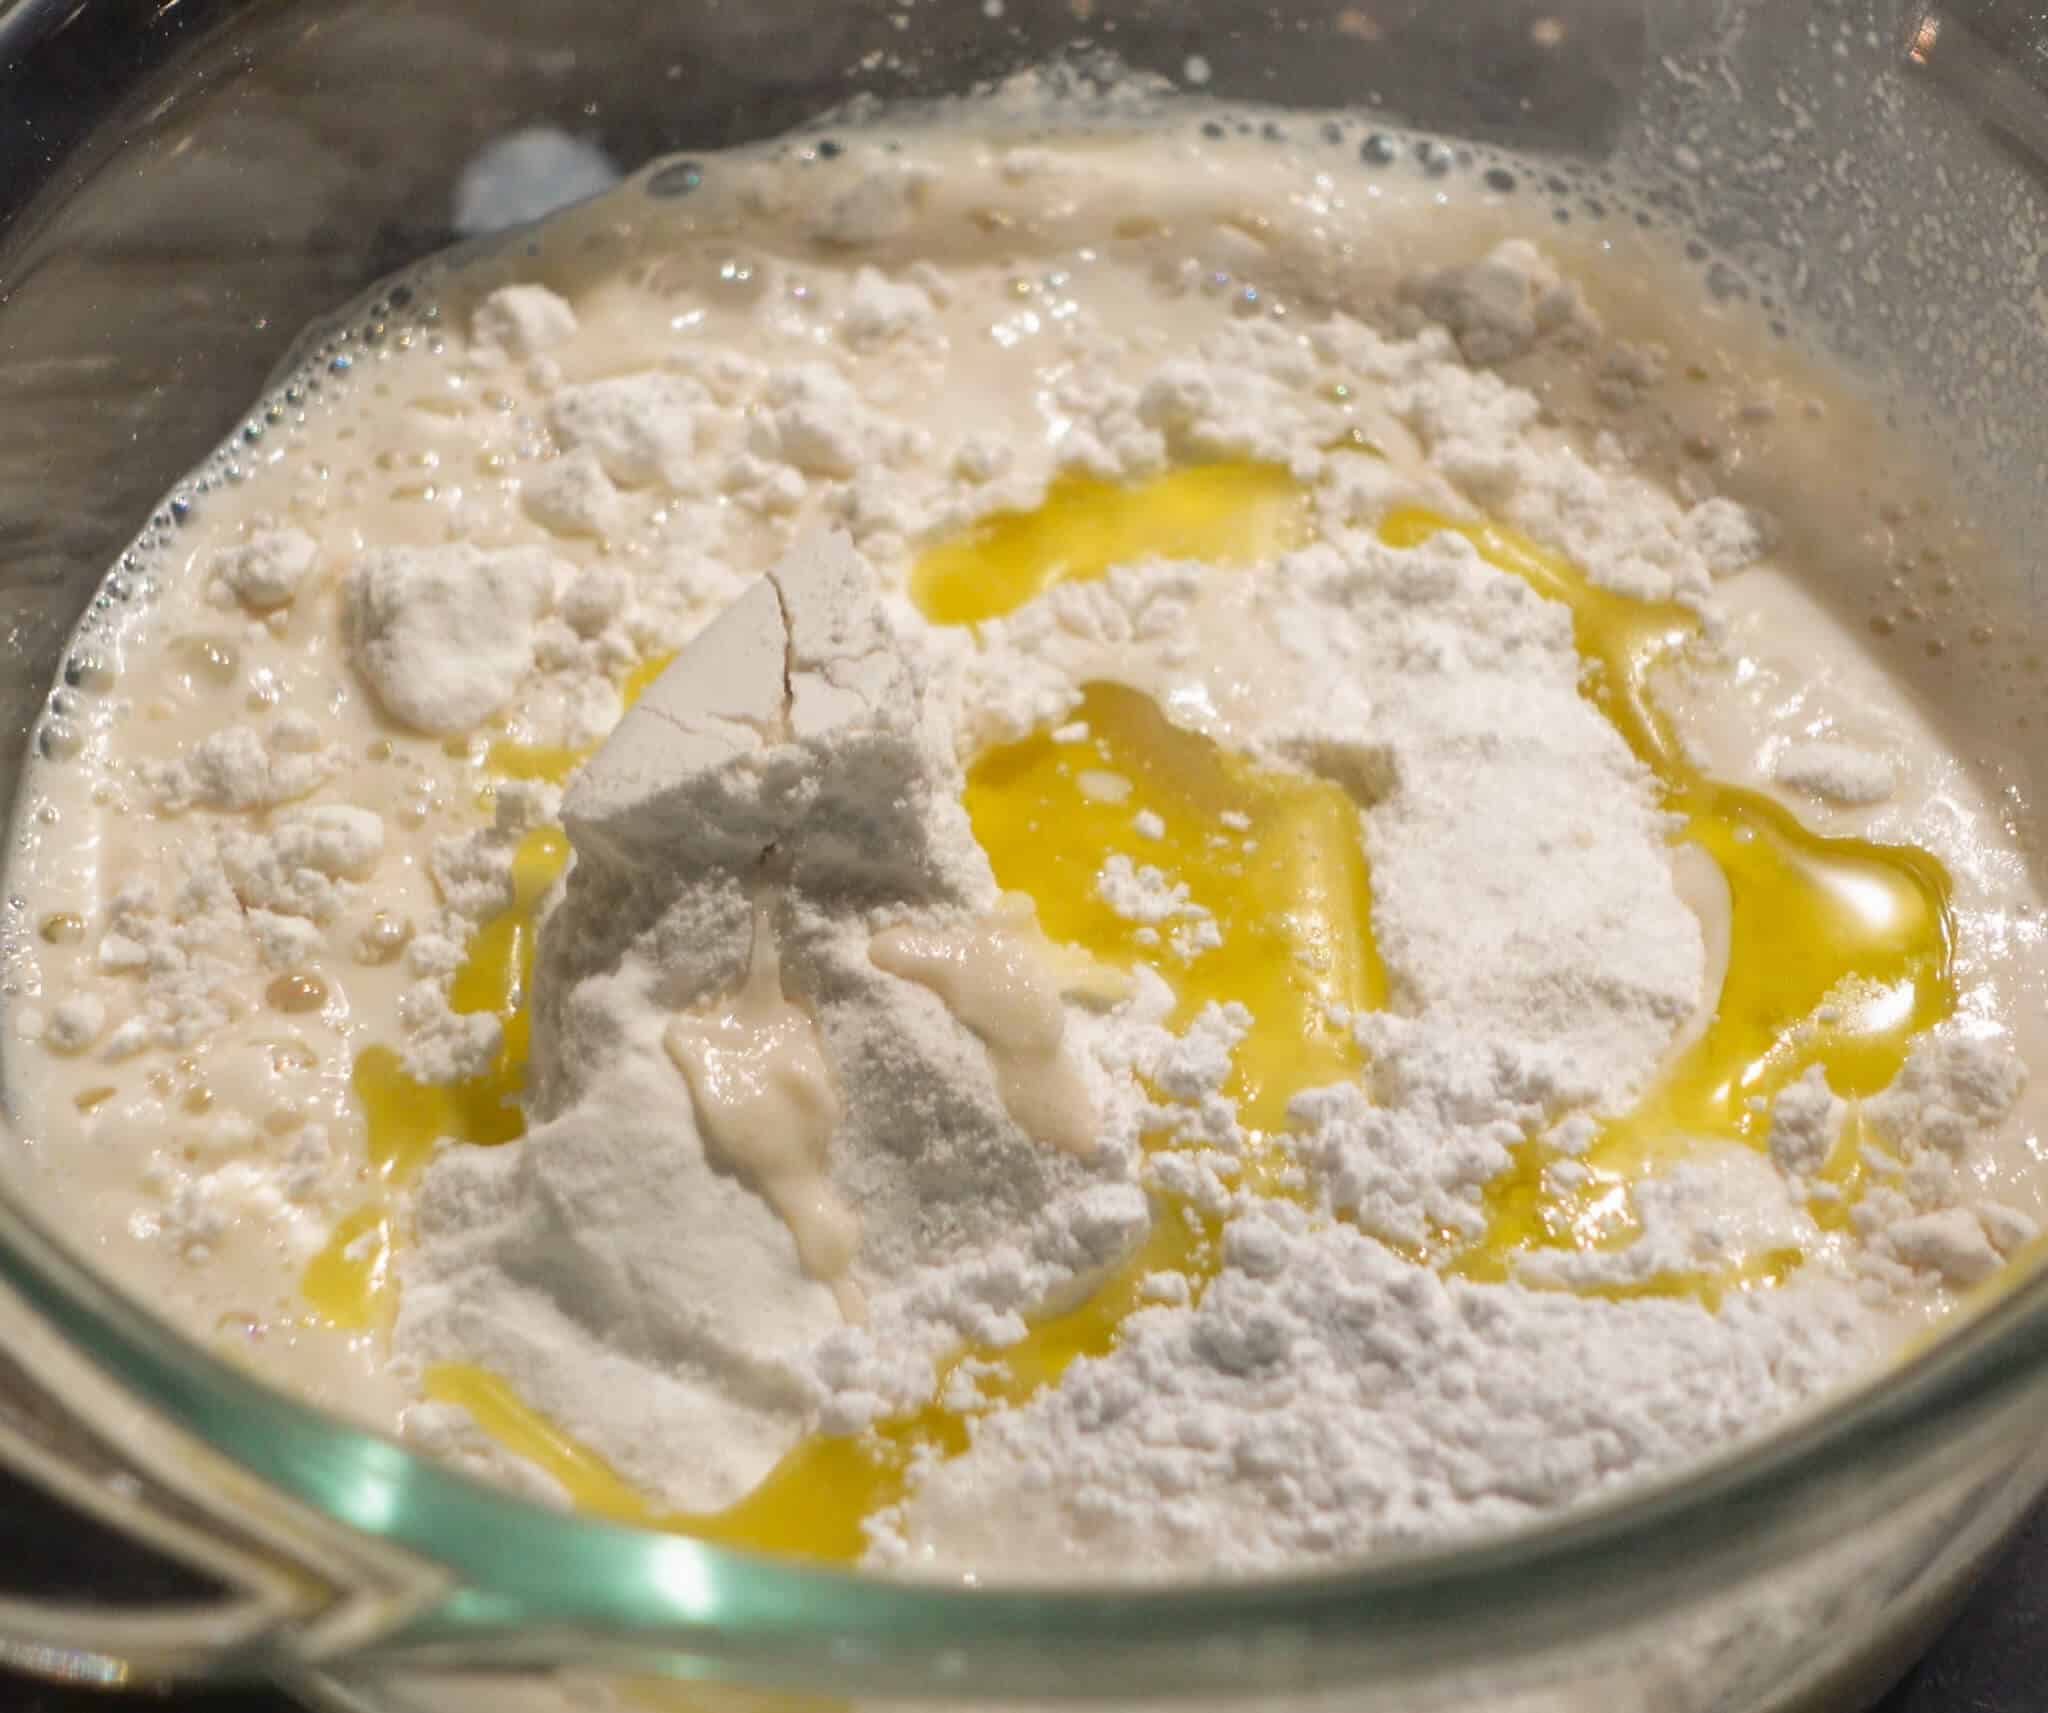
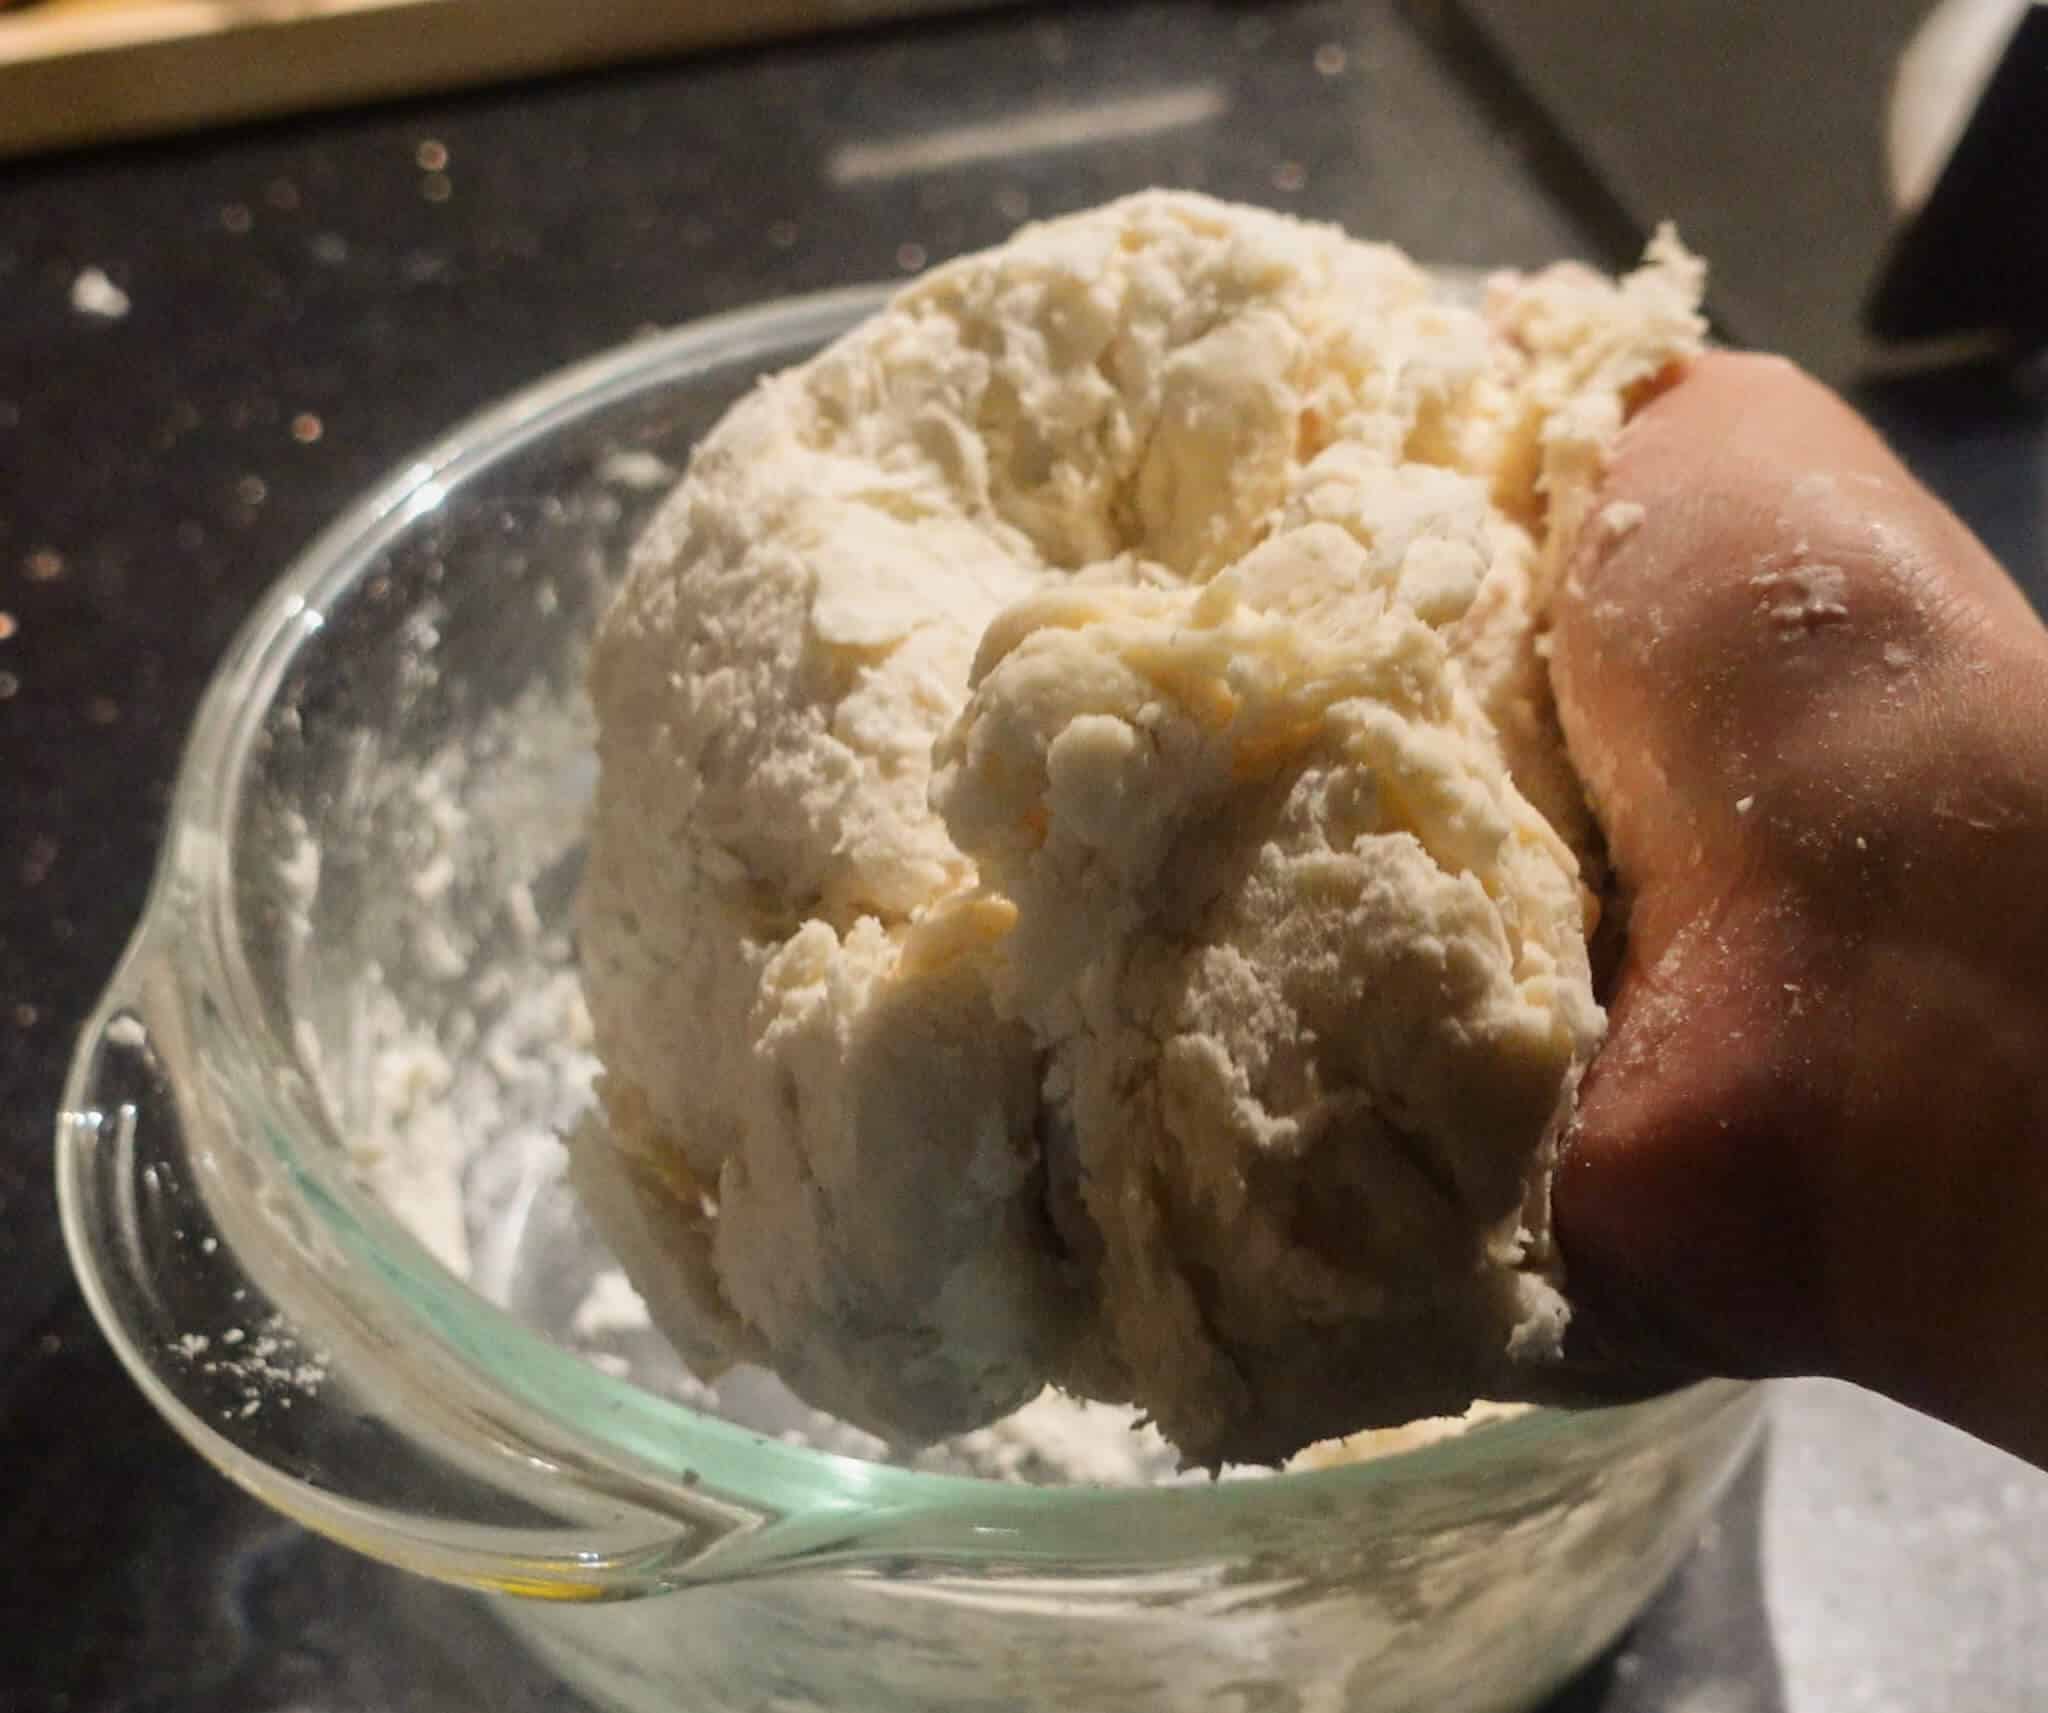
Make the dough: In a bowl, add 1 + 1/2 cups all purpose flour and salt. Pour in the activated yeast liquid mixture and 1 tbsp extra virgin olive oil. Give it a mix with your fingers, a bread whisk, a fork or chopsticks until it forms a shaggy dough. At this point, the dough might seem messy but that’s okay!
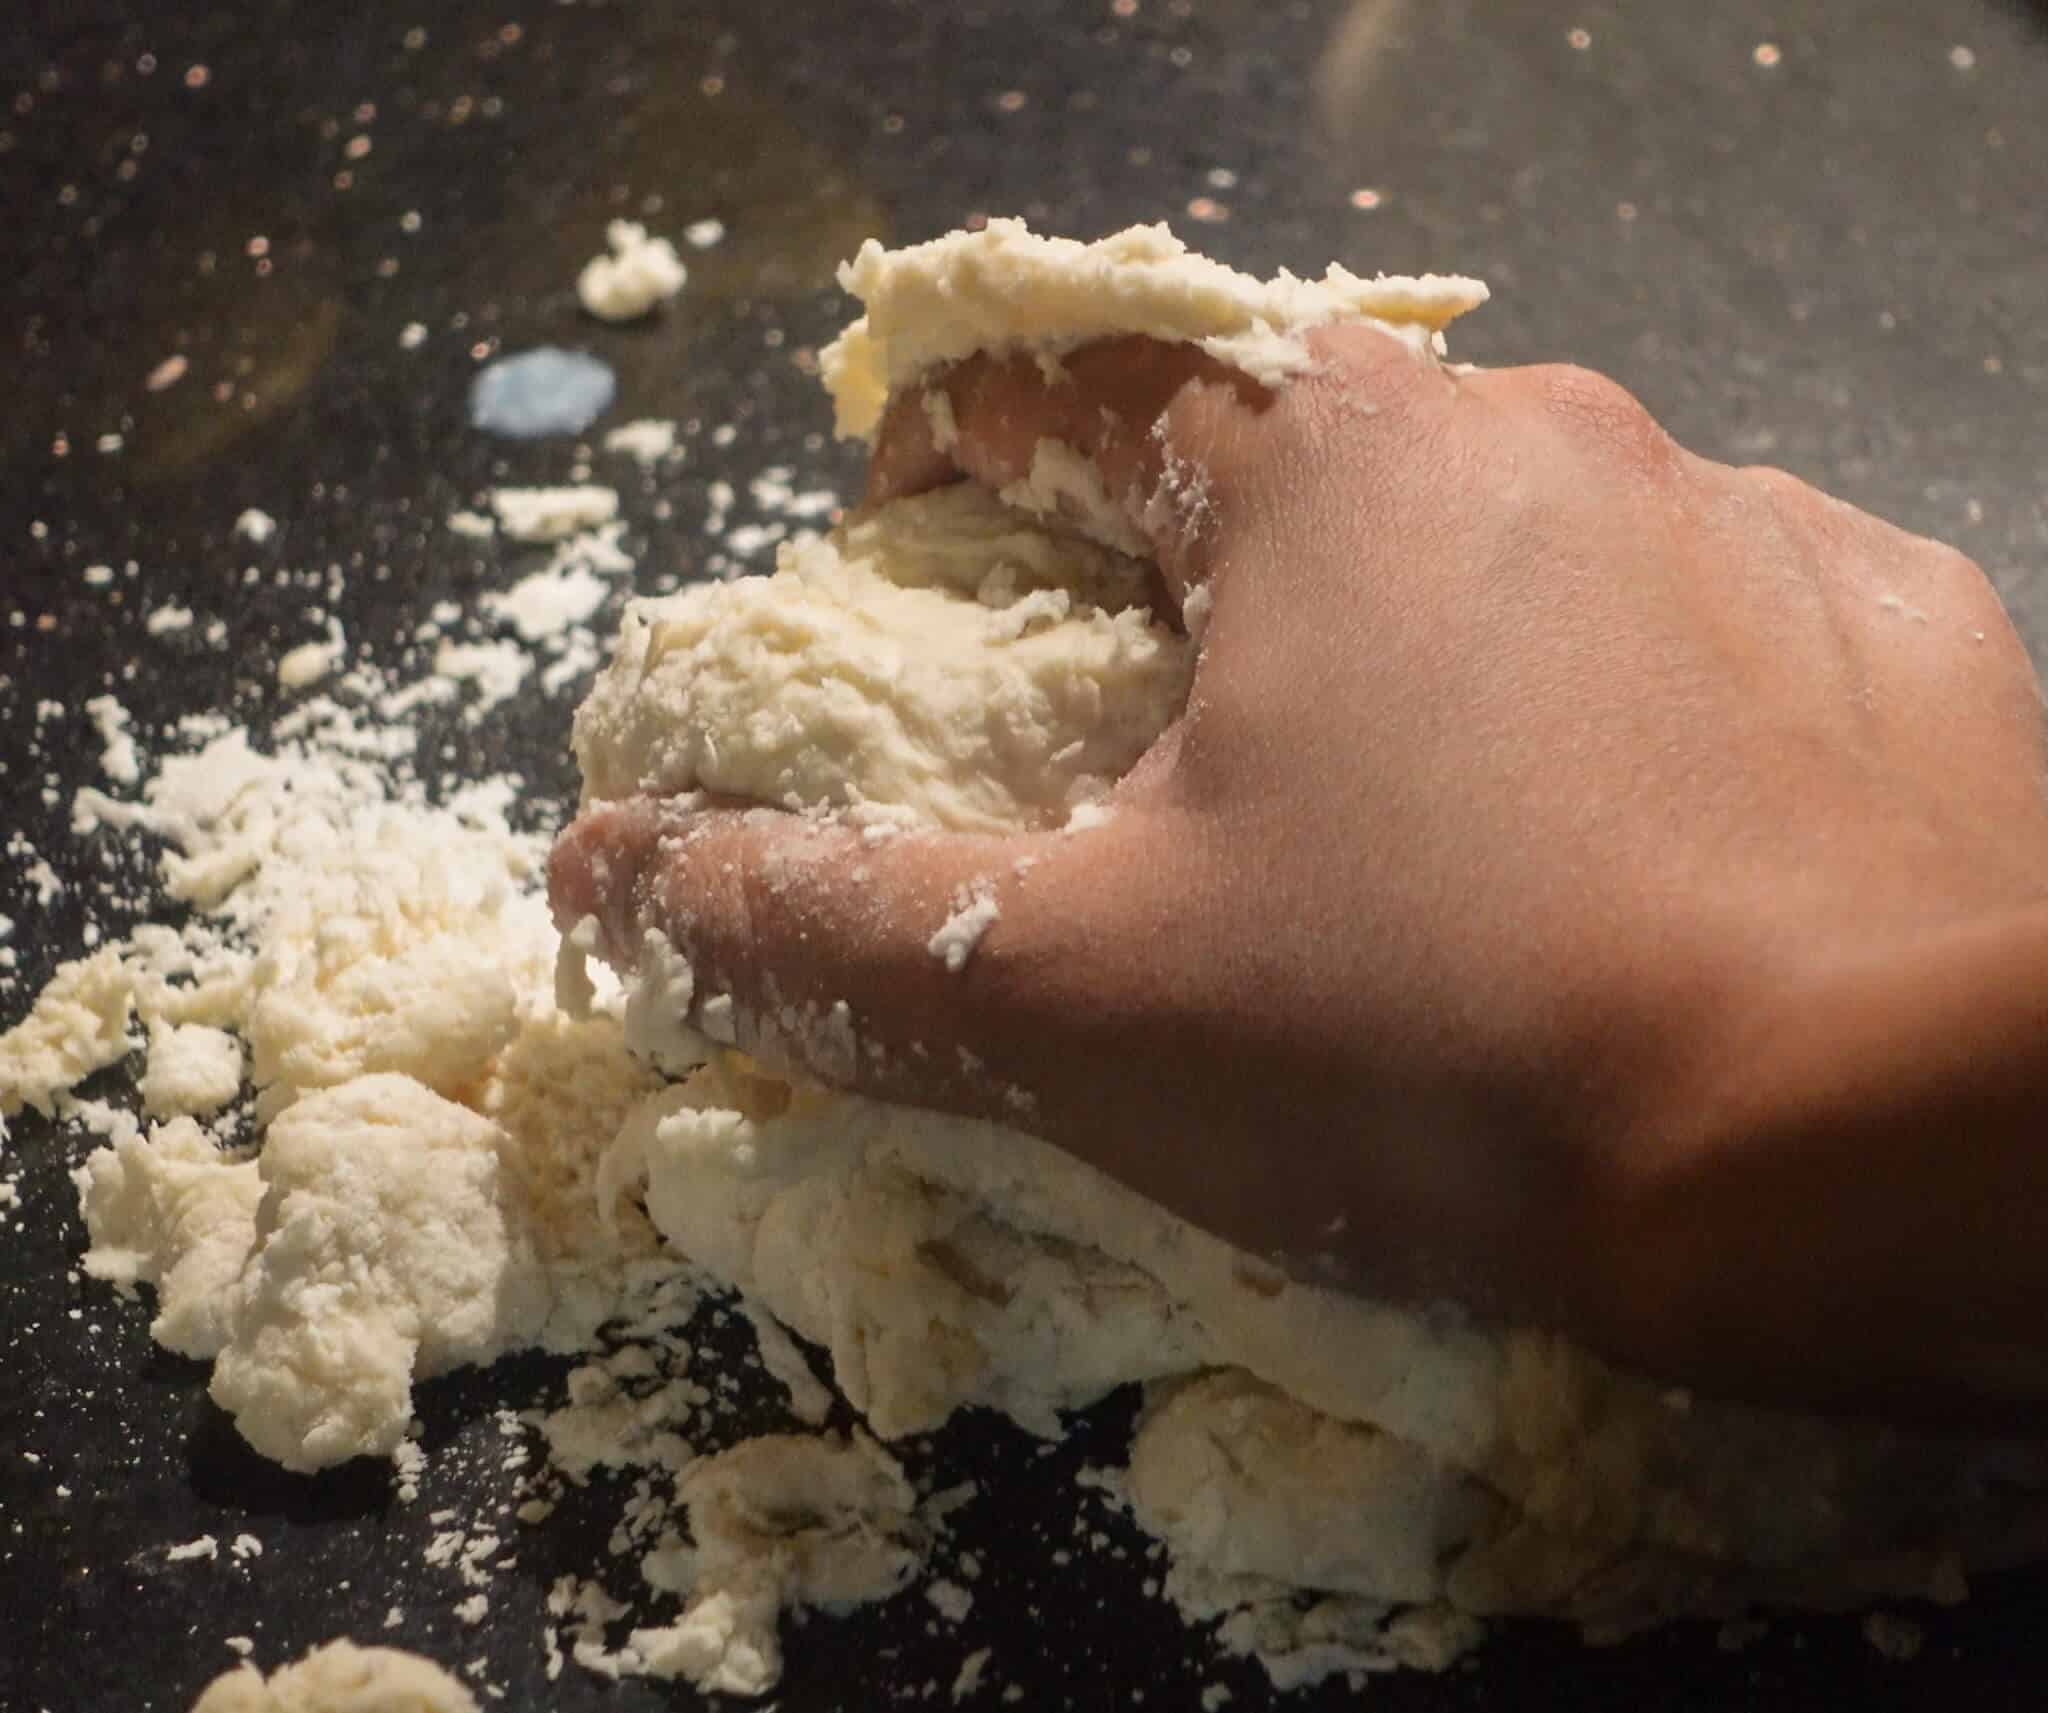
Transfer it to a clean kneading surface and knead the dough for at least 10 minutes or till it becomes soft, smooth and elastic. If the dough feels too sticky to handle, you can add 1-2 tbsp more flour but avoid adding too much or the bread will turn out dry.
If you feel the dough is resisting or you’re getting tired while kneading, just take a 2-3 minute break. Sometimes, letting the dough rest briefly makes it easier to work with as the gluten starts developing on its own. Kneading can be tough at first but if your dough is too sticky and difficult to handle, adding 1/2 tbsp olive oil at this stage can make kneading smoother
I like to proof the dough 2 times.
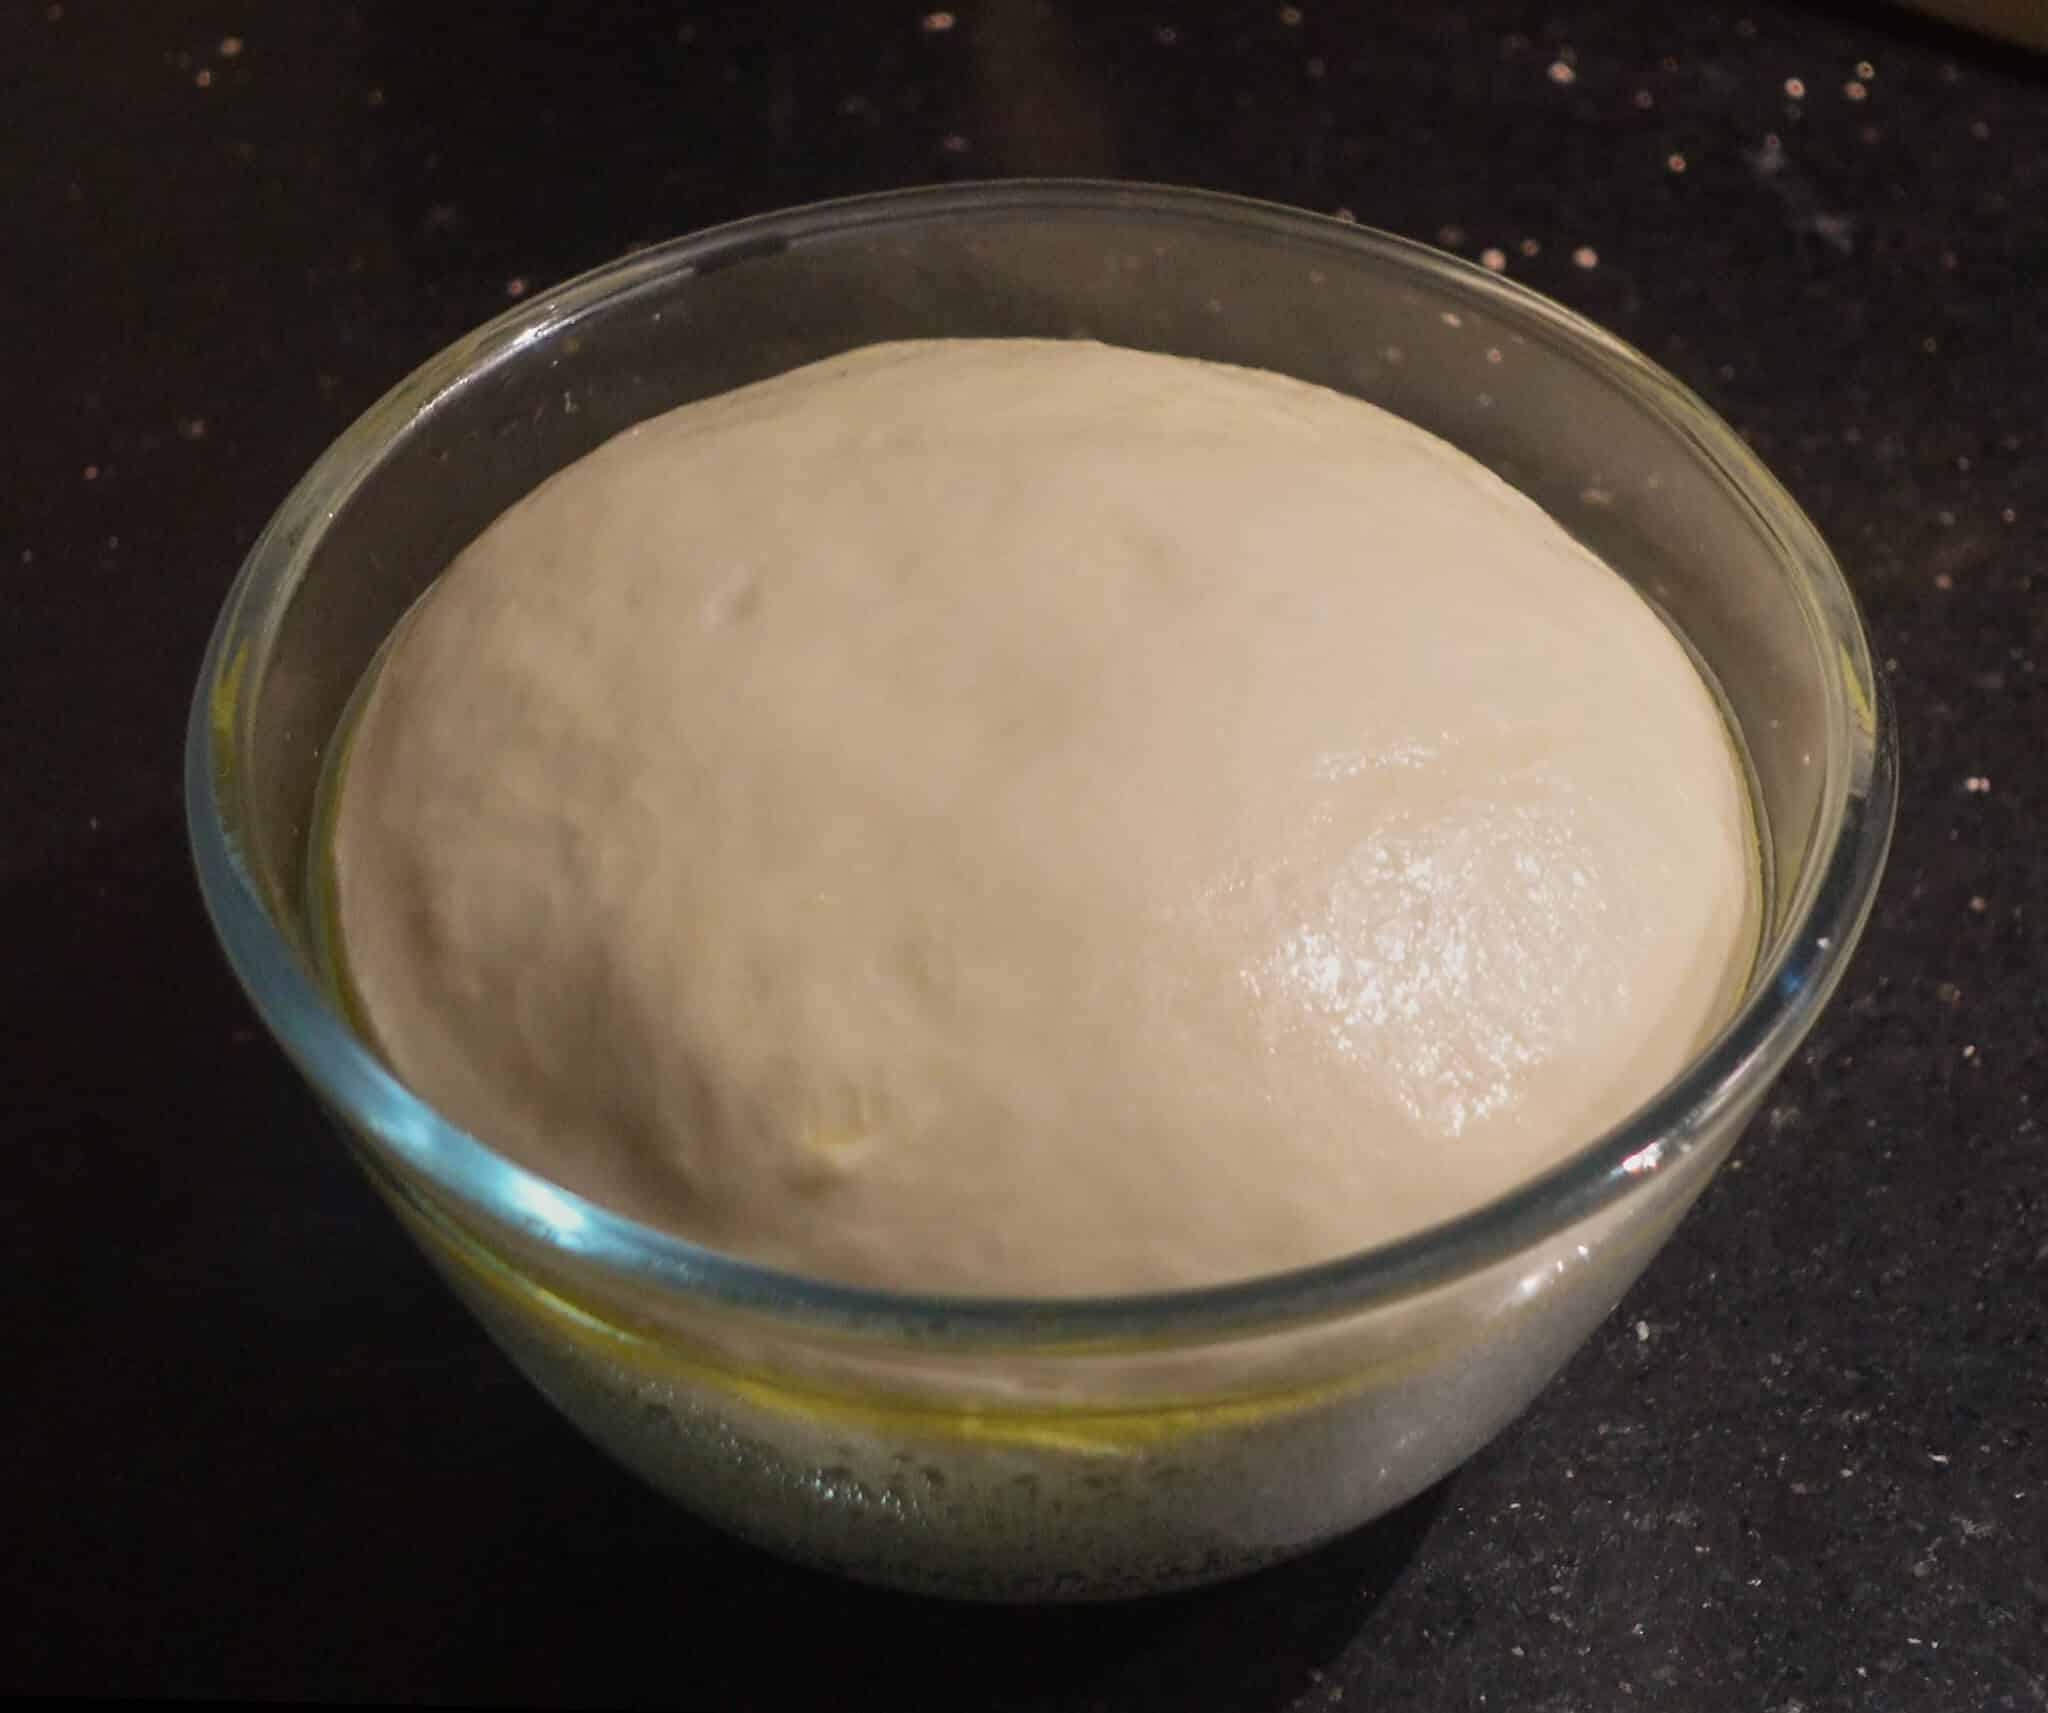
First rise: Grease a bowl with olive oil and place your smooth ball of dough inside. Cover it with a damp cloth or cling wrap and let it rise in a warm environment for 2-2.5 hours or till it doubles in size.
To create a warm environment: place a bowl of hot water inside your switched off oven and close the door. Let it sit for a few minutes to warm up the space and then place your dough inside to proof. This gentle warmth helps the dough rise evenly without the risk of overheating or killing the yeast!
I use 1/2 tbsp of yeast for 1 + 1/2 cups of flour, which is on the lower side because using less yeast and proofing the dough for longer results in a deeper flavour and a bread that doesn’t smell or taste too yeasty and is better for digestion.
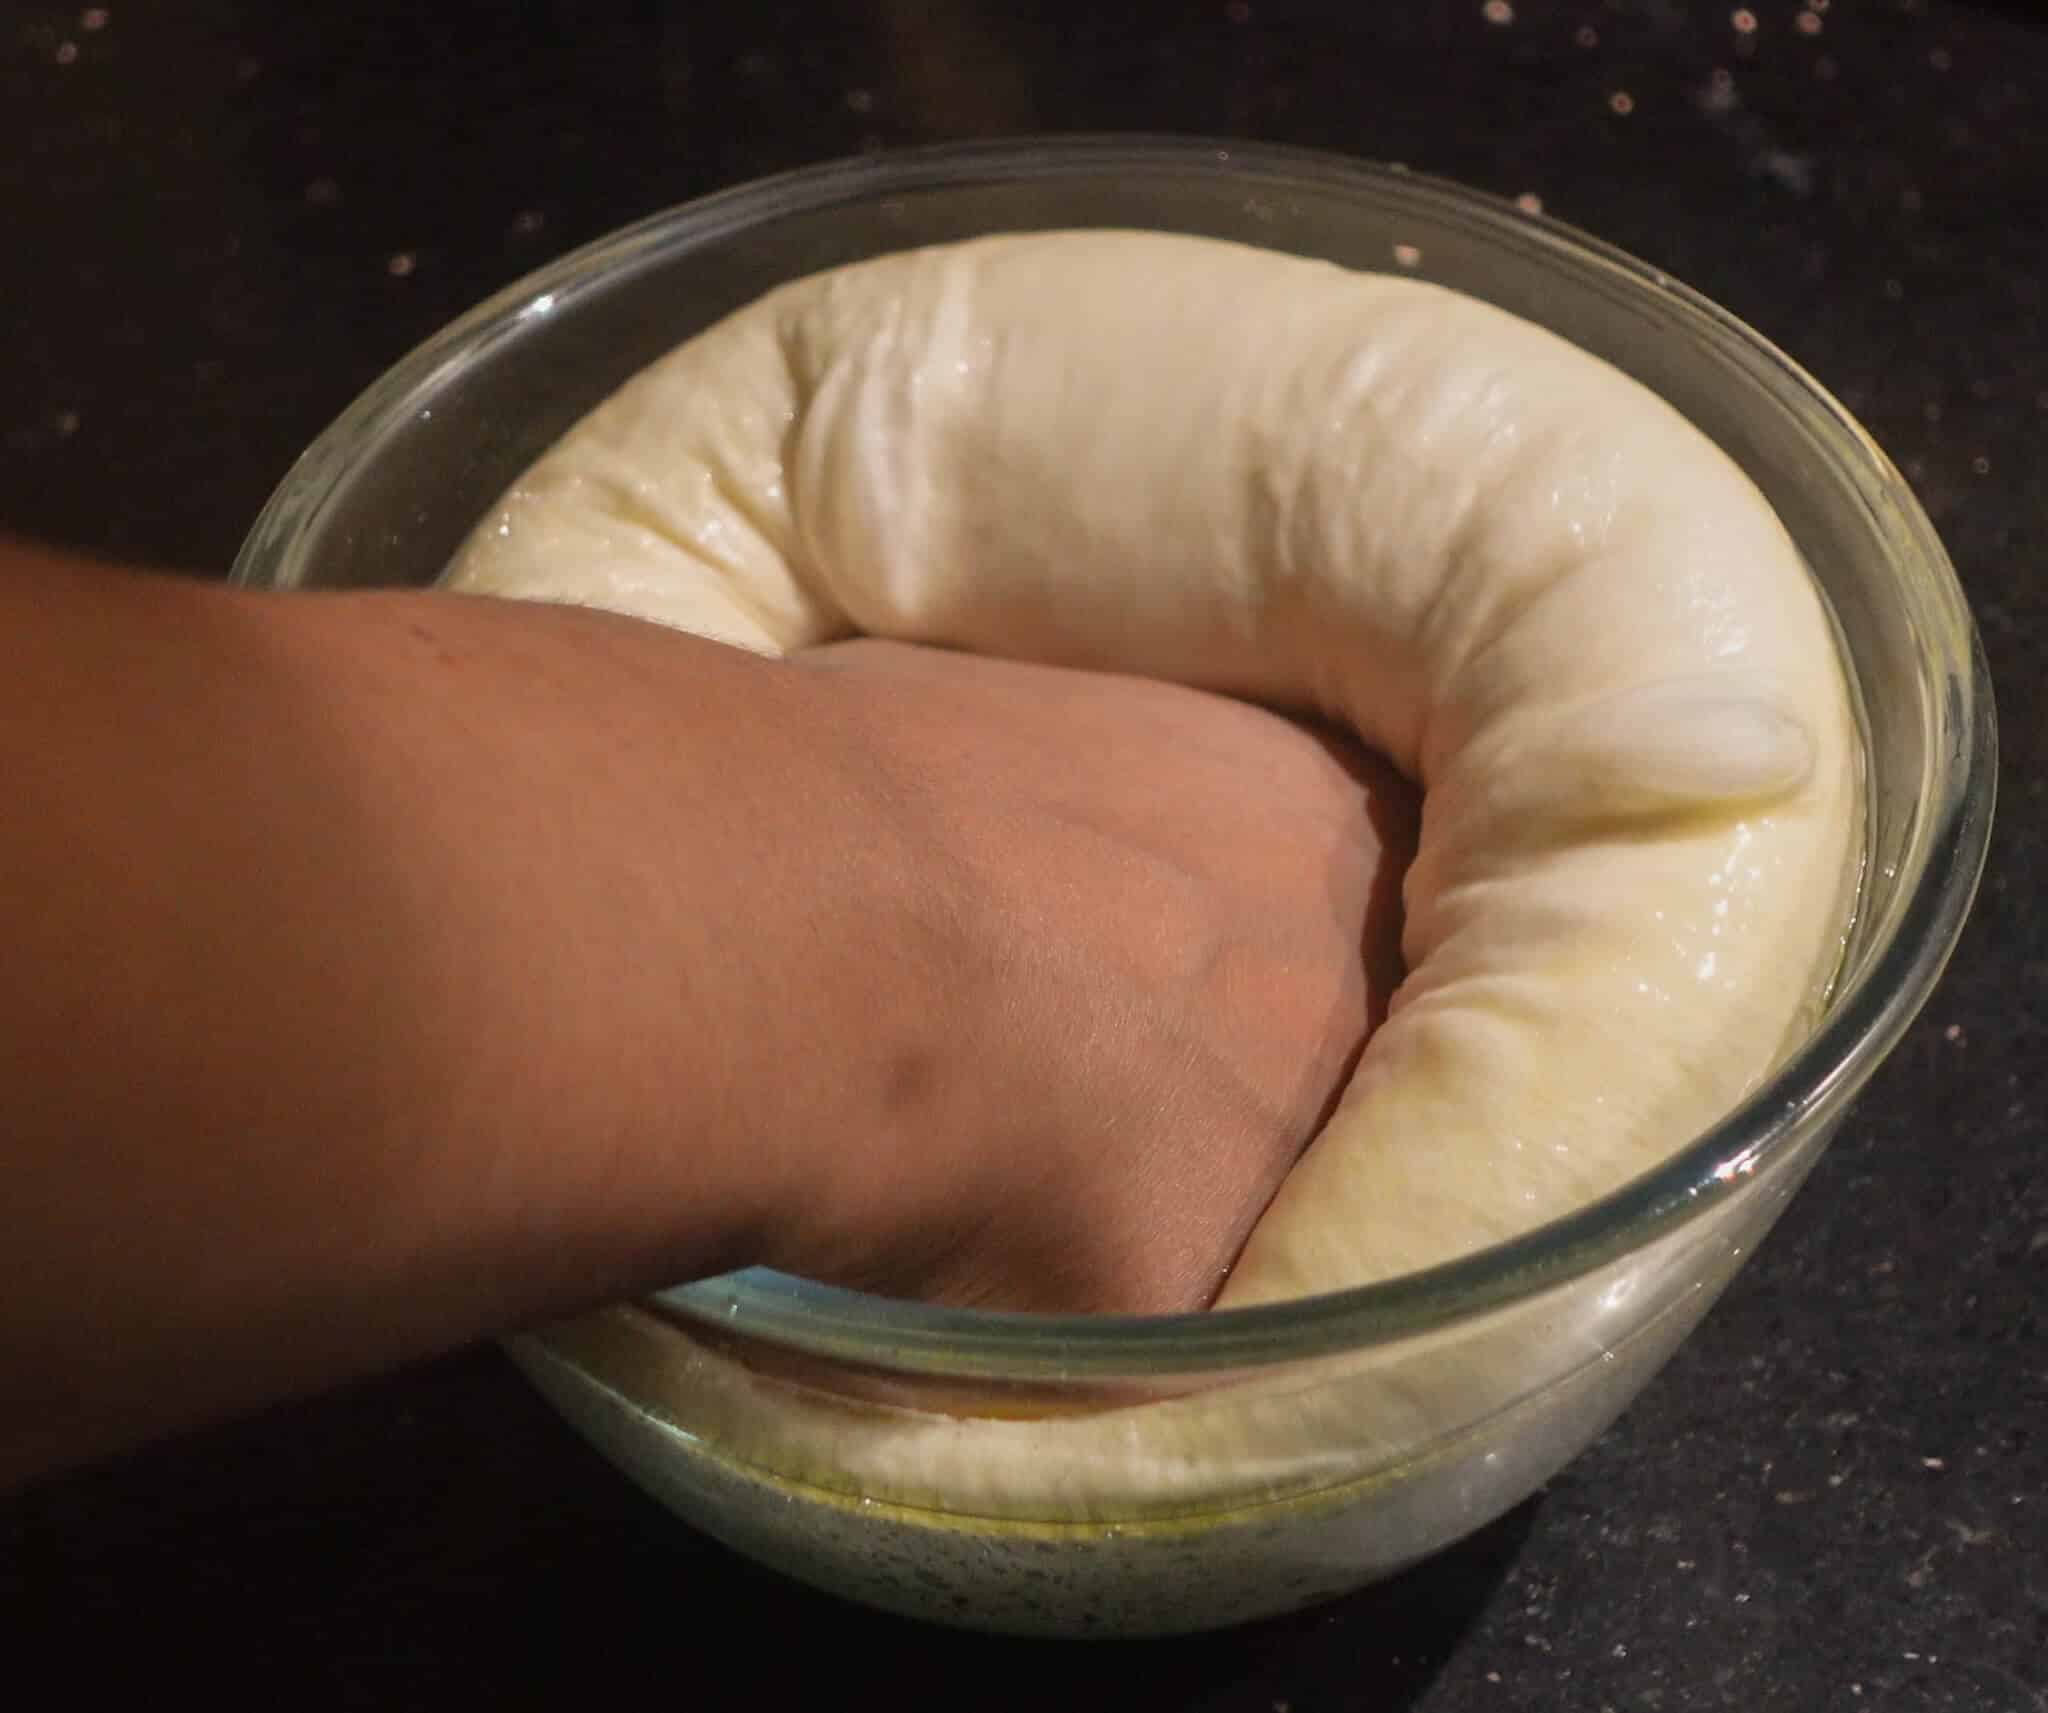
Shaping the dough: Once the dough has doubled in size, gently punch it down to release excess air (this is my favourite part of the process cause it is so satisfying!). Transfer it to a clean surface and shape it into a loaf:
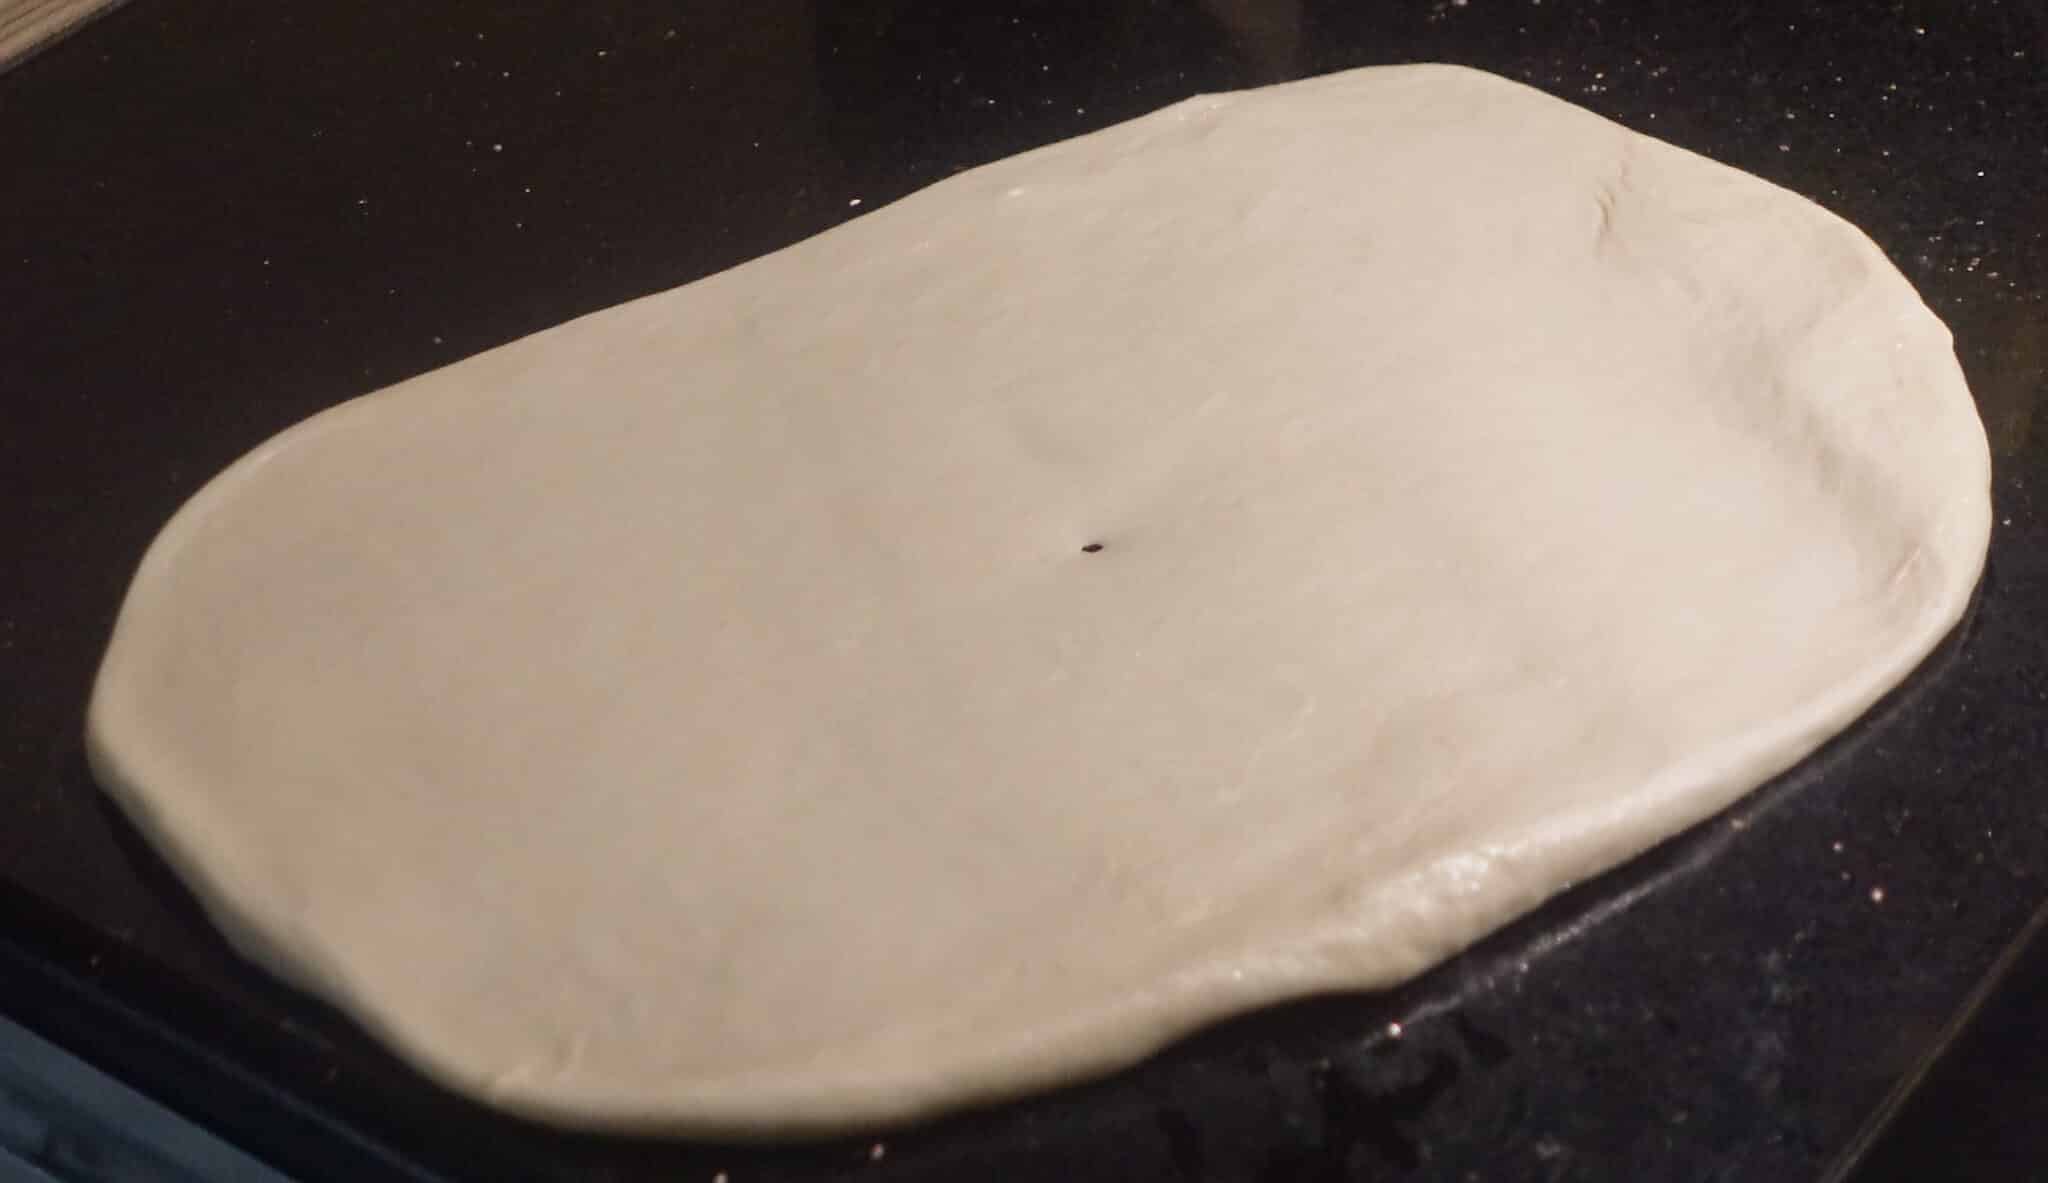
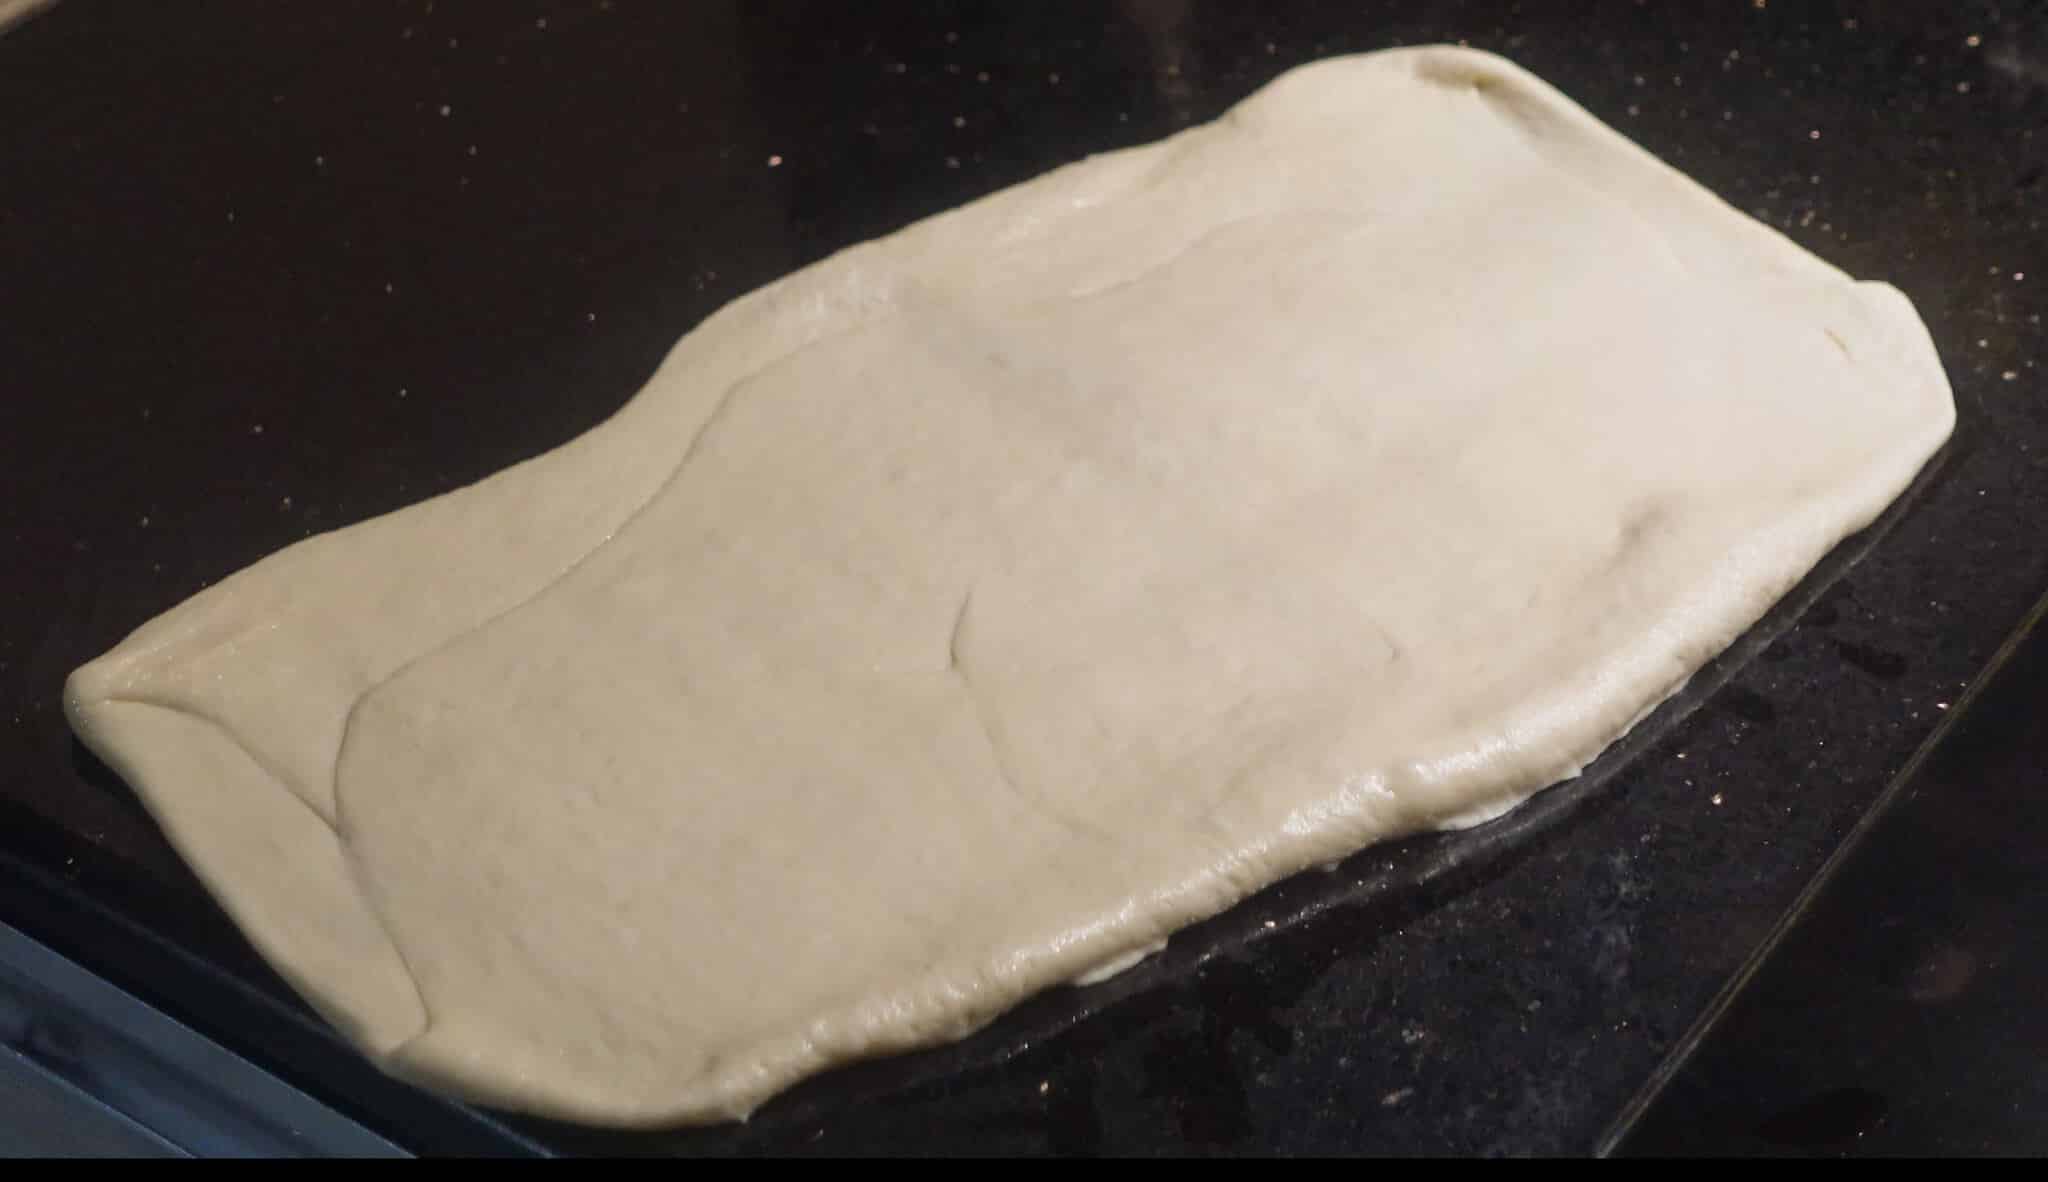
1. Flatten the dough: Roll it out into a rough rectangle using a rolling pin.
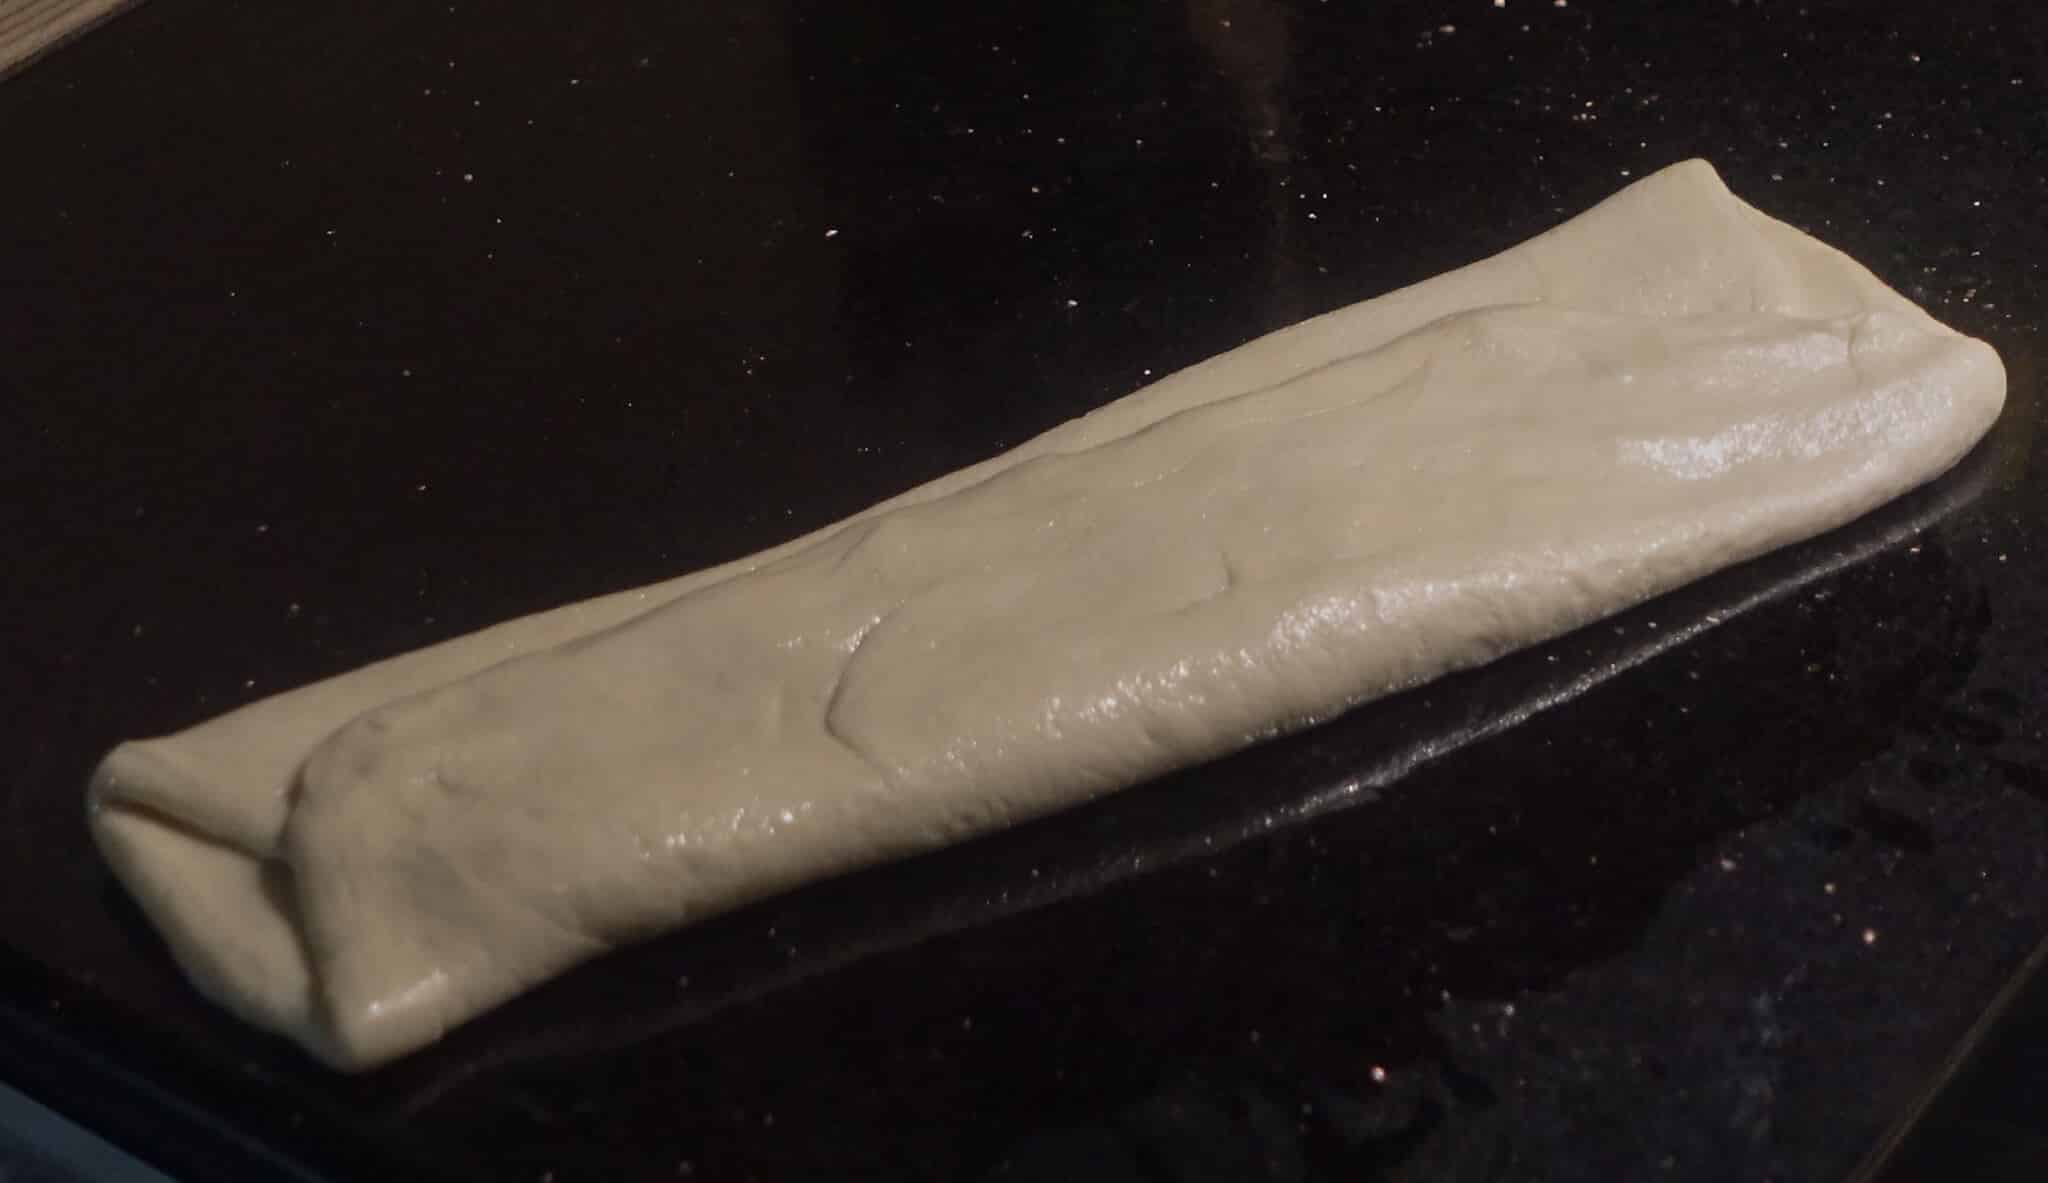
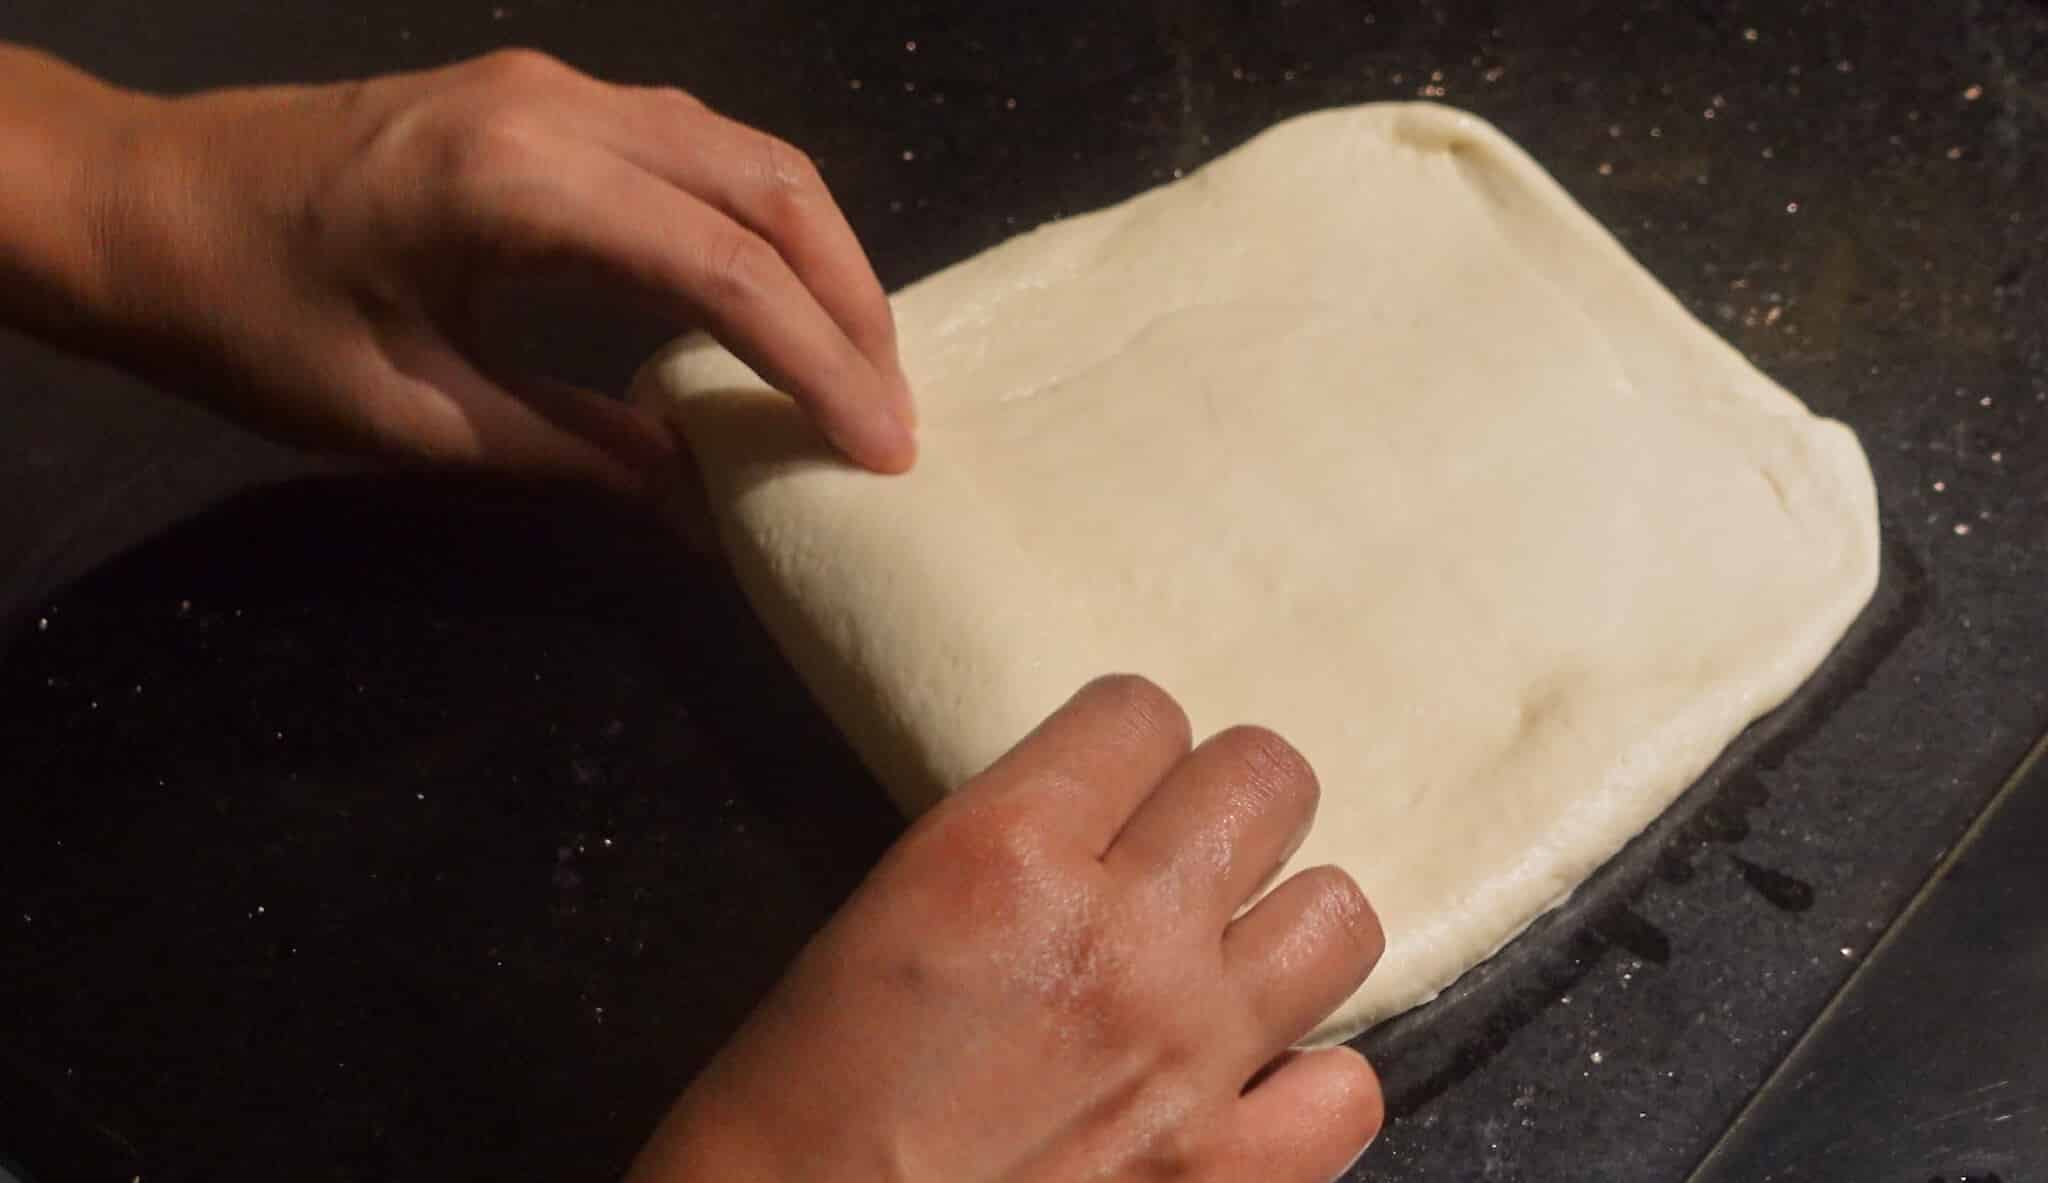
2. Fold the sides: Take the long edges of the rectangle and fold them. Flatten this a bit with a rolling pin.
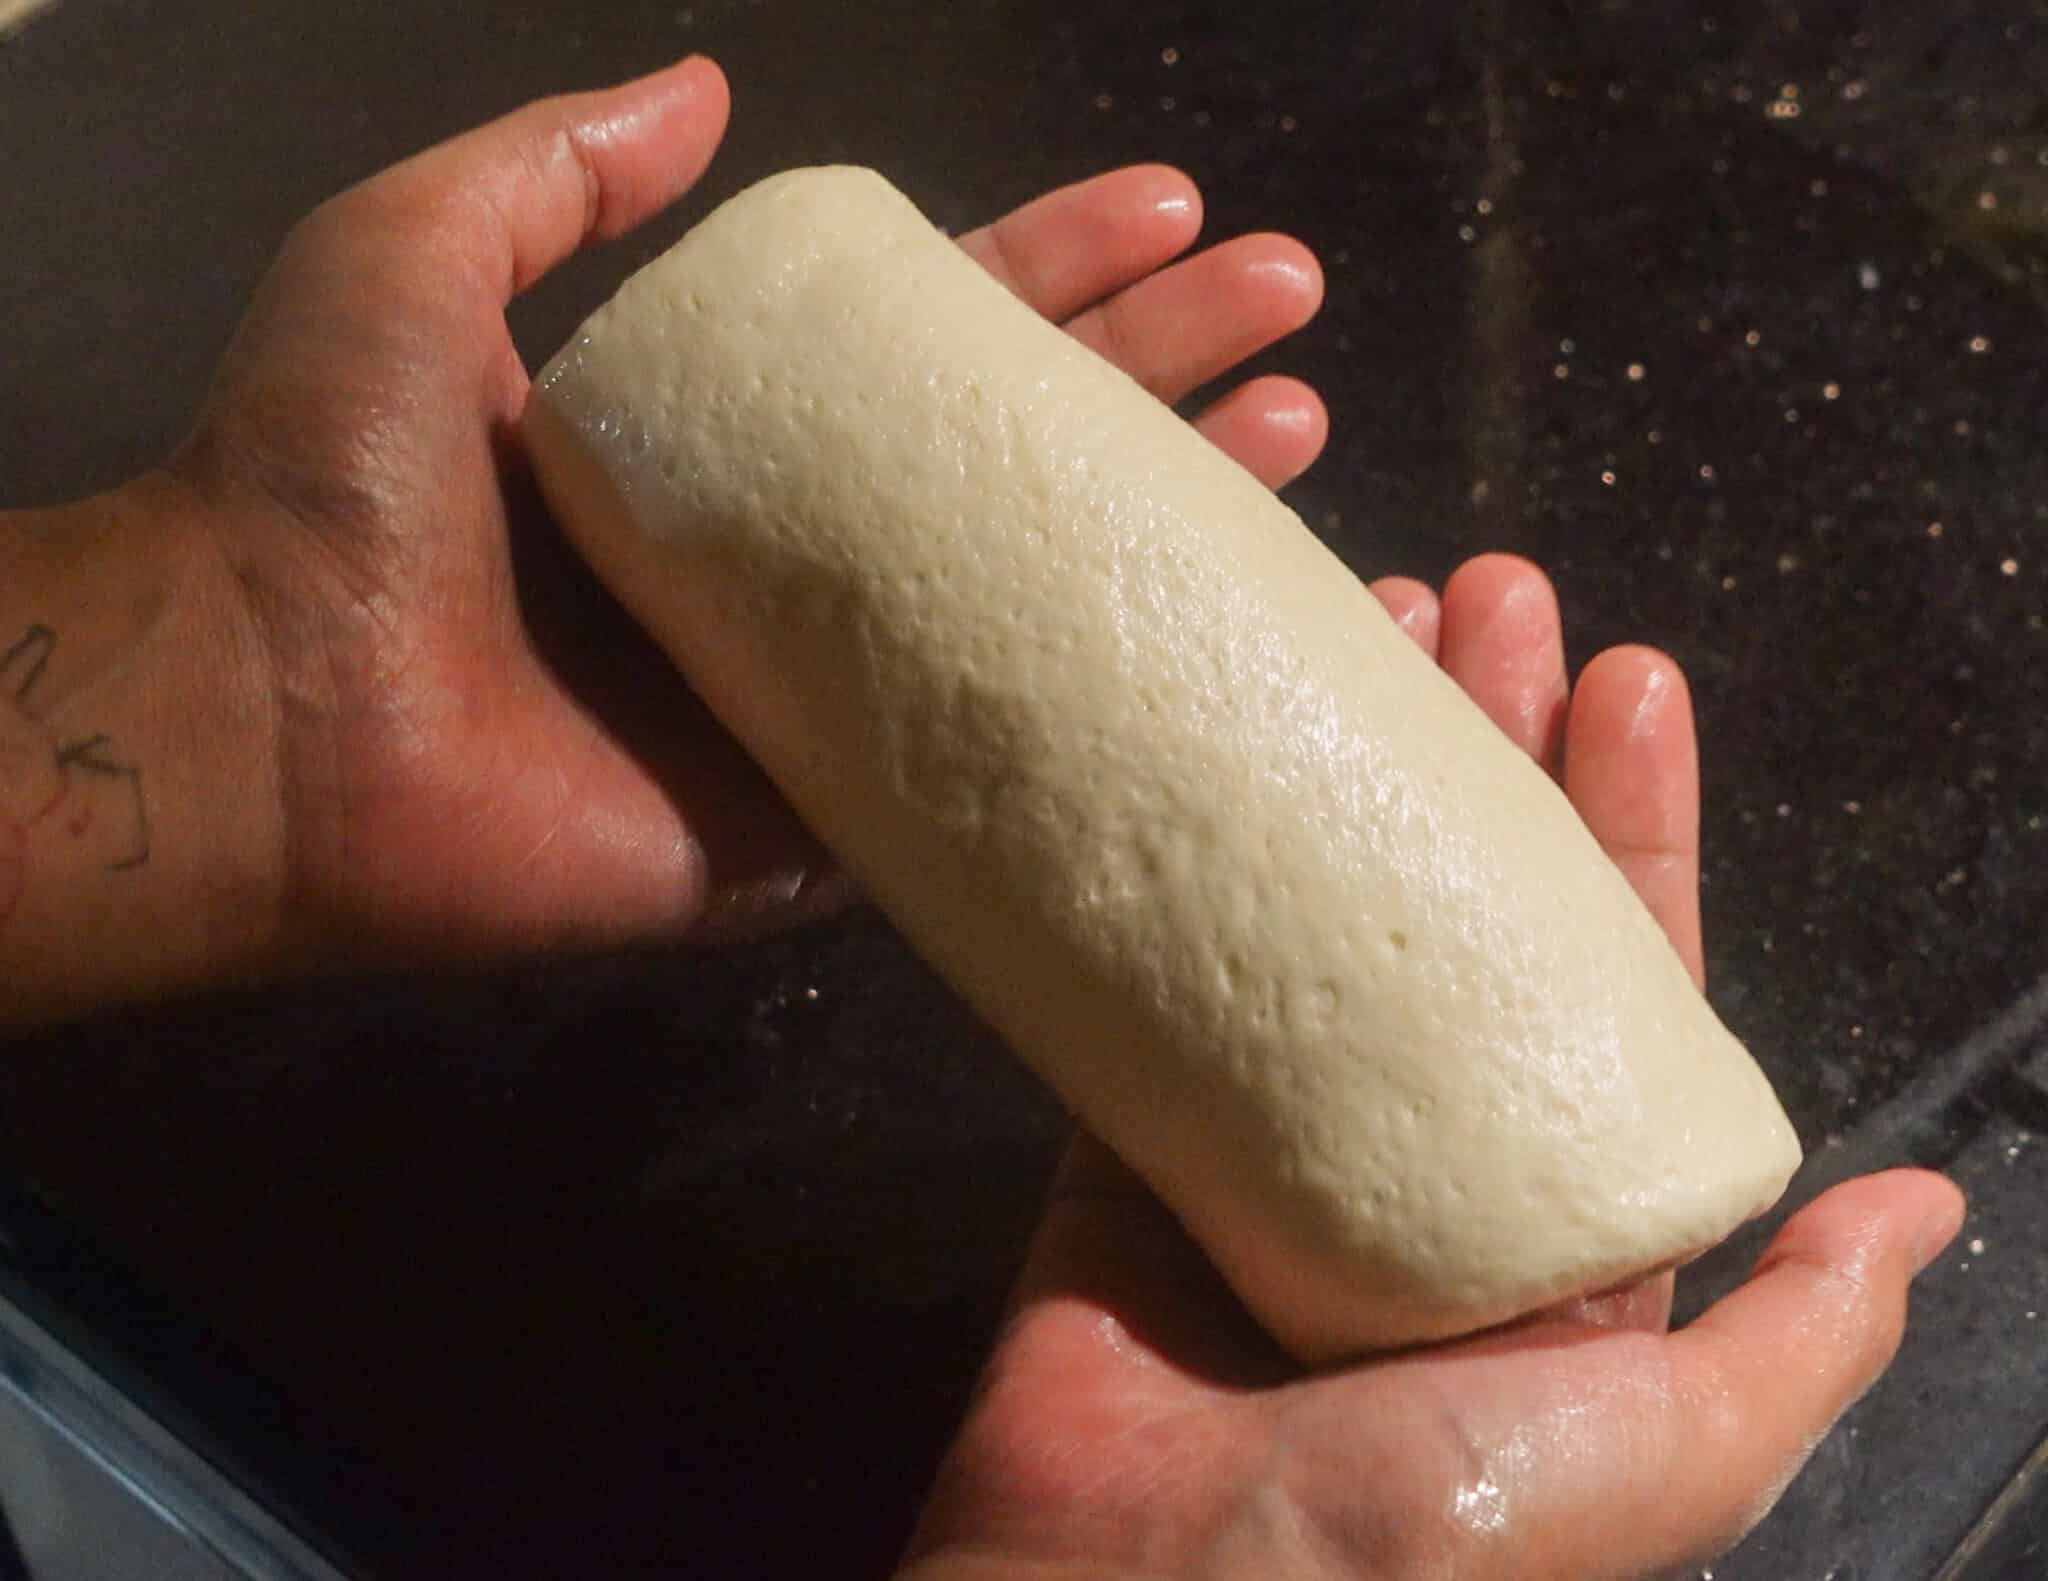
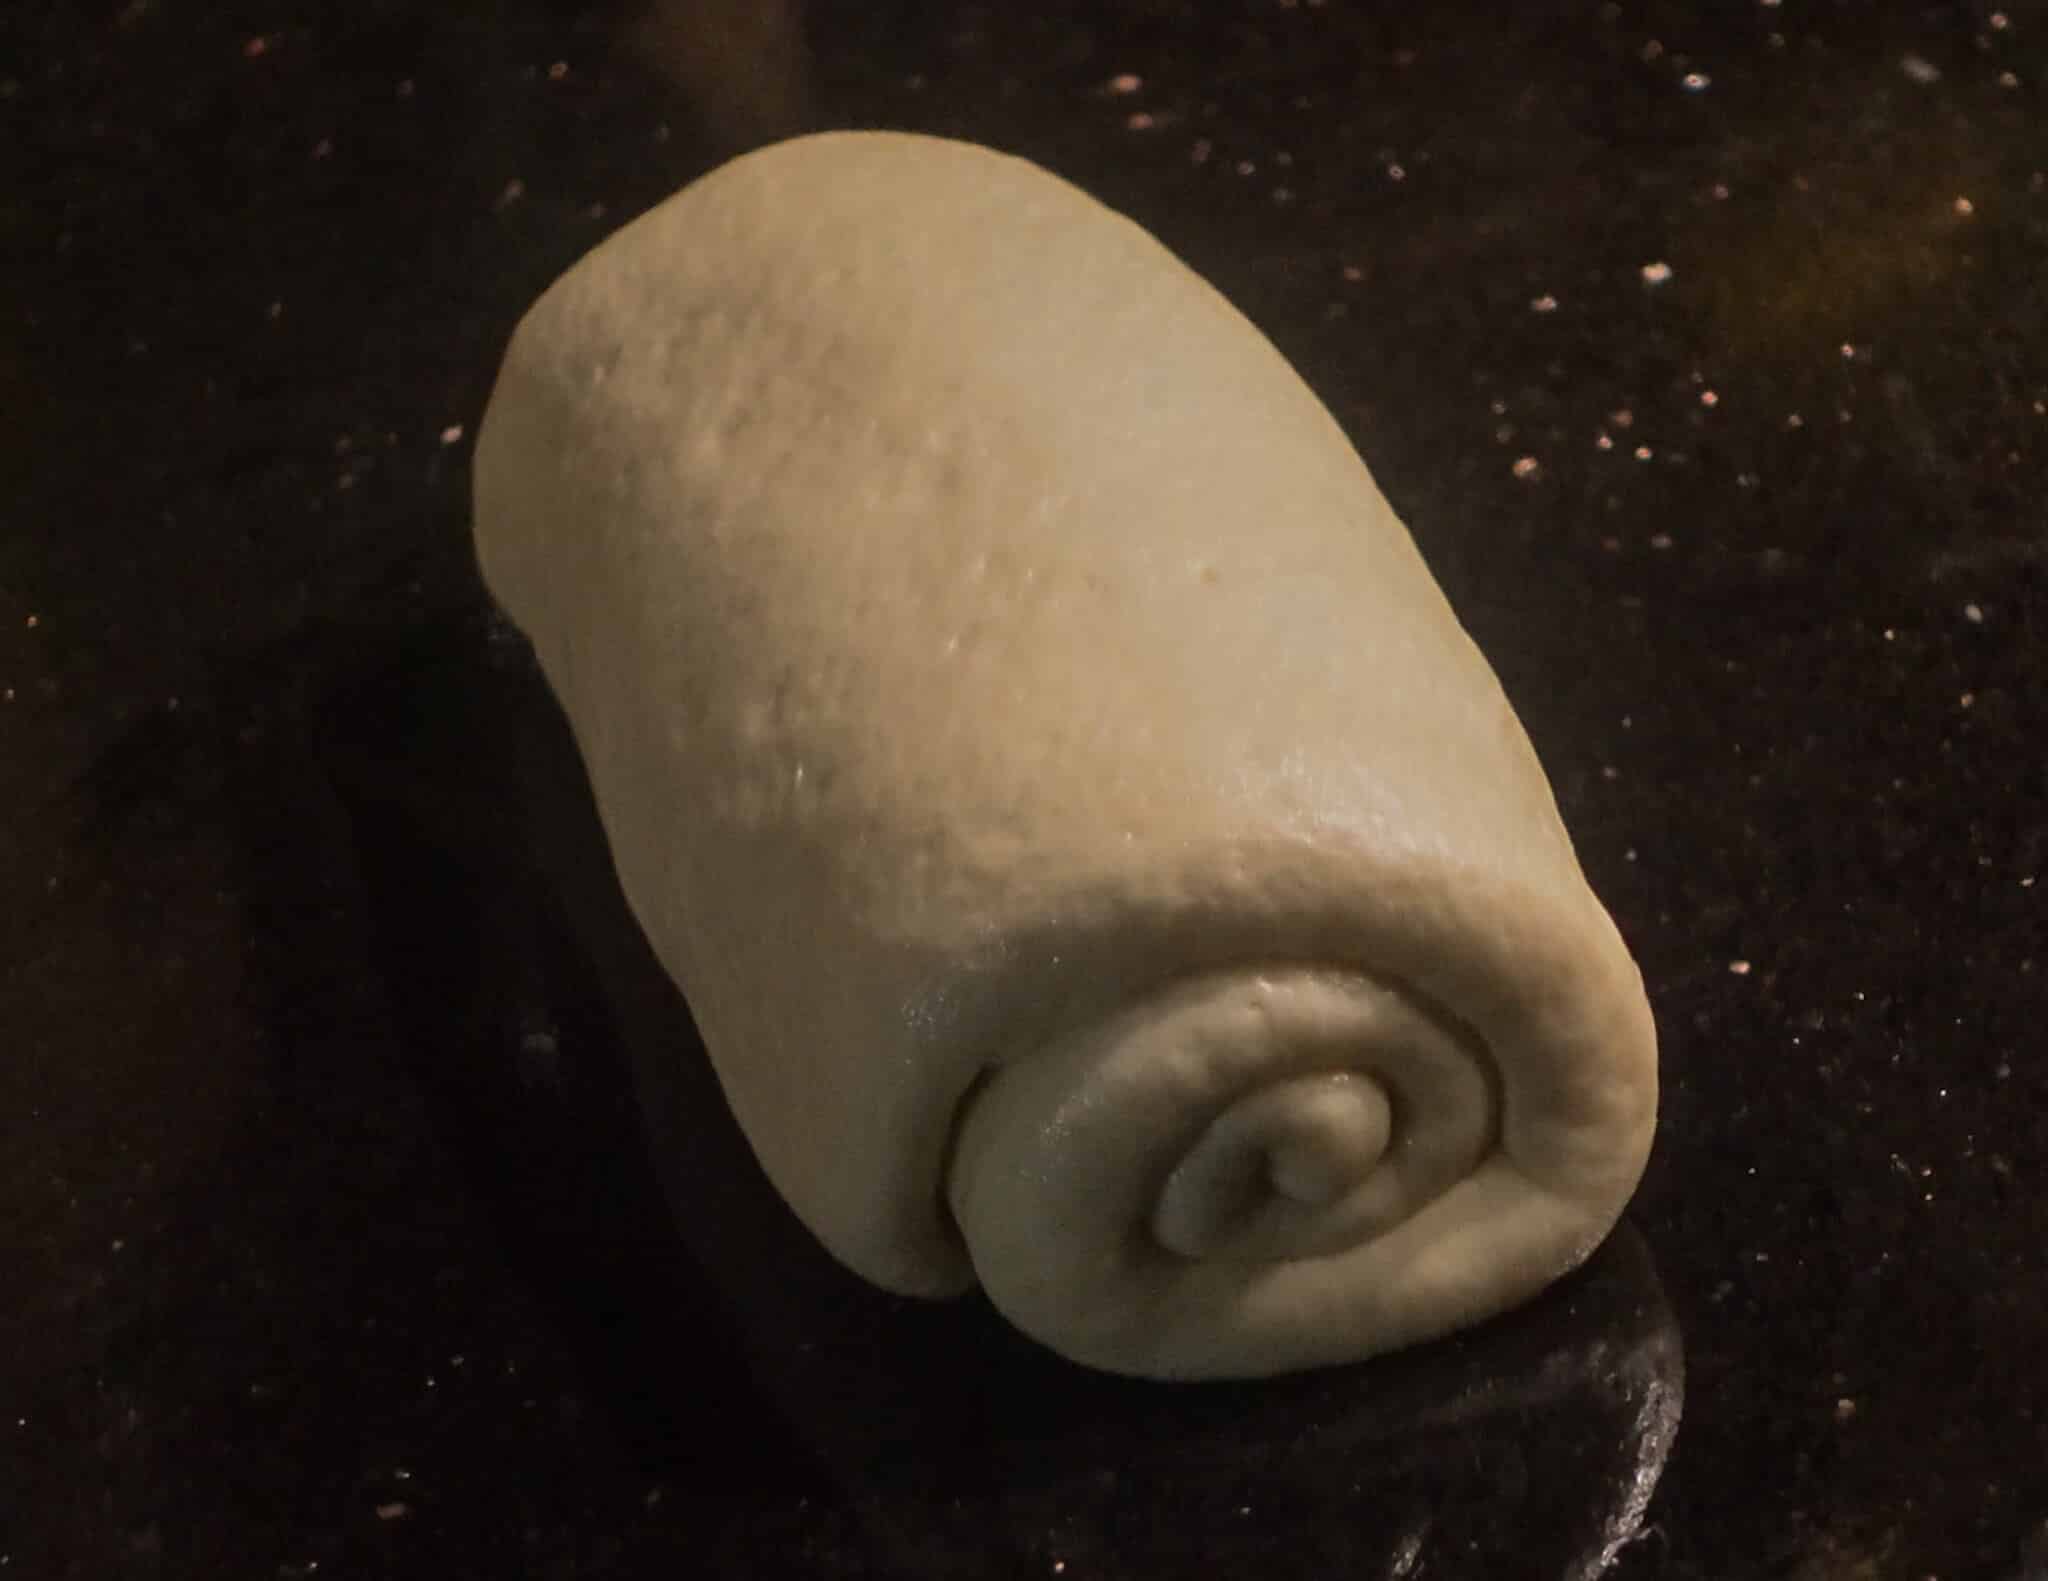
3. Roll it up: Starting from the bottom, roll the dough tightly into a smooth log.
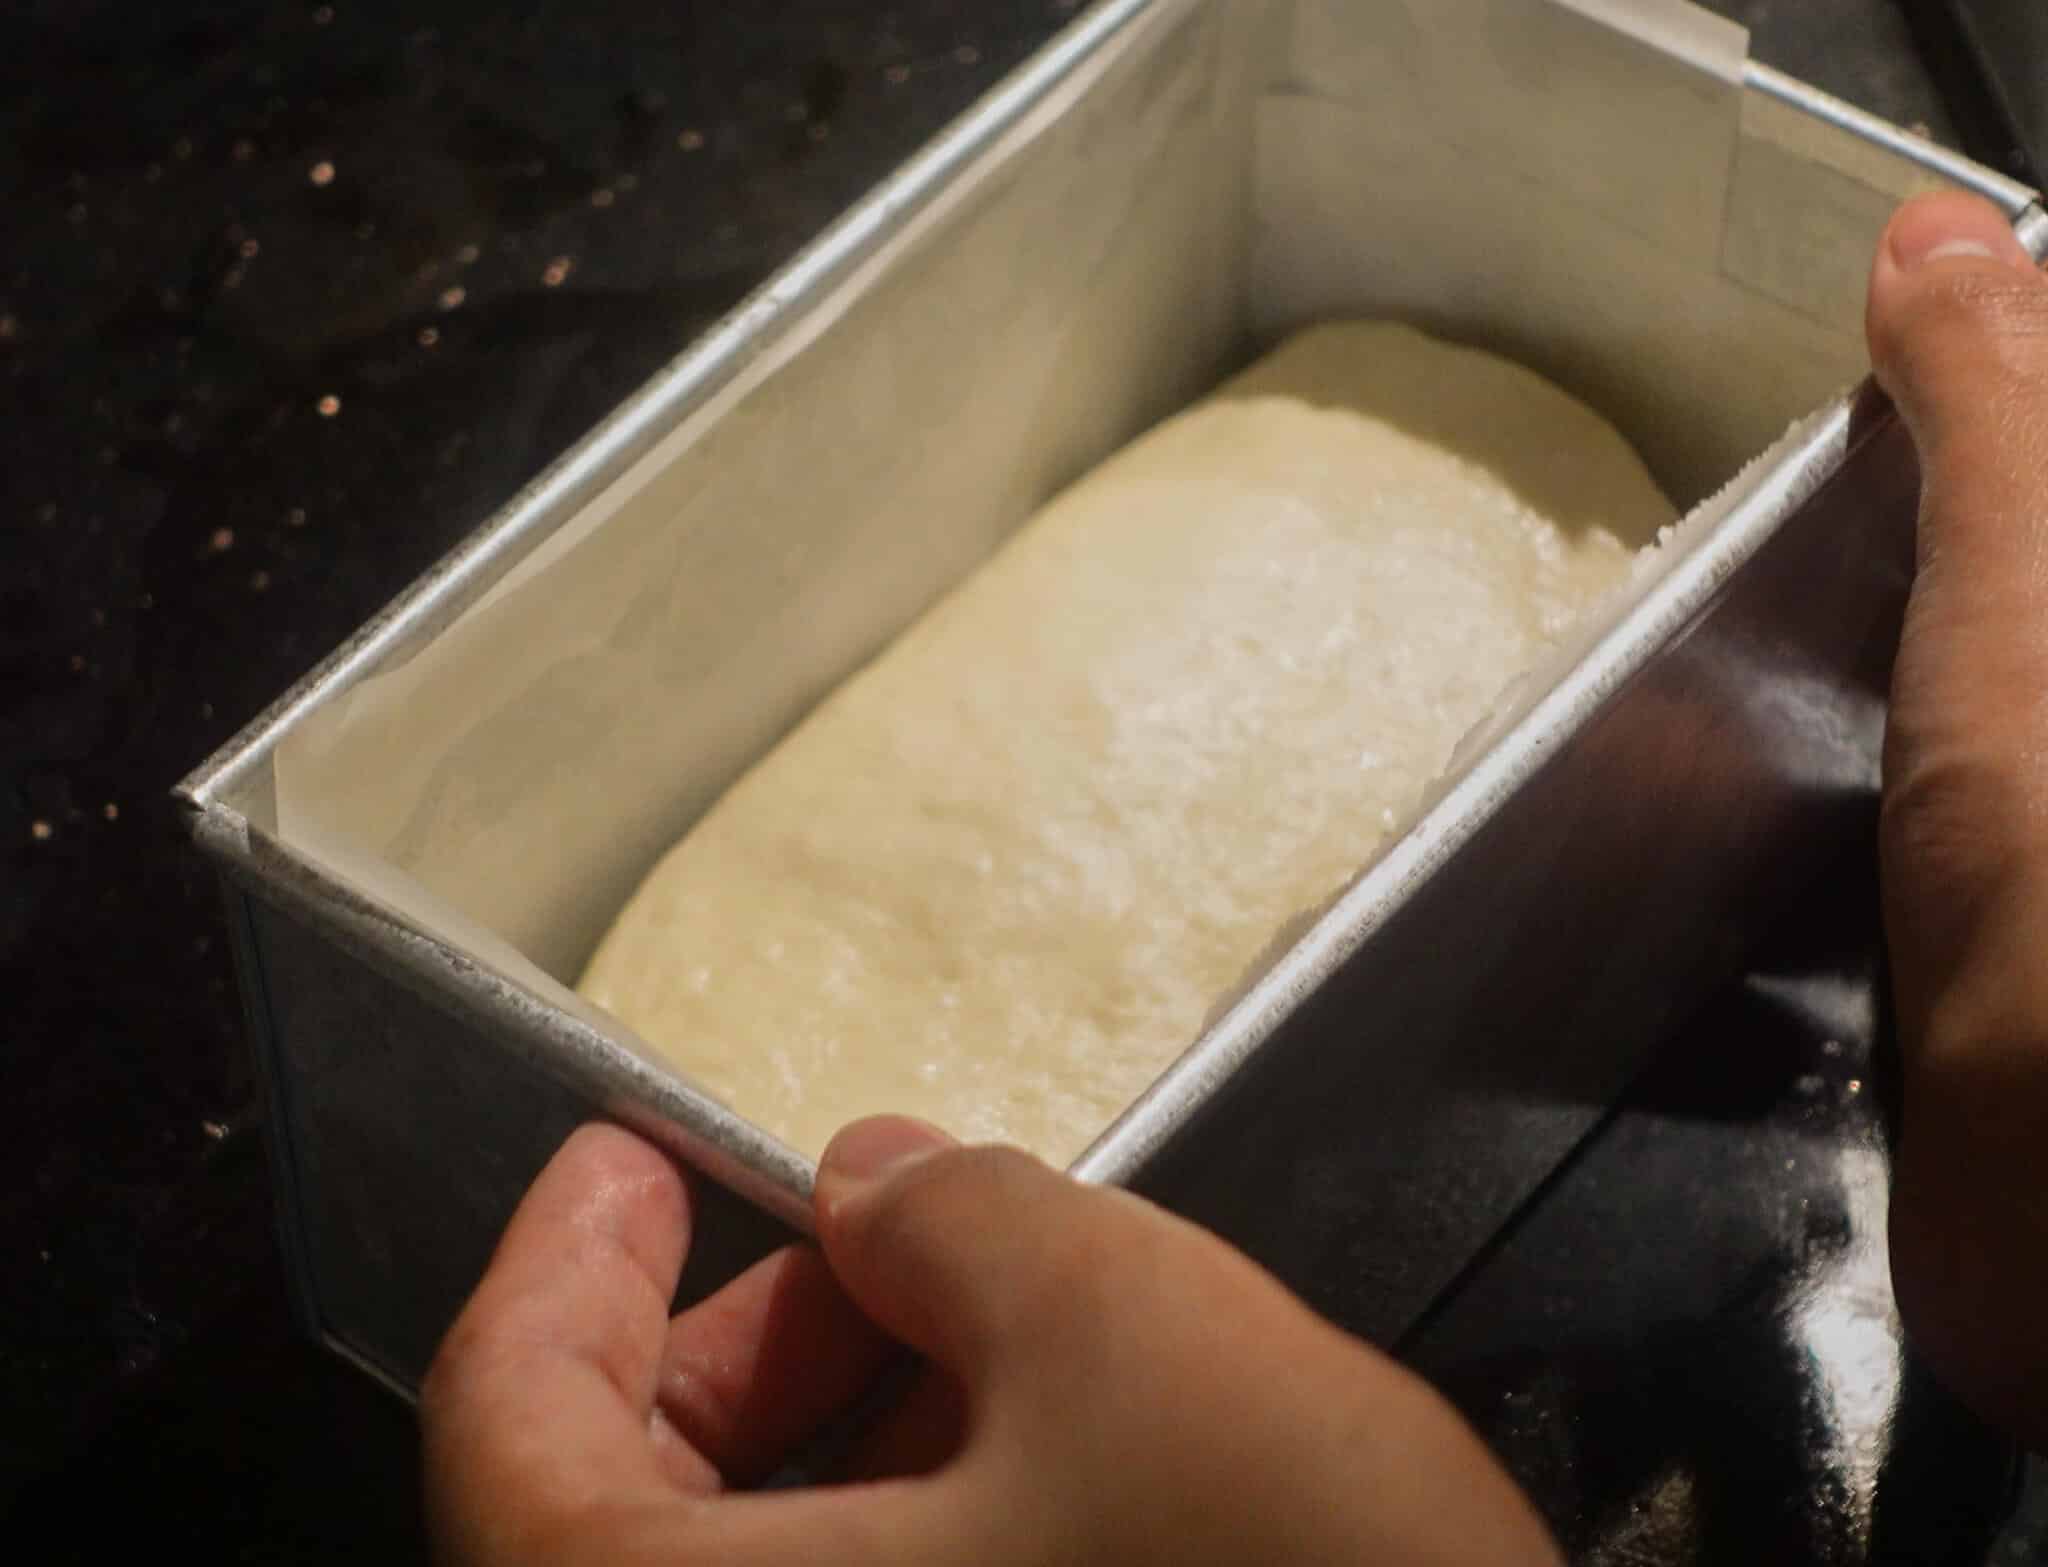
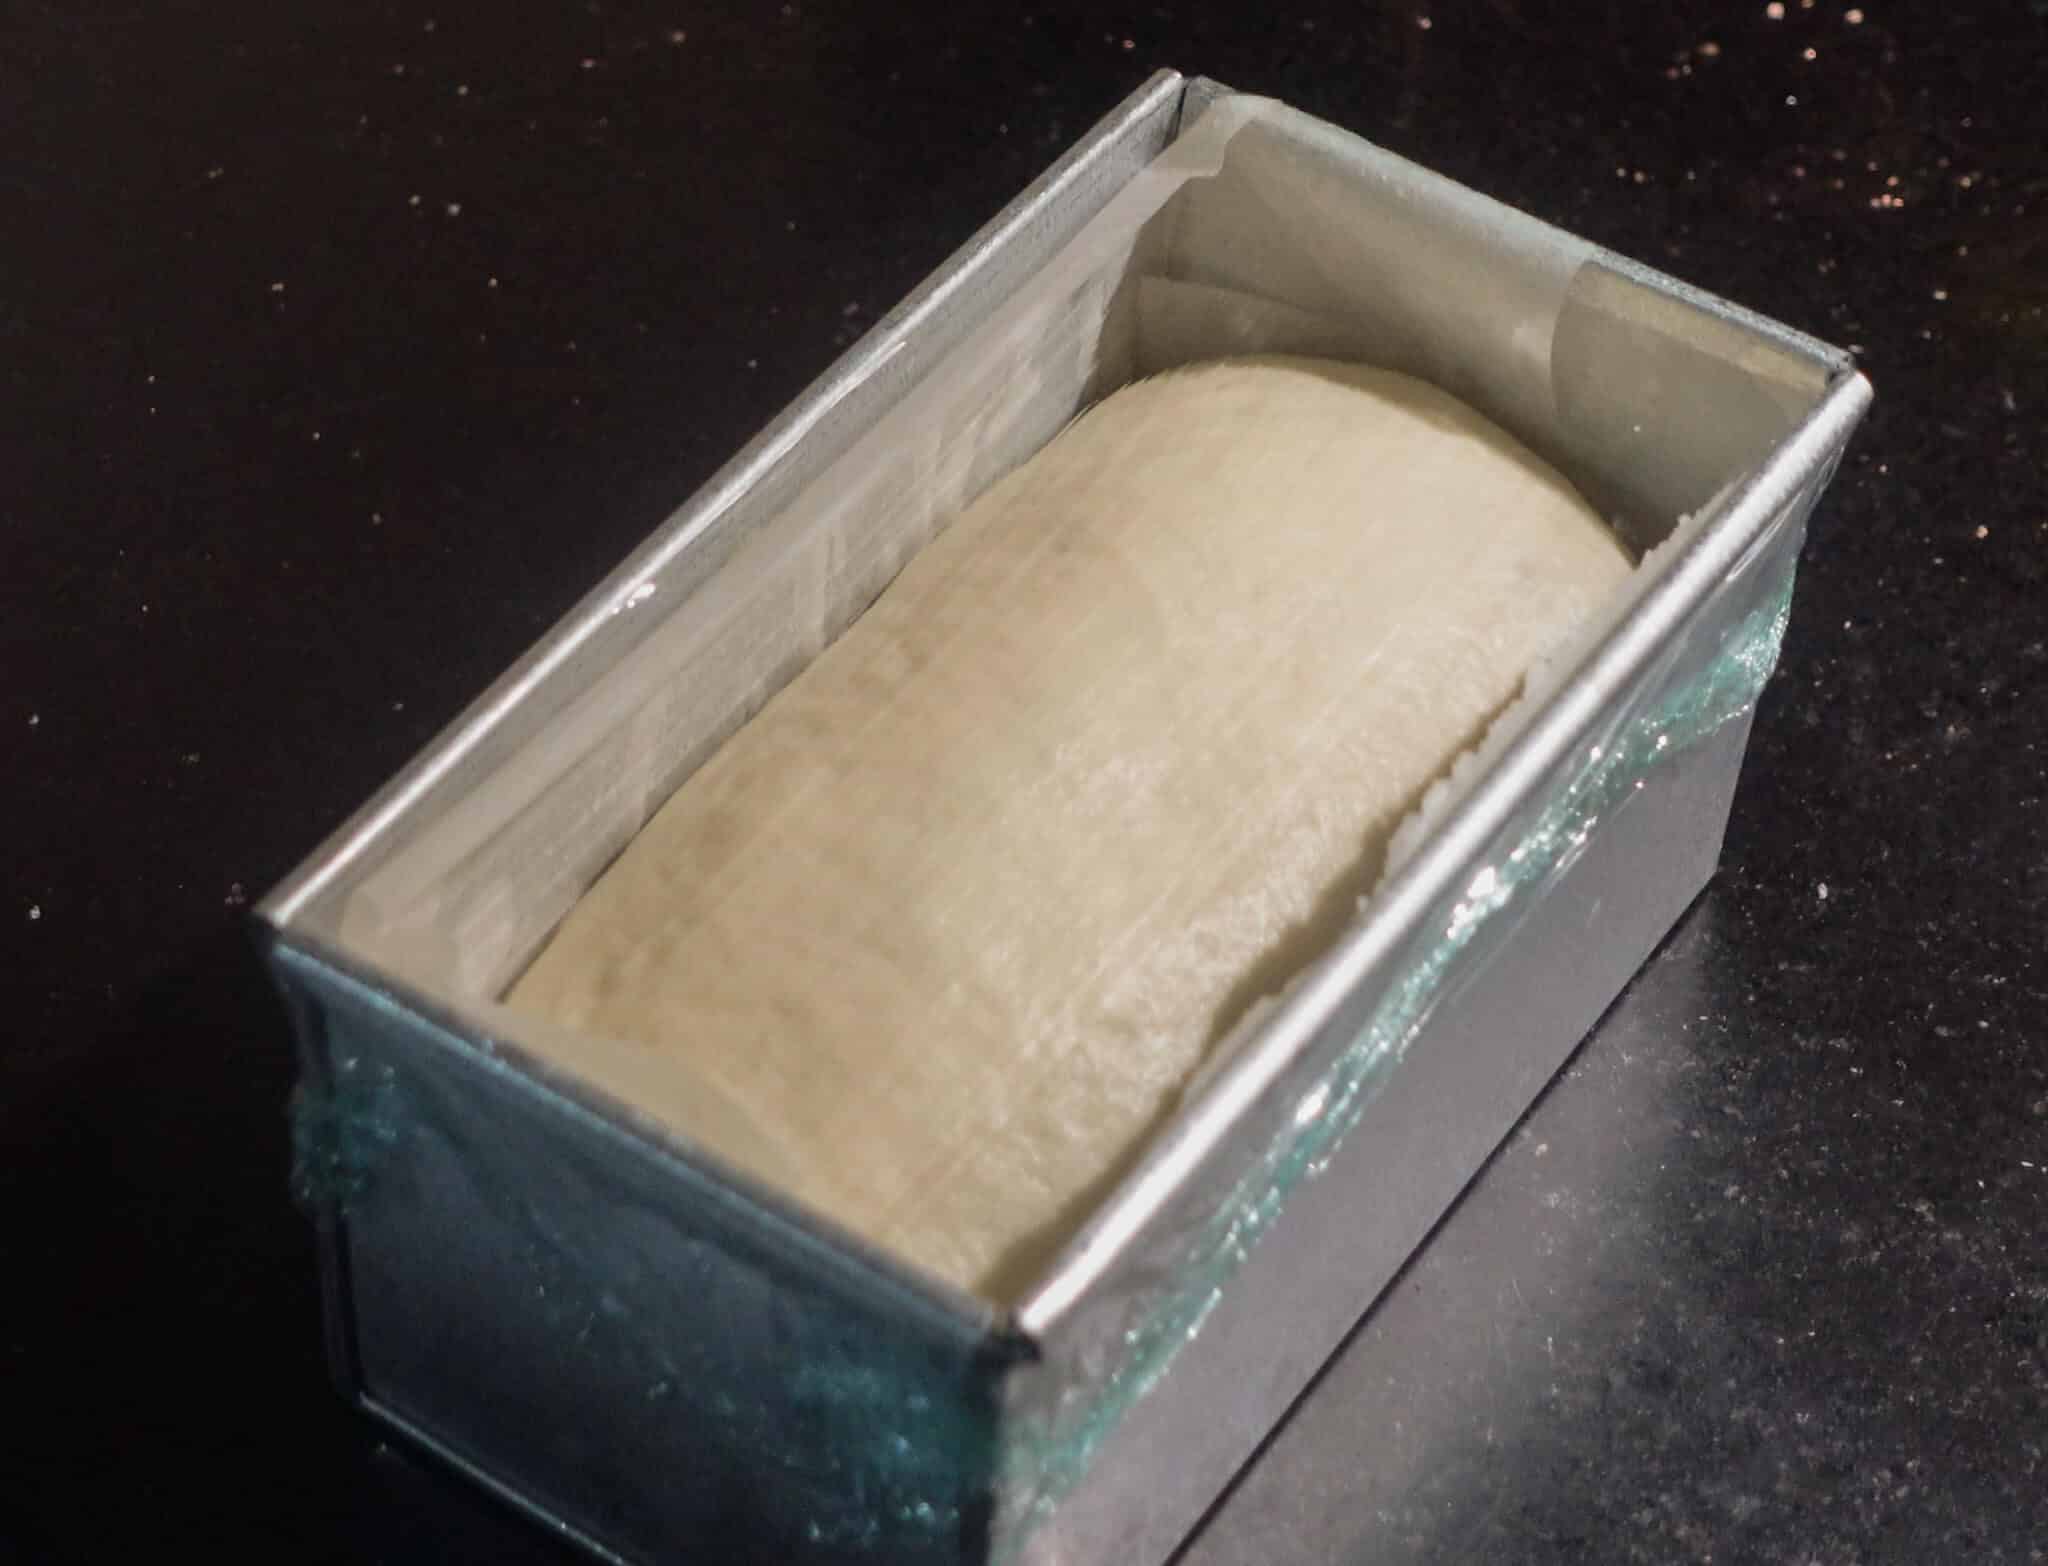
Second rise: Place the shaped dough into a parchment lined bread tin, seam side down and let it rise again for 60-90 minutes in the warm environment till it doubles in size. You can bake the loaf now.
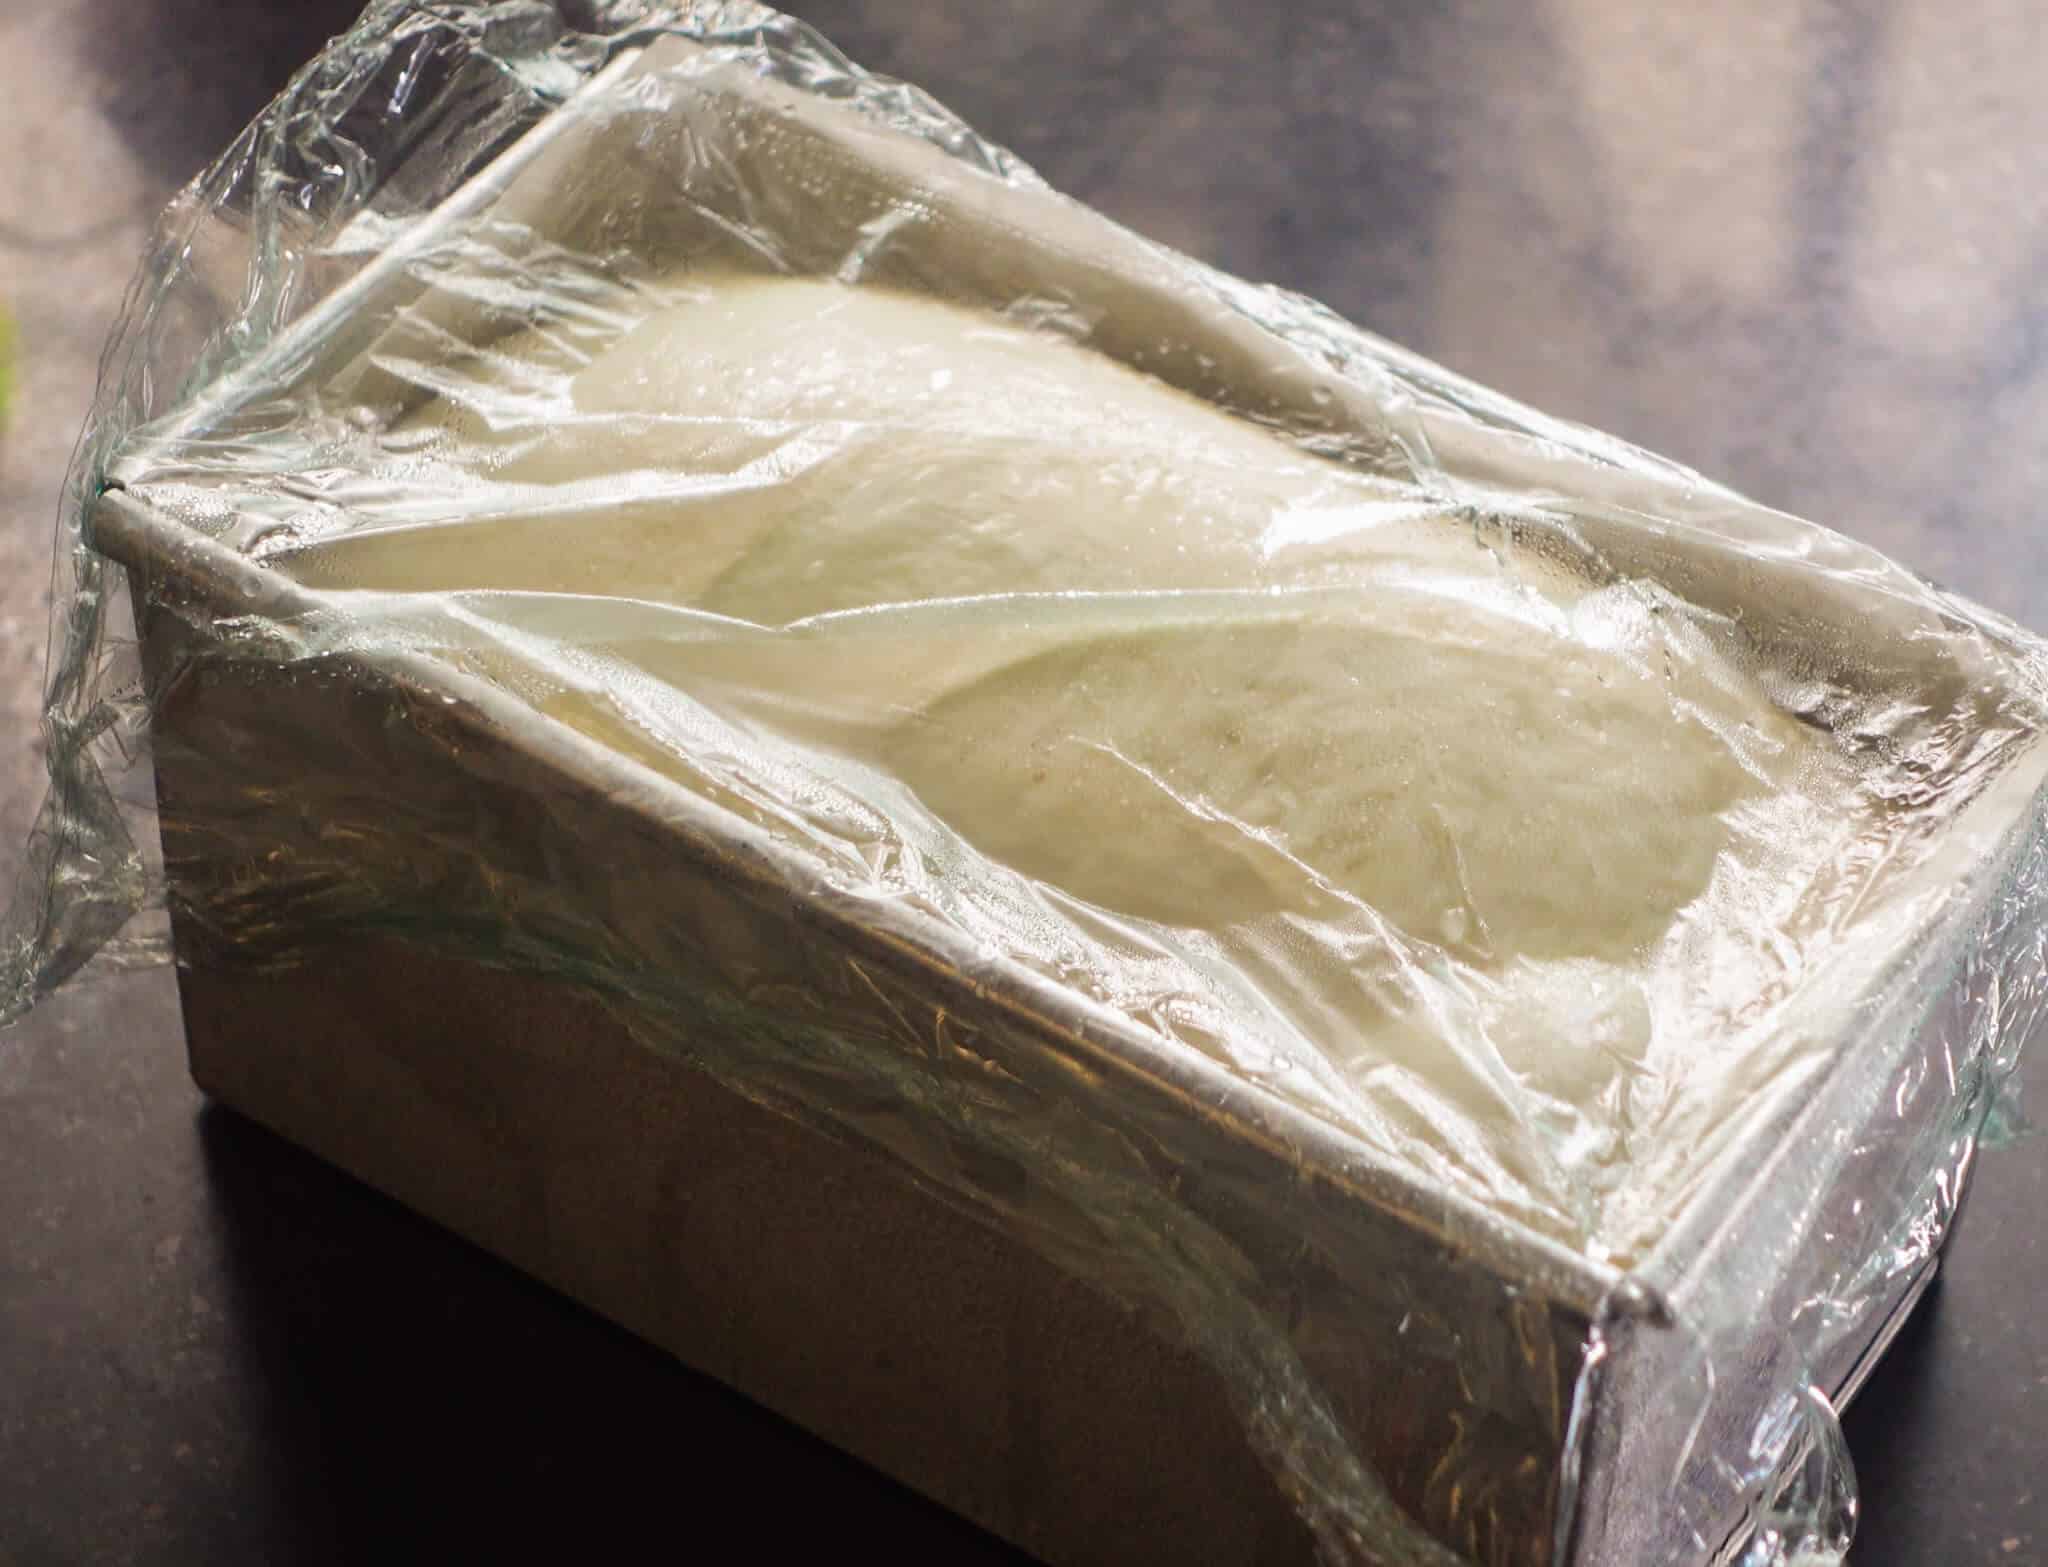
Overnight resting (optional but recommended): If you’re making the dough at night and want to bake the loaf in the morning, you can refrigerate the dough. Around the 45 minute mark when the dough has risen halfway to three-forths, cover the bread tin with a cling wrap nicely and refrigerate. The long, slow fermentation helps enhance the flavour and texture of the bread and improves it’s structure, making it lighter and easier to digest.
Baking the bread: Once your dough has doubled in size, it’s ready to bake. If you’ve proofed your dough overnight in the fridge, let the dough come back to room temperature for about an hour before baking.
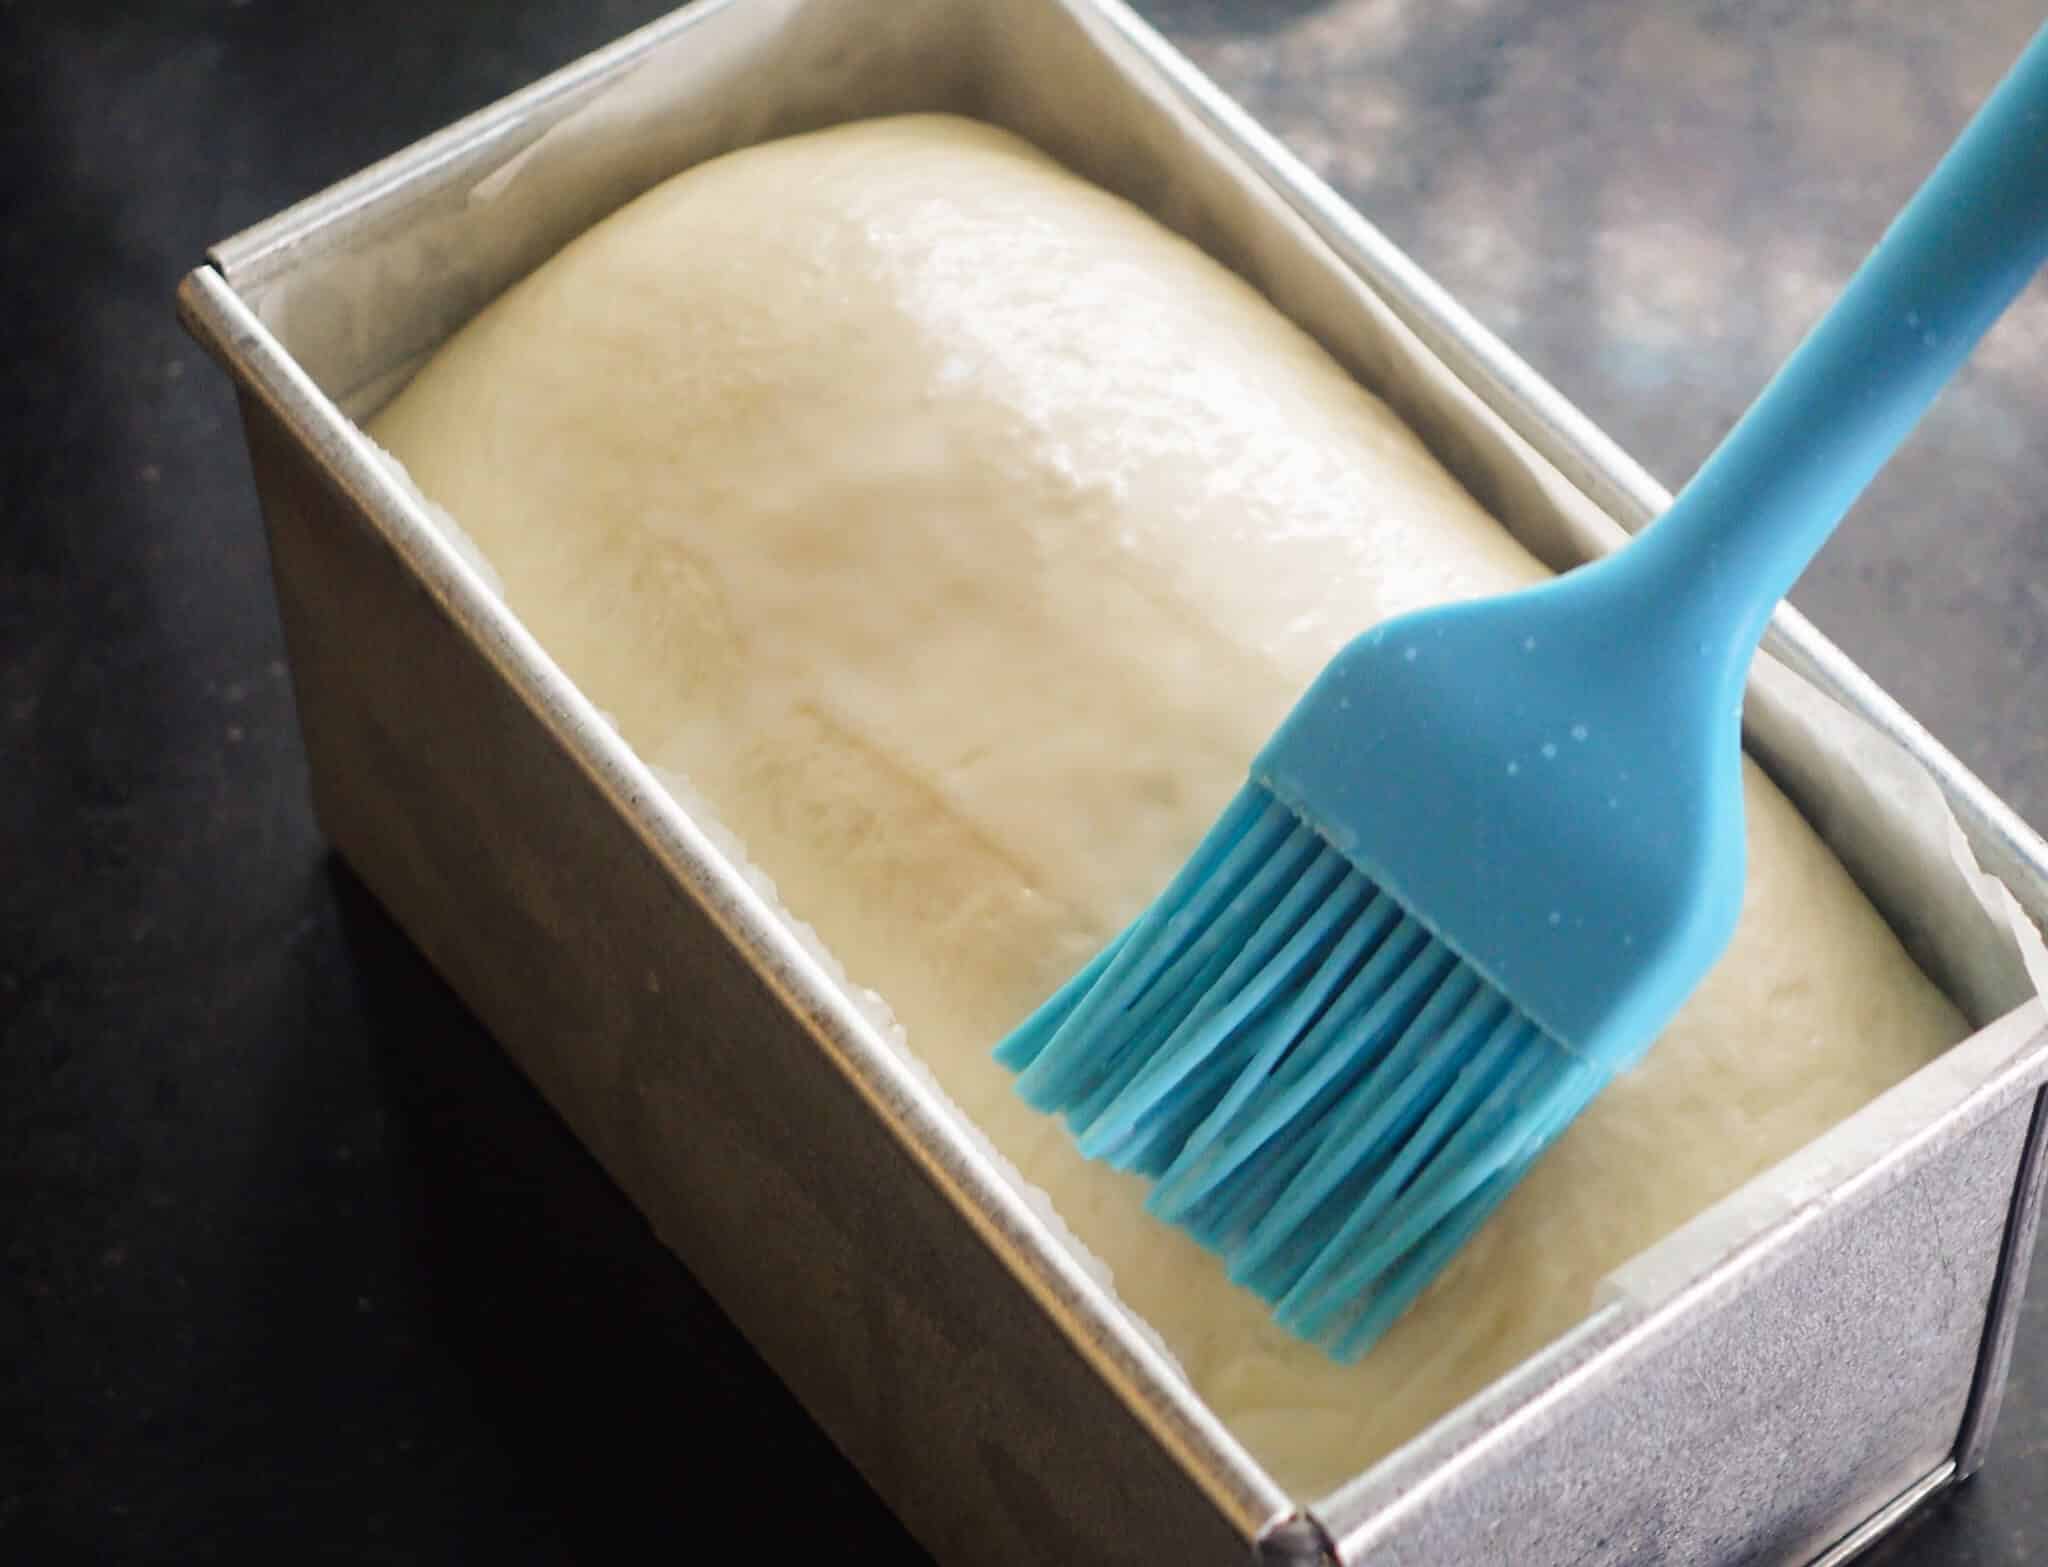
Preheat the oven to 180°C for 30 minutes. This ensures even baking and proper oven spring. Mix a tbsp each of milk and melted butter and brush the dough with it and then secure the lid before placing it in the oven. You can also bake it uncovered.
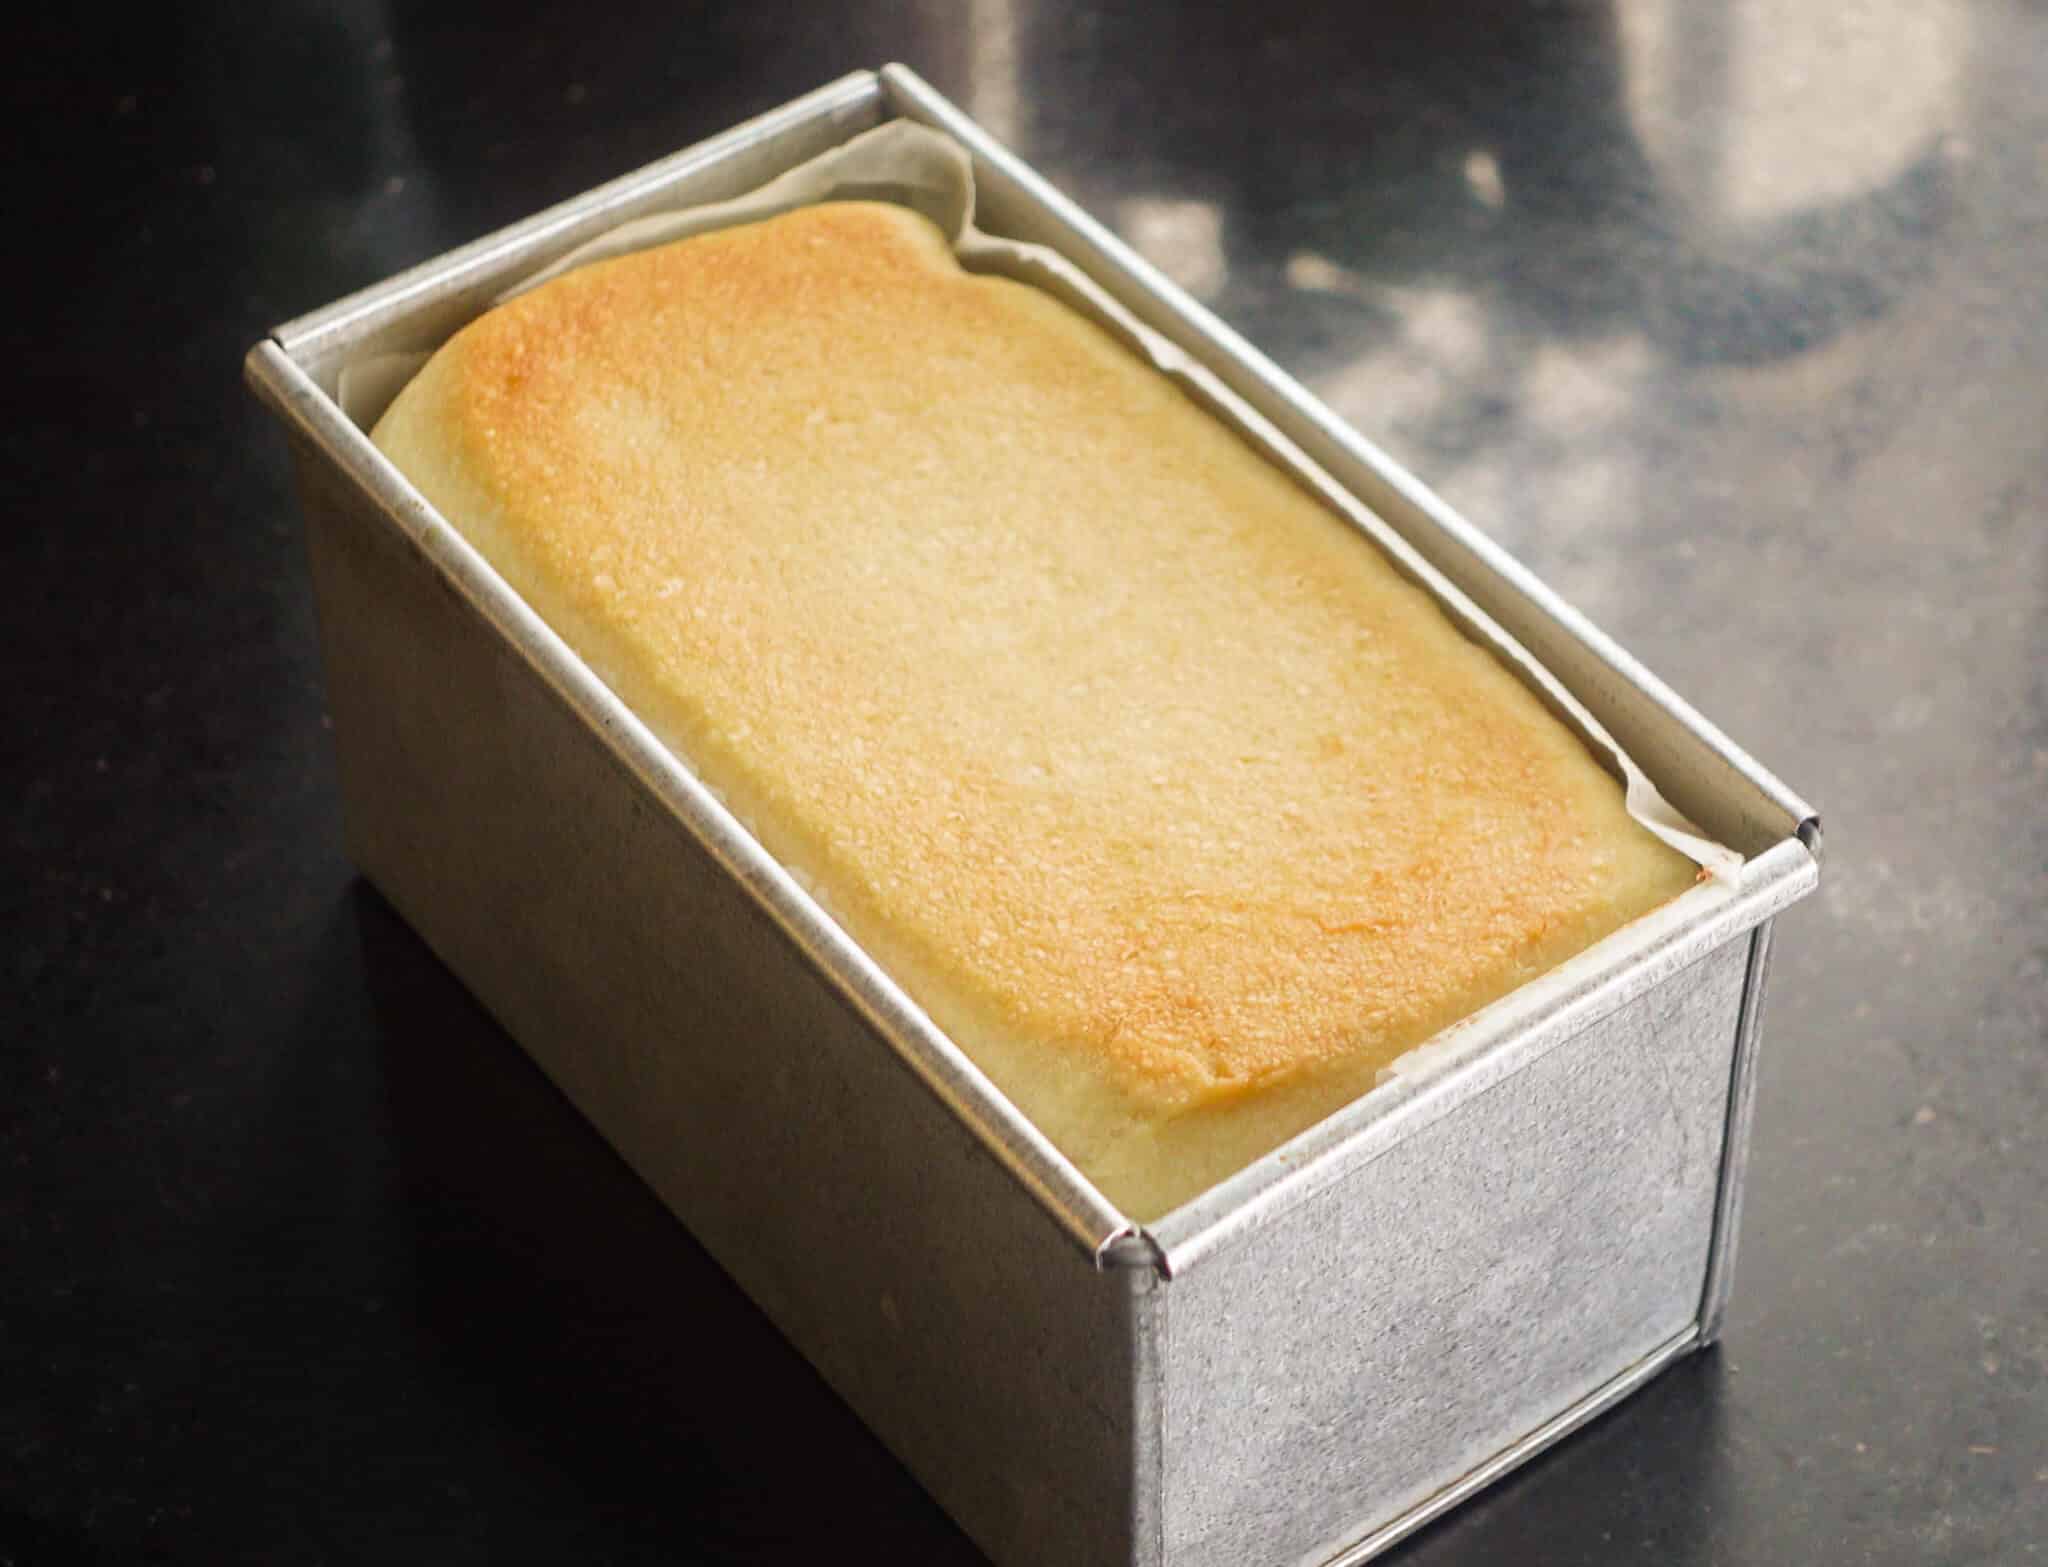
Bake the bread on the middle rack at 180°C for about 35 to 40 minutes until it is golden brown and sounds hollow when tapped.
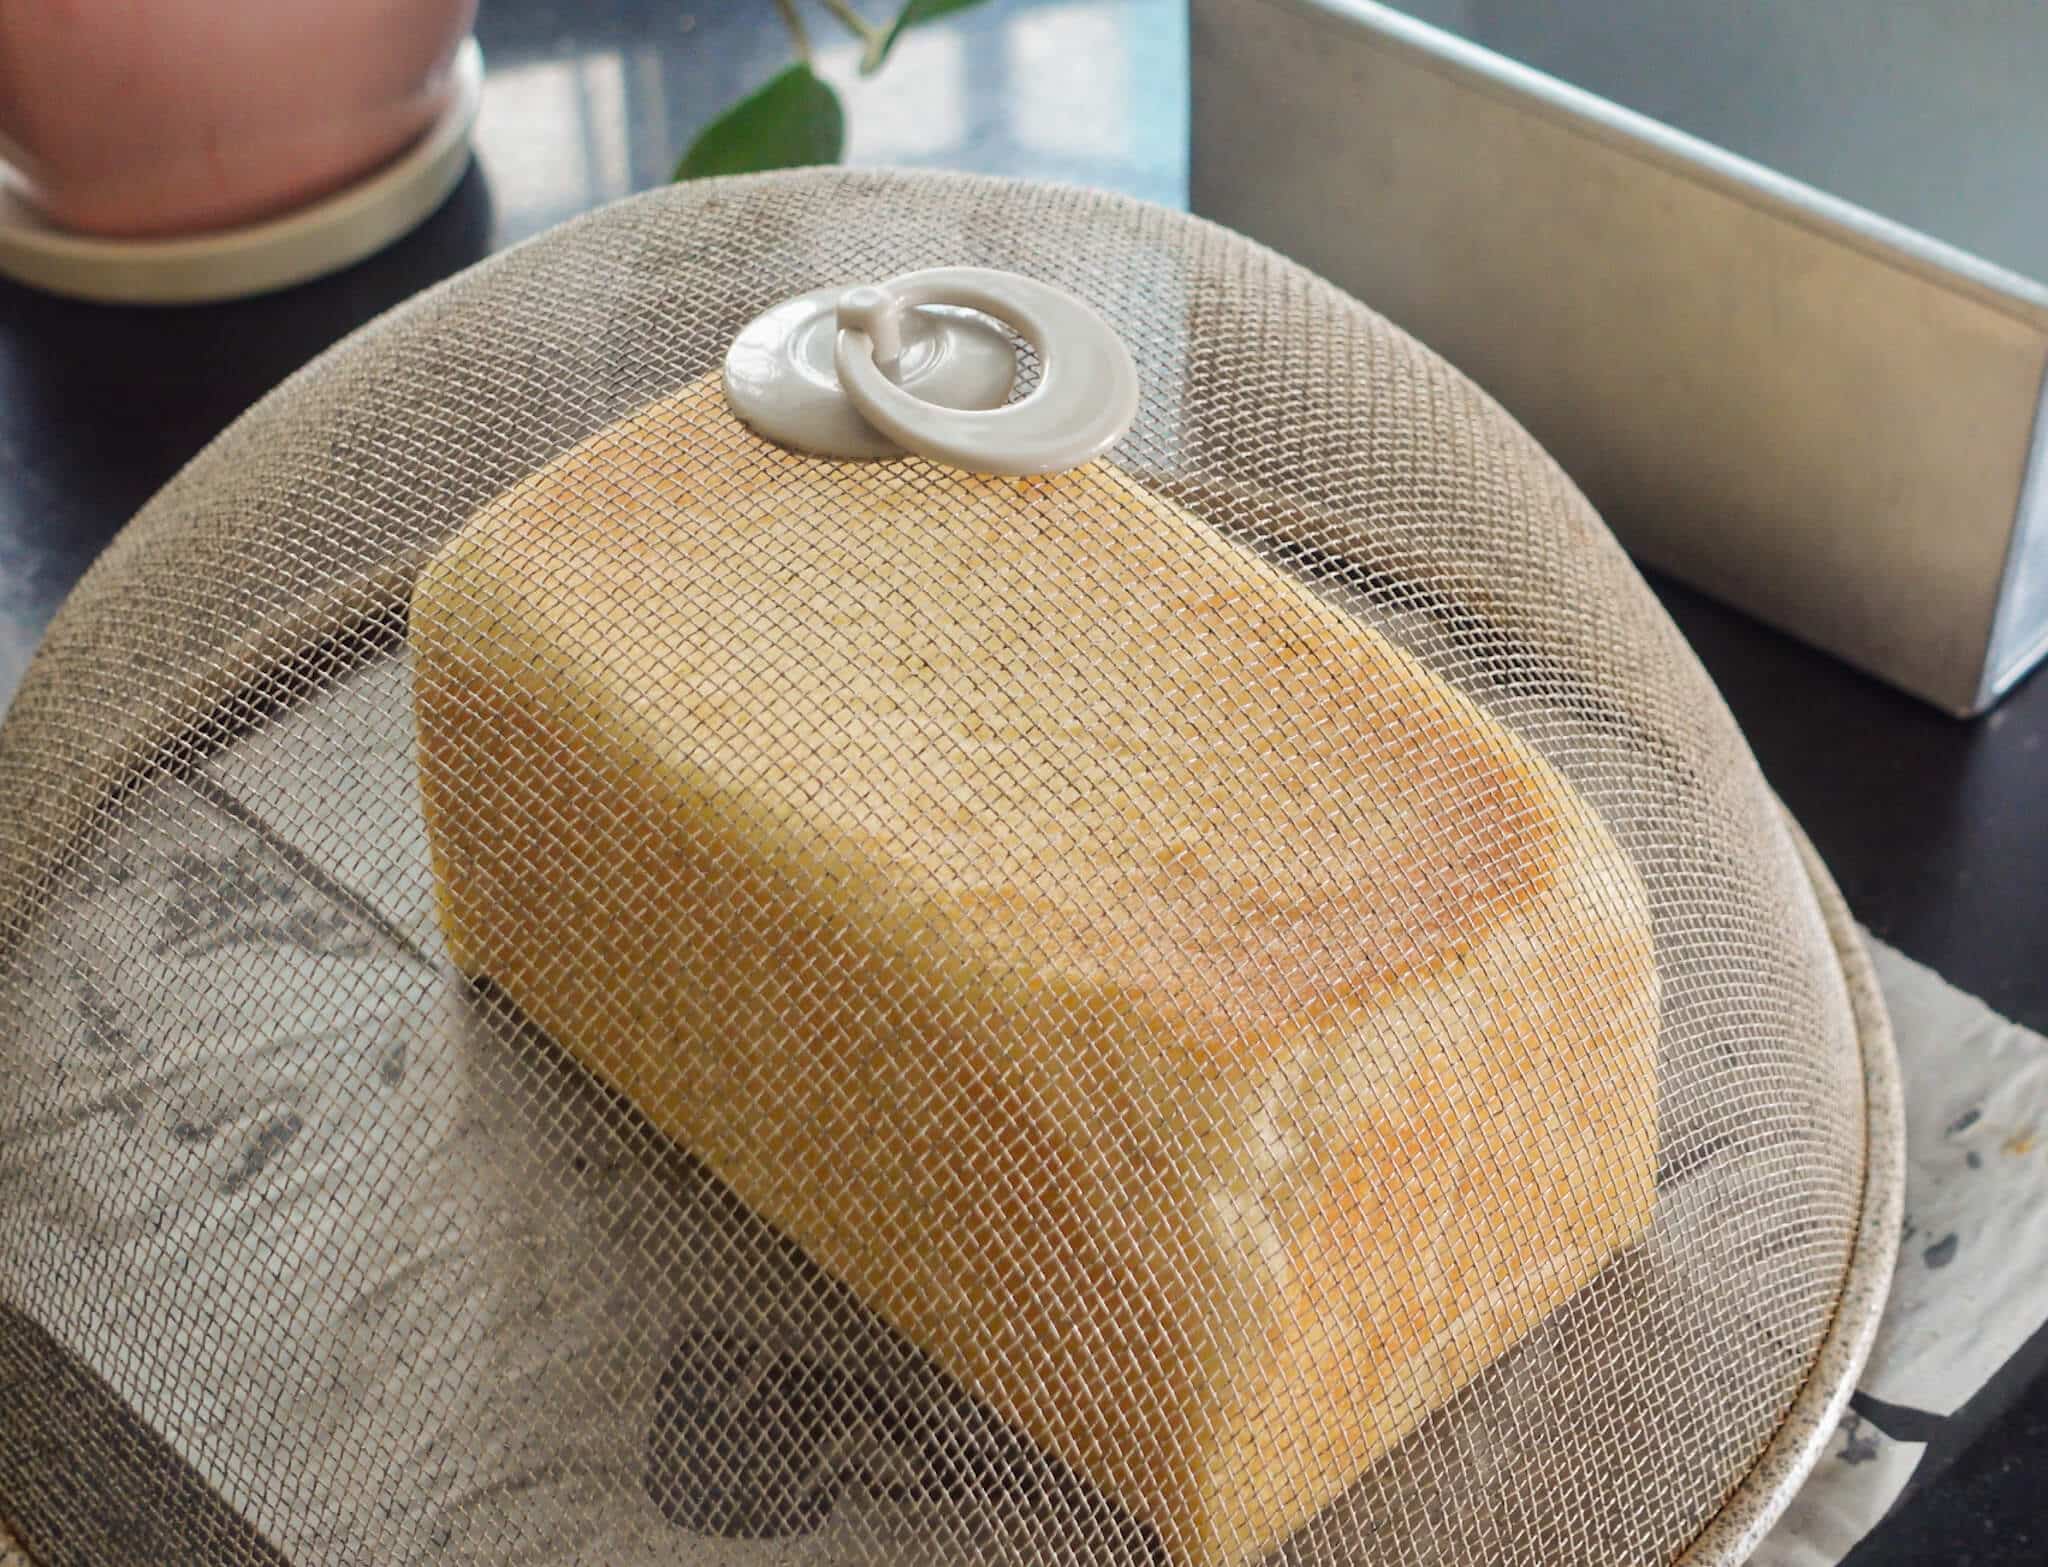
Once baked, let the bread cool in the tin for at least 15 minutes before removing it. If using an open tin, immediately brush the warm loaf with the same milk and butter mixture, this gives the crust a beautiful sheen and keeps it soft. Let the bread cool completely before slicing and that’s literally it! You have your own homemade loaf of soft and fluffy bread ready to enjoy!
5 Ingredient Sandwich Bread (easy)
Soft, spongy and delicious: this sandwich bread is made with just 5 ingredients! It’s easy to make, incredibly satisfying and once you try it, you’ll definitely want to bake your own bread more often!

servings
12 slices
prep time
4 hrs
cook time
35-40 min
Ingredients
Bread Dough
- 1/2 cup milk, warm
- 3 tbsp water, warm
- 1/2 (1 + 1/2 tsp) tbsp active dry yeast (or instant or fresh)
- 1/2 tbsp honey (or sugar)
- 1 + 1/2 cup all purpose flour
- 1/2 tsp salt
- 1 tbsp extra virgin olive oil (or butter)
- more olive oil, for greasing bowl and tin
For Brushing
- 1 tbsp milk
- 1 tbsp butter, melted
Equipment
Instructions:
- In a cup: mix warm milk, warm water, honey and yeast. Cover and let it proof for 10 minutes until bubbly.
- In a mixing bowl: combine all purpose flour and salt. Add the activated yeast mixture and olive oil.
- Mix everything with your fingers or chopsticks until it forms a shaggy dough.
- Transfer to a clean surface and knead for 10 minutes until smooth and elastic.
- Grease a bowl with olive oil, place the dough inside and cover. Let it proof in a warm environment for a 2-2.5 until doubled in size.
- Once doubled, punch down the dough and transfer it to a clean surface.
- Roll out the dough into a rectangle, fold the long edges toward the corners, flatten and roll it into a log.
- Place the dough in a parchment lined bread tin, cover and let it rise again until doubled.
- If resting overnight, cover the tin with a cling wrap and refrigerate after 45 minutes of proofing. Let it come to room temperature and finish rising before baking.
- Preheat the oven to 180°C for 30 minutes.
- Brush the dough with a milk-butter mixture, cover with a lid if using a closed tin and bake in the middle rack at 180°C for 35-40 minutes until golden brown and cooked through..
- Let the bread cool for at least 15 minutes before removing from the tin, then cool completely before slicing. Yayy!
Video
Leave a Comment
lovely bread🤍
This recipe is amazing thank you shivangi didi
What is the size of your bread tin in inches?
I tried this recipe. I did exactly everything mentioned but my bread had the yeasty smell and after cooling the bread was a bit hard and had to chew a lot for even a small piece of bread. What to do?
Thank you so much
Want to try but before that wanted to ask if I can use the stand mixer for oneading
Haven’t tried it yet, but I just wanted to say you and your recipes are so awesome. The time and effort you put into your work is inspirational. I hope the best for you. YOUR SO AWESOME HFHIFBIHVFSIBYVDSBHISDVBHIHIBSDCHIBDSCJBICDS
I have prepared this but while tasting bread it somewhat tasted like yeast . I have used same measurements not sure where I went wrong
Also this is such a cute websiteee!!!!!🌼🌼🌼
Making it today!! Let’s see I hope I succeed will keep you updated!!😁
