


No Knead Focaccia (Airfryer Friendly)
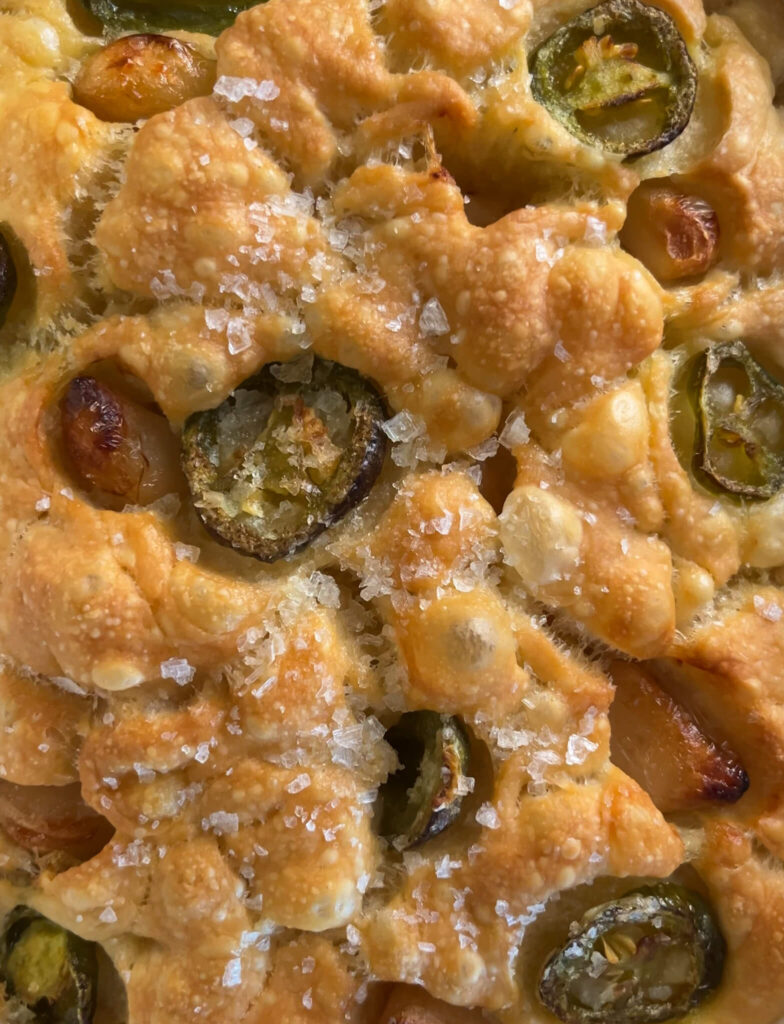
Crispy on the outside, soft, spongy and slightly chewy on the inside: this no knead focaccia is made with just 5 ingredients!
Disclosure: This post may contain affiliate links. I may earn a small commission for my endorsement, recommendation, testimonial, and/or link to any products or services from this website.
It’s incredibly easy to make and if you follow the steps, you’ll end up with a beautifully airy, golden bread. Dimpling the dough is my absolute favourite part cause it’s so so satisfying and honestly, this recipe might just make you want to bake bread more often!
When I say this focaccia is made with 5 ingredients, I don’t count water and salt (come on now) so the five ingredients here are active dry yeast, honey, all purpose flour, lots of extra virgin olive oil and any topping of your choice. That’s all you need to make crispy and flavourful focaccia.
Why do I use only one cup of flour for this focaccia?
I made this focaccia with just one cup of flour because I love the process of baking bread even more than eating it and working with smaller batches lets me bake more often, experiment freely and enjoy the process without worrying about excess bread BUT if you want a bigger batch, you can absolutely double this recipe!
My Latest YouTube Video
What you need to make this no knead focaccia
- Warm water: Helps activate the yeast and keeps the dough hydrated.
- Active dry yeast: This is what makes the bread rise. Make sure your yeast is alive and active or the dough won’t rise properly. You could alternatively use instant yeast or fresh yeast.
- Honey: Adds a hint of sweetness and also helps feed the yeast, giving the bread a better rise. You can also use sugar.
- All purpose flour: This is the base of the bread. You can also use bread flour but you might need to add a little more liquid since it is higher in protein content and absorbs more moisture than all purpose flour.
- Salt: Sweet or savoury, everything needs salt. No further explanation needed 🙂
- Olive Oil: Extra virgin olive oil is an essential for focaccia. It’s in the dough, on top of the dough and coating the pan. It is what gives the focaccia it's signature crispiness and that rich, deep flavour. Never be shy with it!
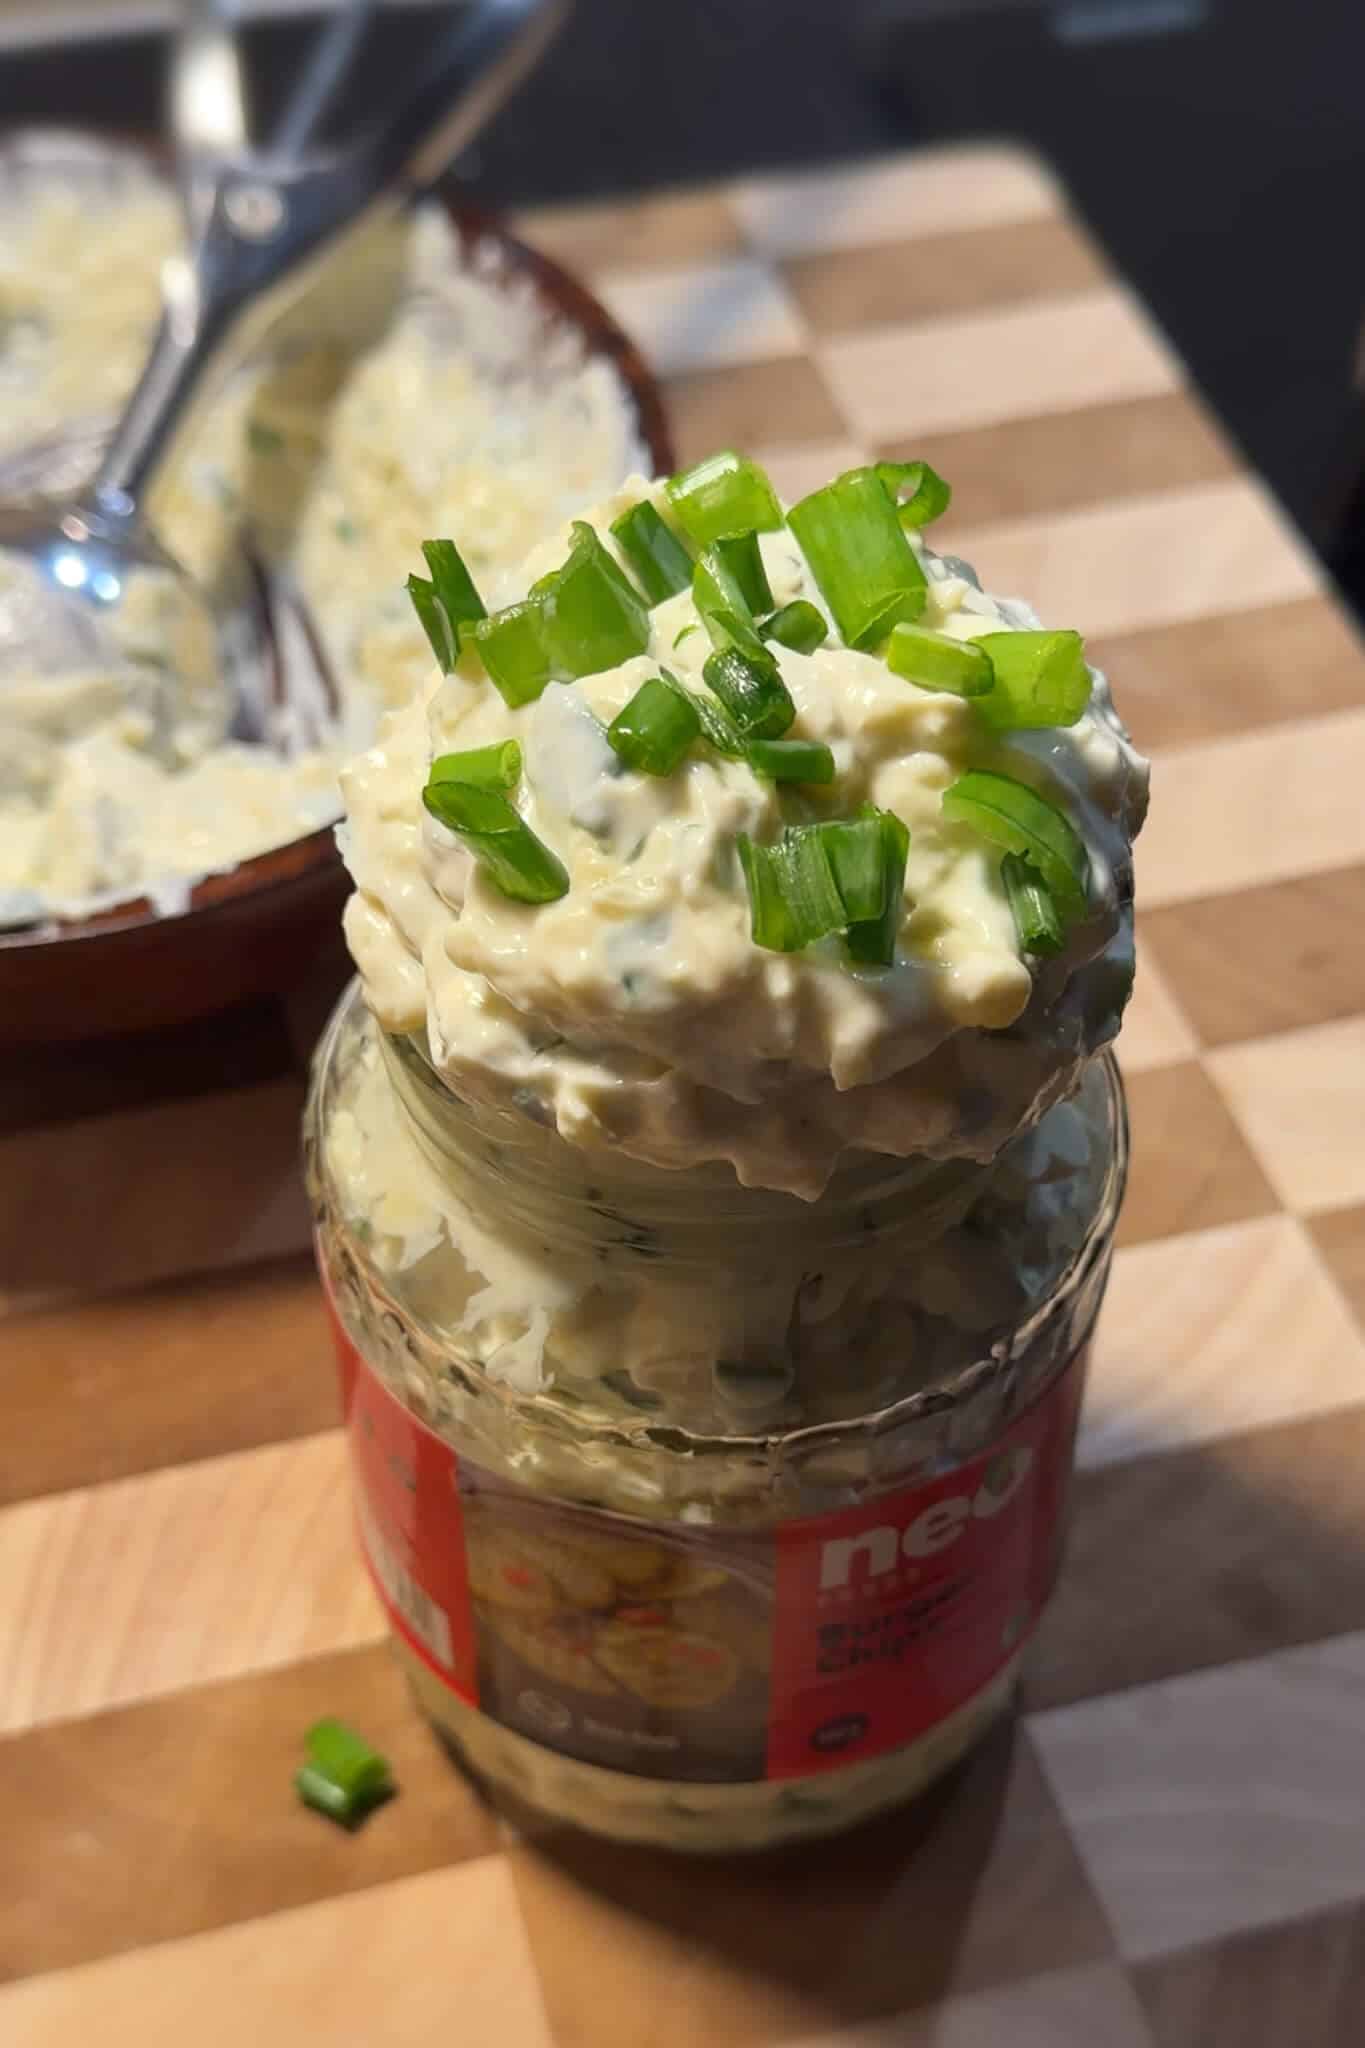
- Toppings: Focaccia is just incomplete without toppings of your choice. For me, garlic confit is always a non negotiable. Lately, I’ve been obsessed with jalapenos so this time, I went with pickled jalapenos, flaky salt and my homemade garlic confit for toppings. The combination was absolutely amazing.


Welcome to shivangi kooks! Here I share easy and delicious vegetarian recipes that’ll make you go: this is just so so goood!
More Recipes

How to make this bread
Activate the yeast: In a small bowl or cup, mix 1/2 cup + 1 tbsp warm water, 1/2 tsp active dry yeast and 1 tsp honey. Let it sit for 10 minutes. If it foams up, your yeast is active and good to go and if not, your yeast might be expired or inactive, so it’s best to start over with a fresh packet.
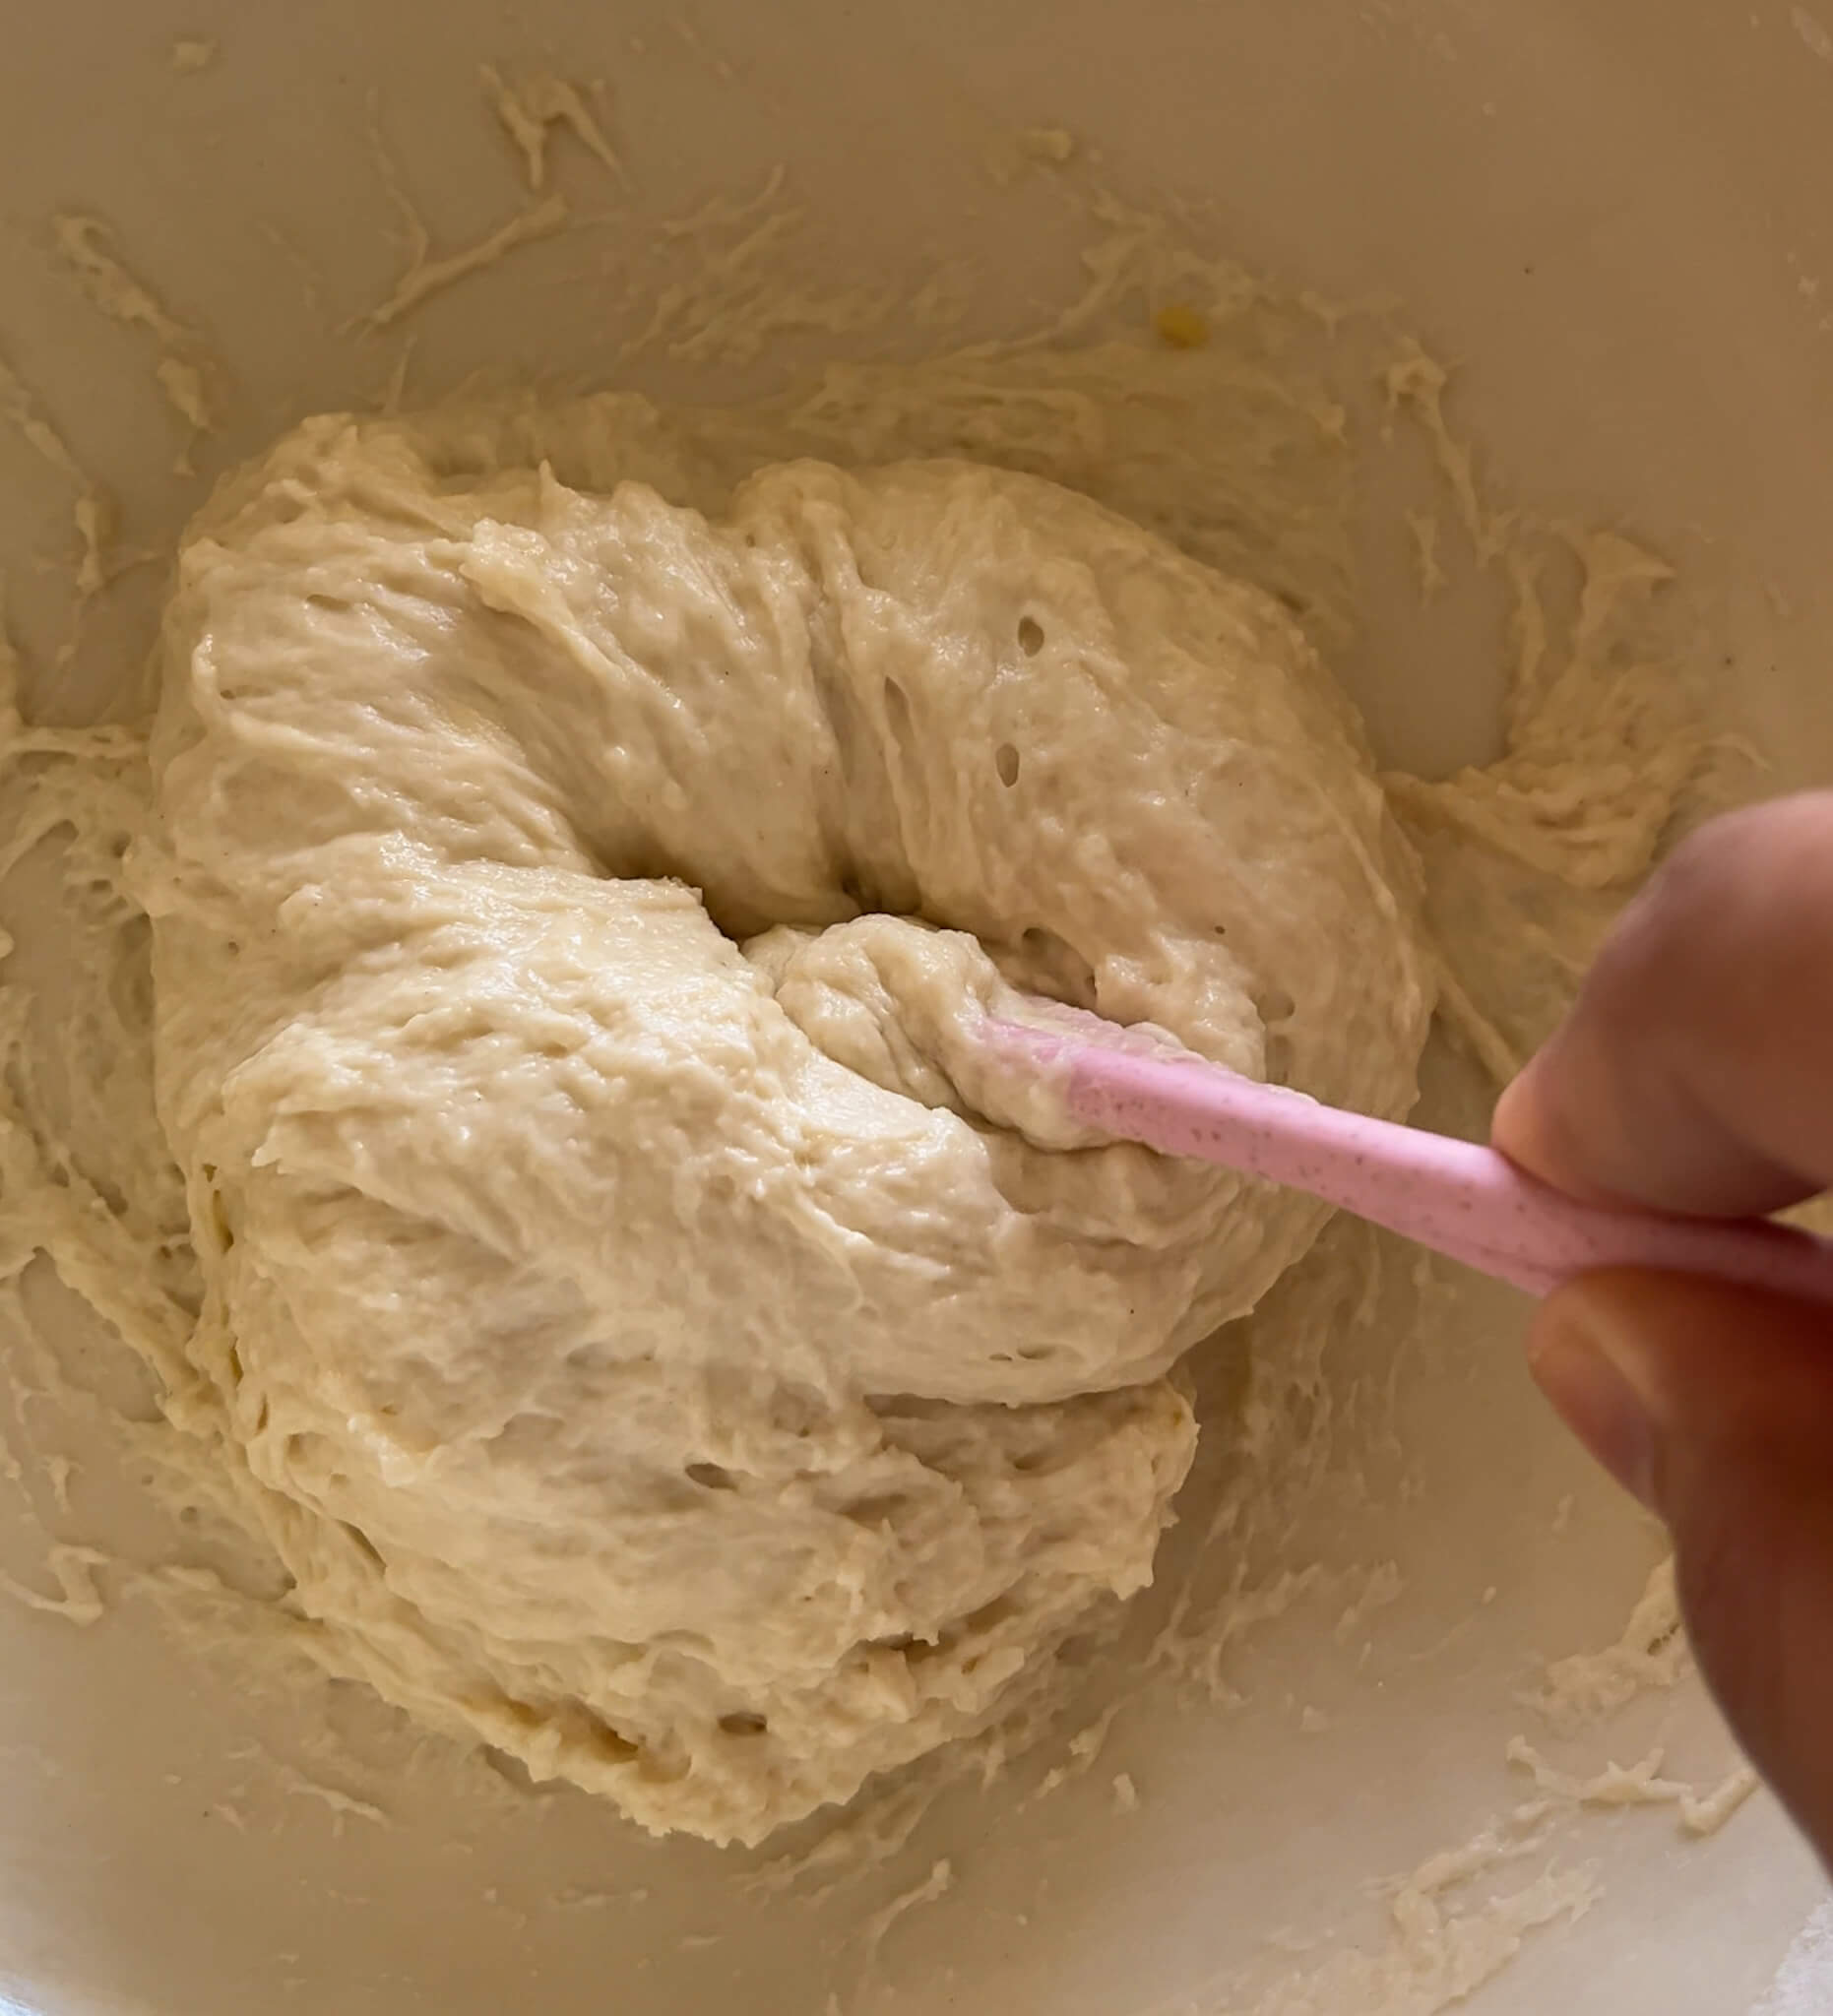
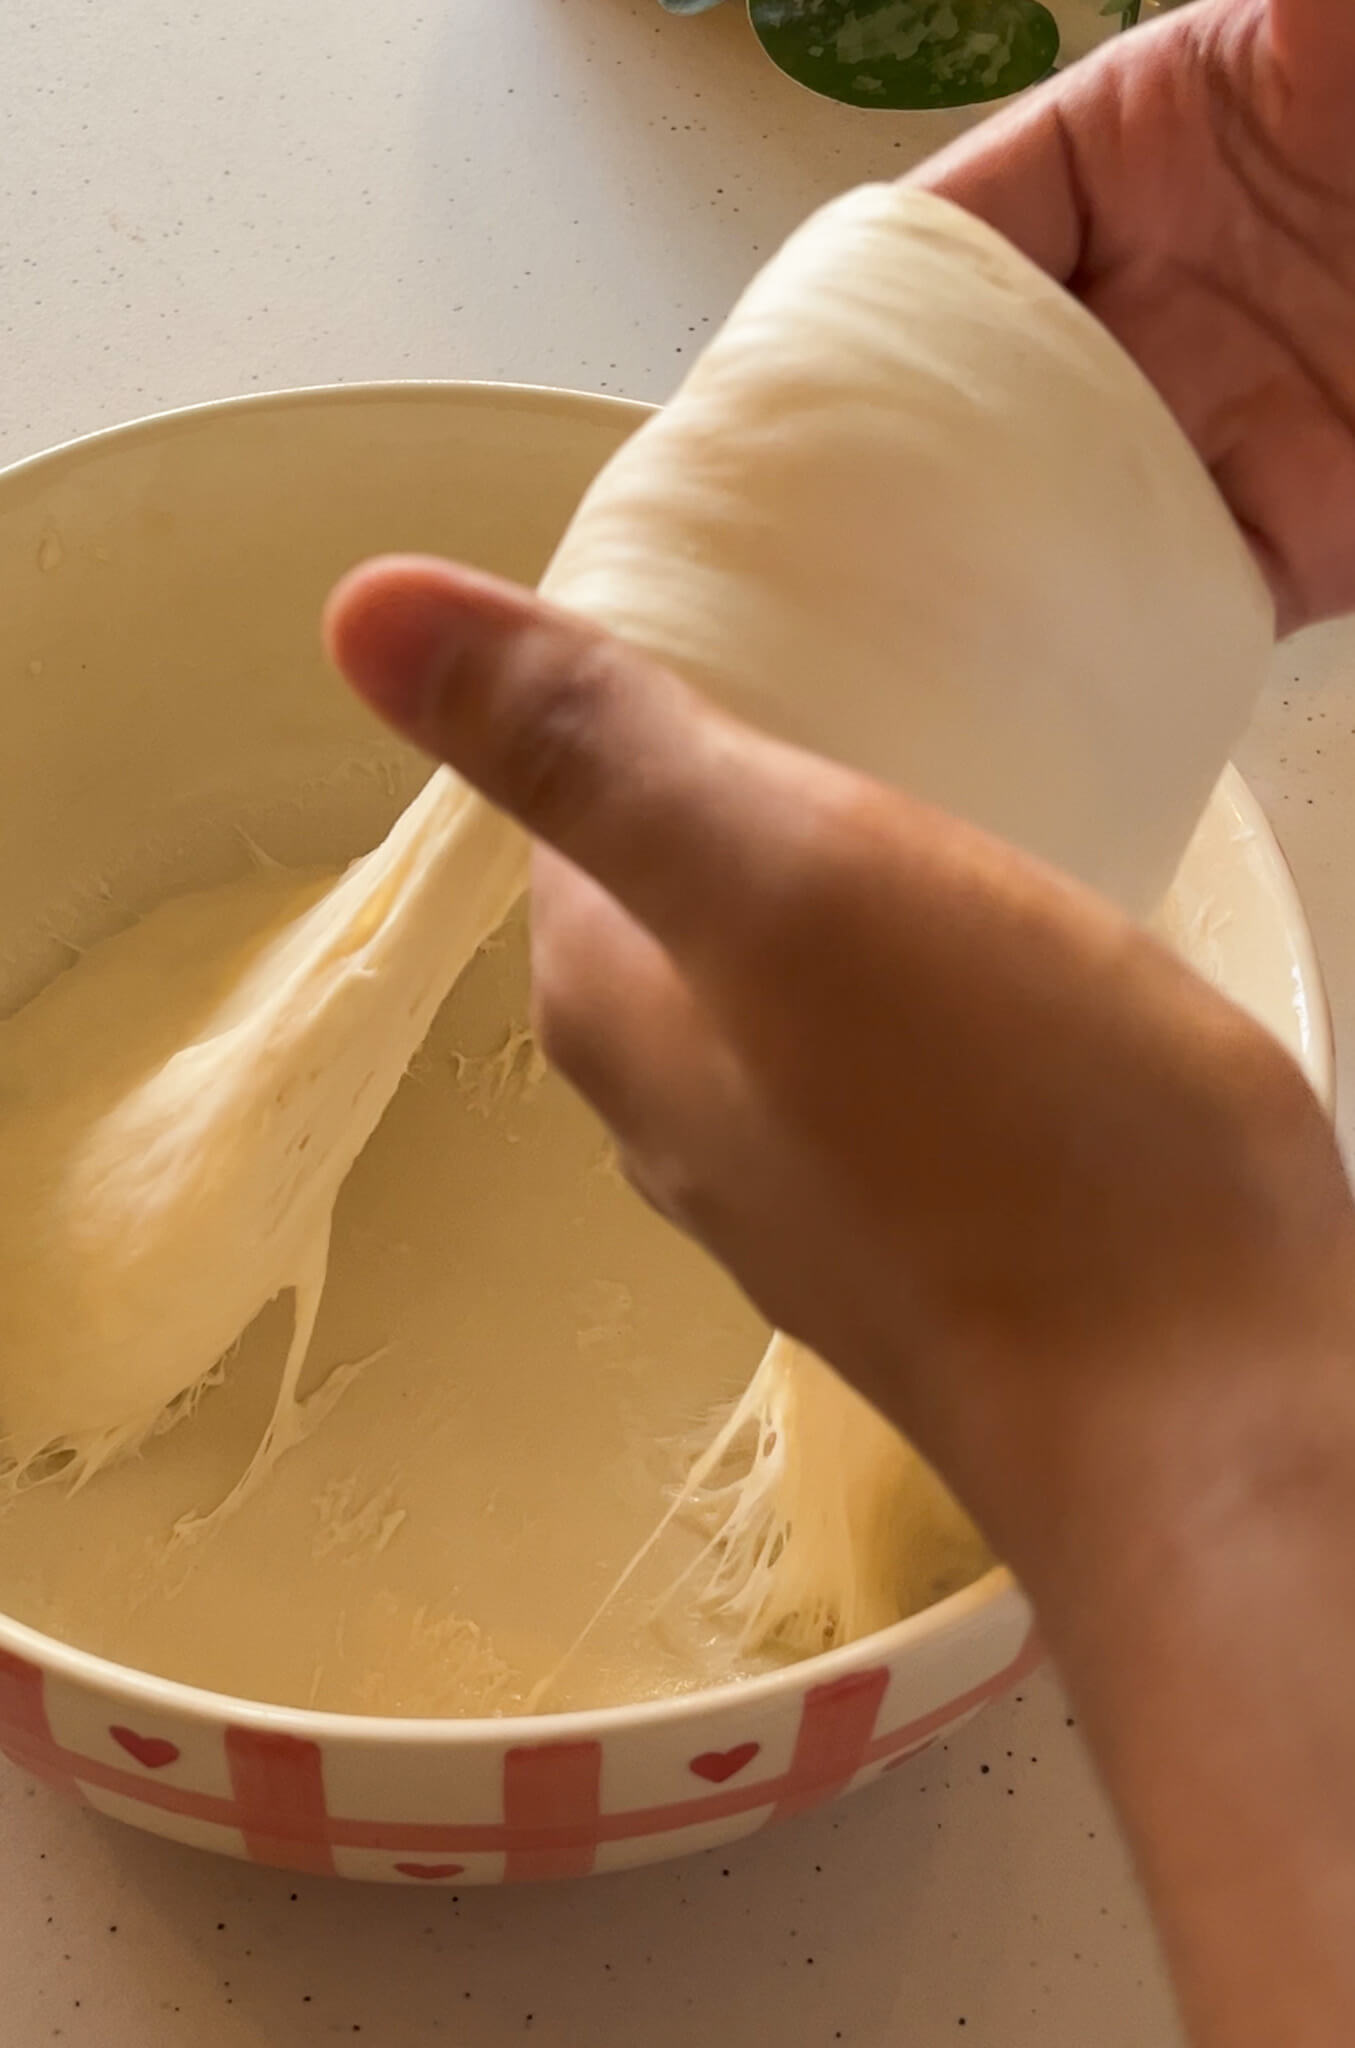
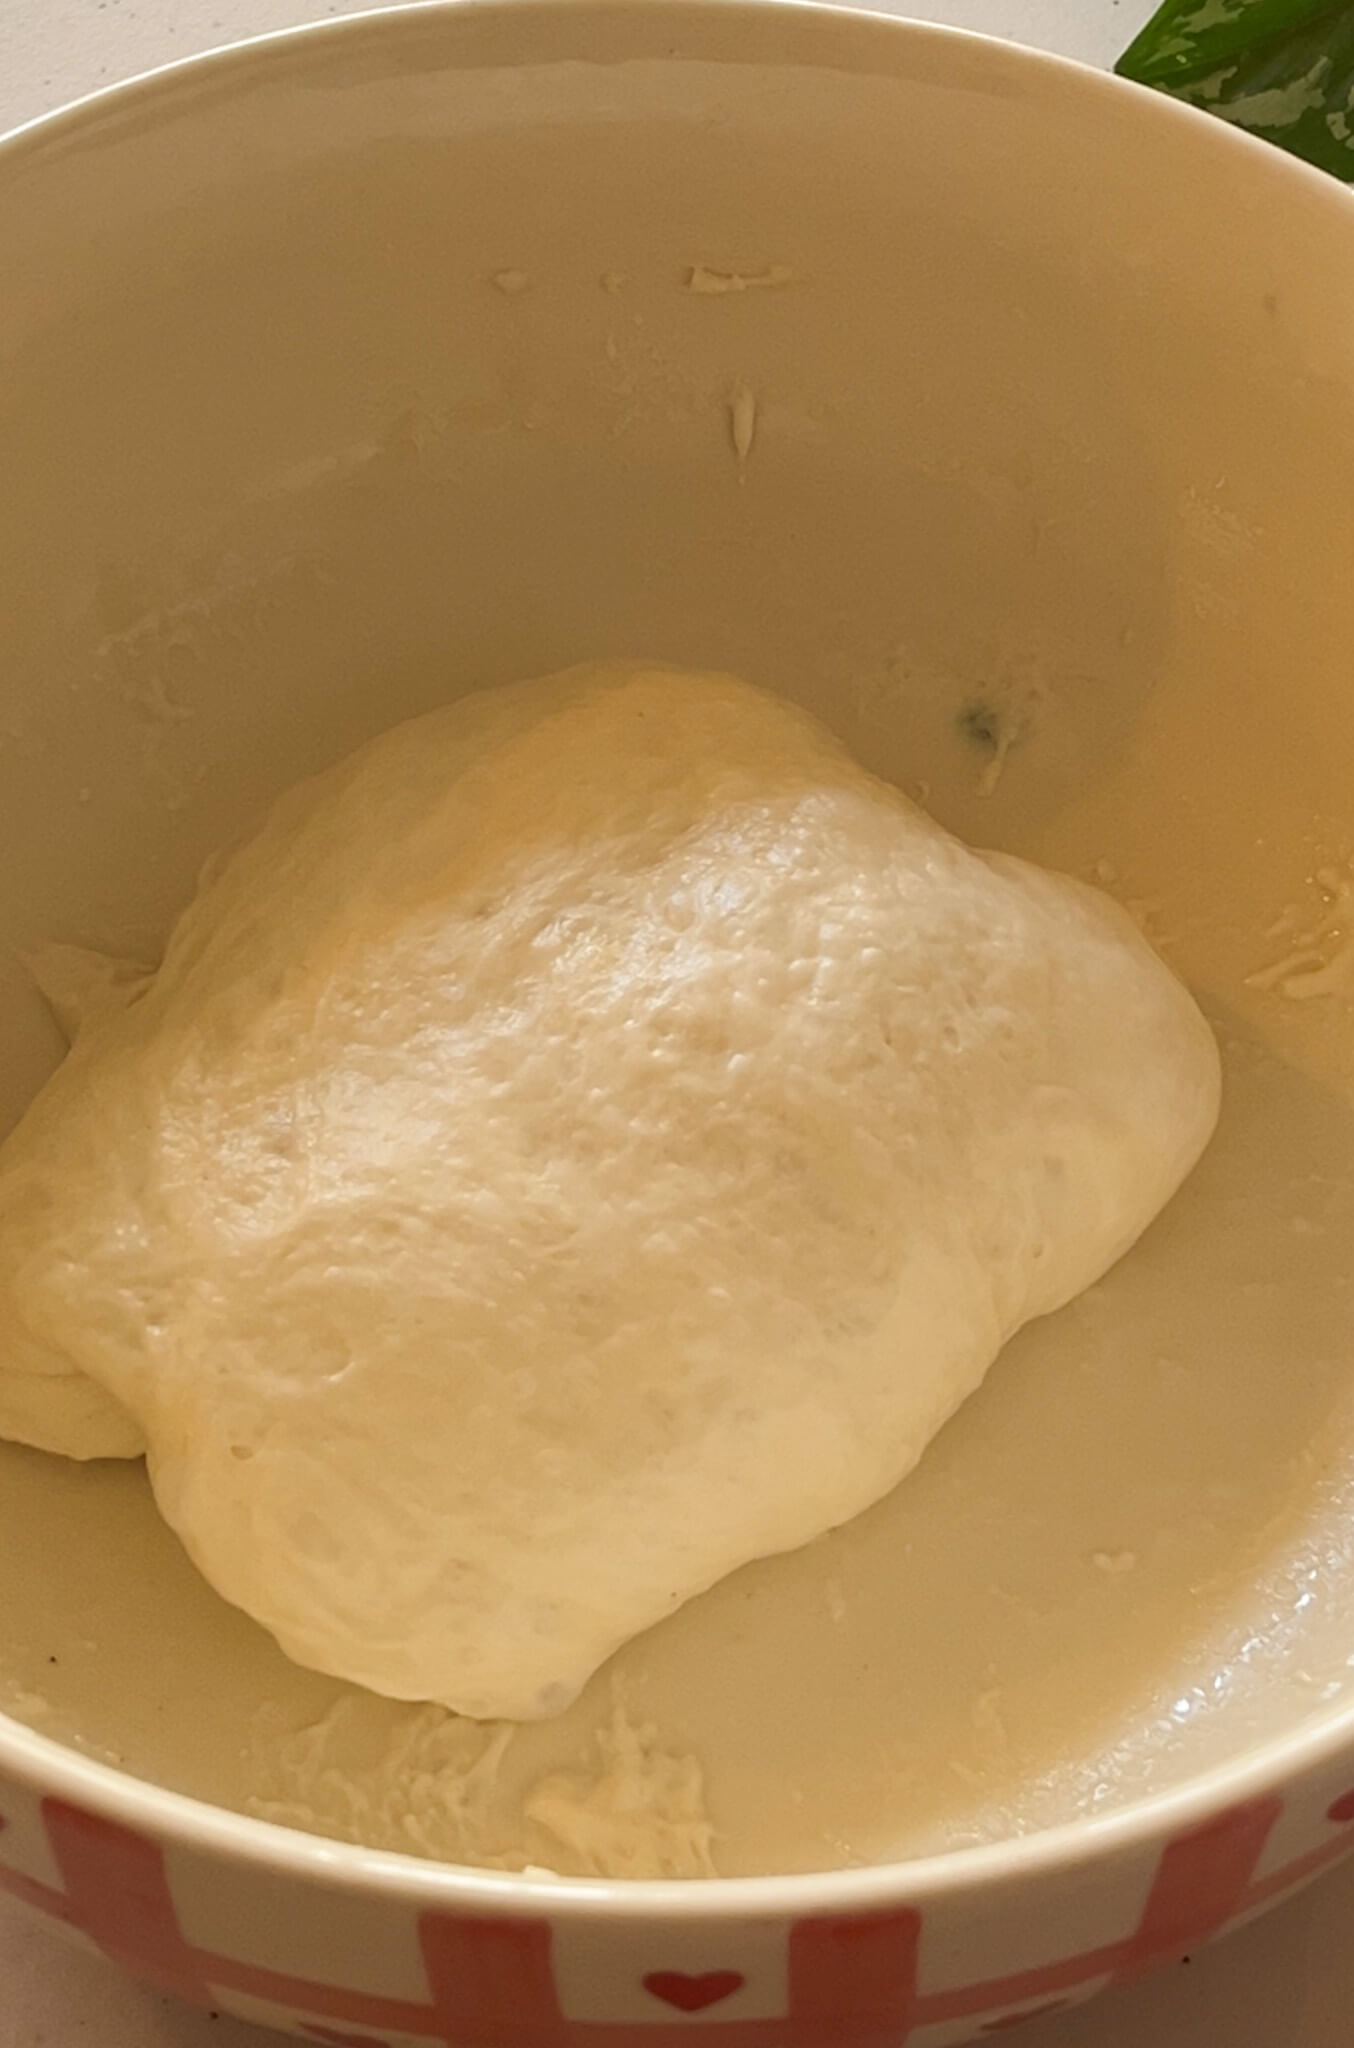
Mix the dough: In a large bowl, combine the proofed yeast mixture with 1 cup of all purpose flour, salt and 1 tbsp of extra virgin olive oil. Use chopsticks, a spatula or your fingers to mix everything together. No need to knead- just mix until you have a sticky, shaggy dough. This dough is very hydrated which is what gives focaccia it’s airy texture.
Cover the bowl with a lid, cloth or cling wrap and proof it in a warm environment.
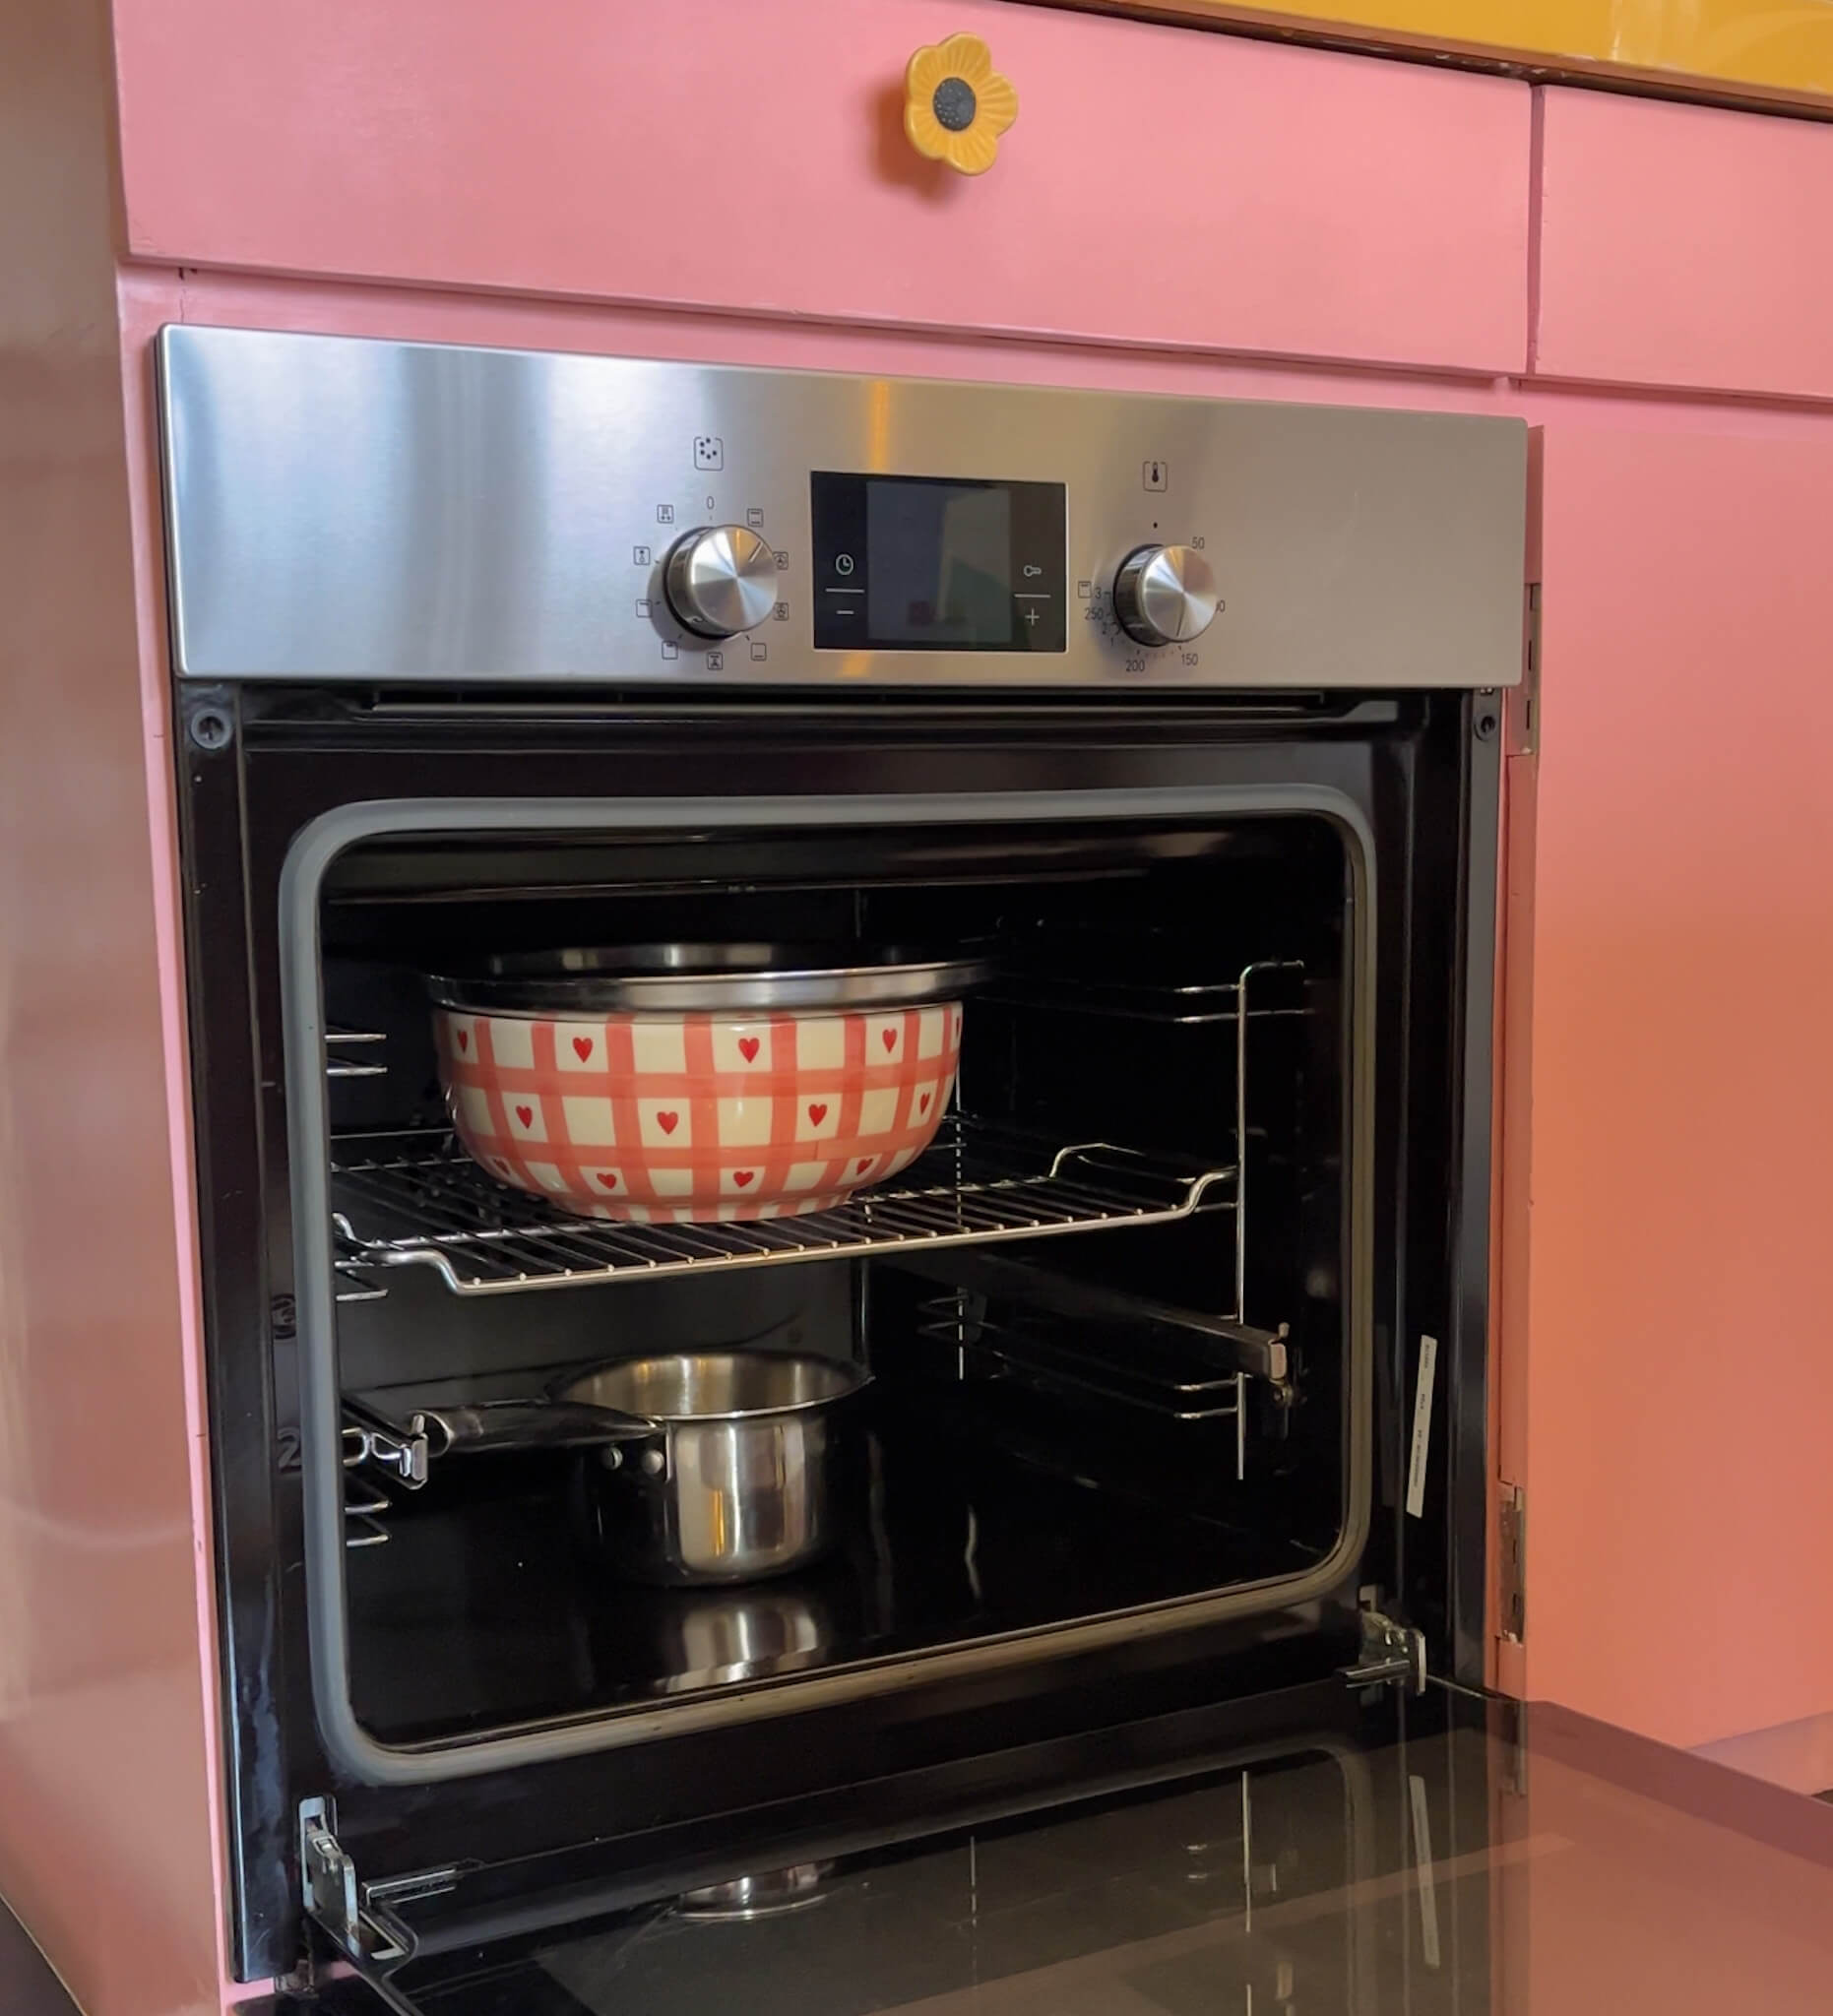
To create a warm environment for rising: Place a bowl of hot water inside a switched off oven and close the door. Let it sit for a few minutes to warm up the space and then place your dough inside to proof. This gentle warmth helps the dough rise evenly without the risk of overheating or killing the yeast.
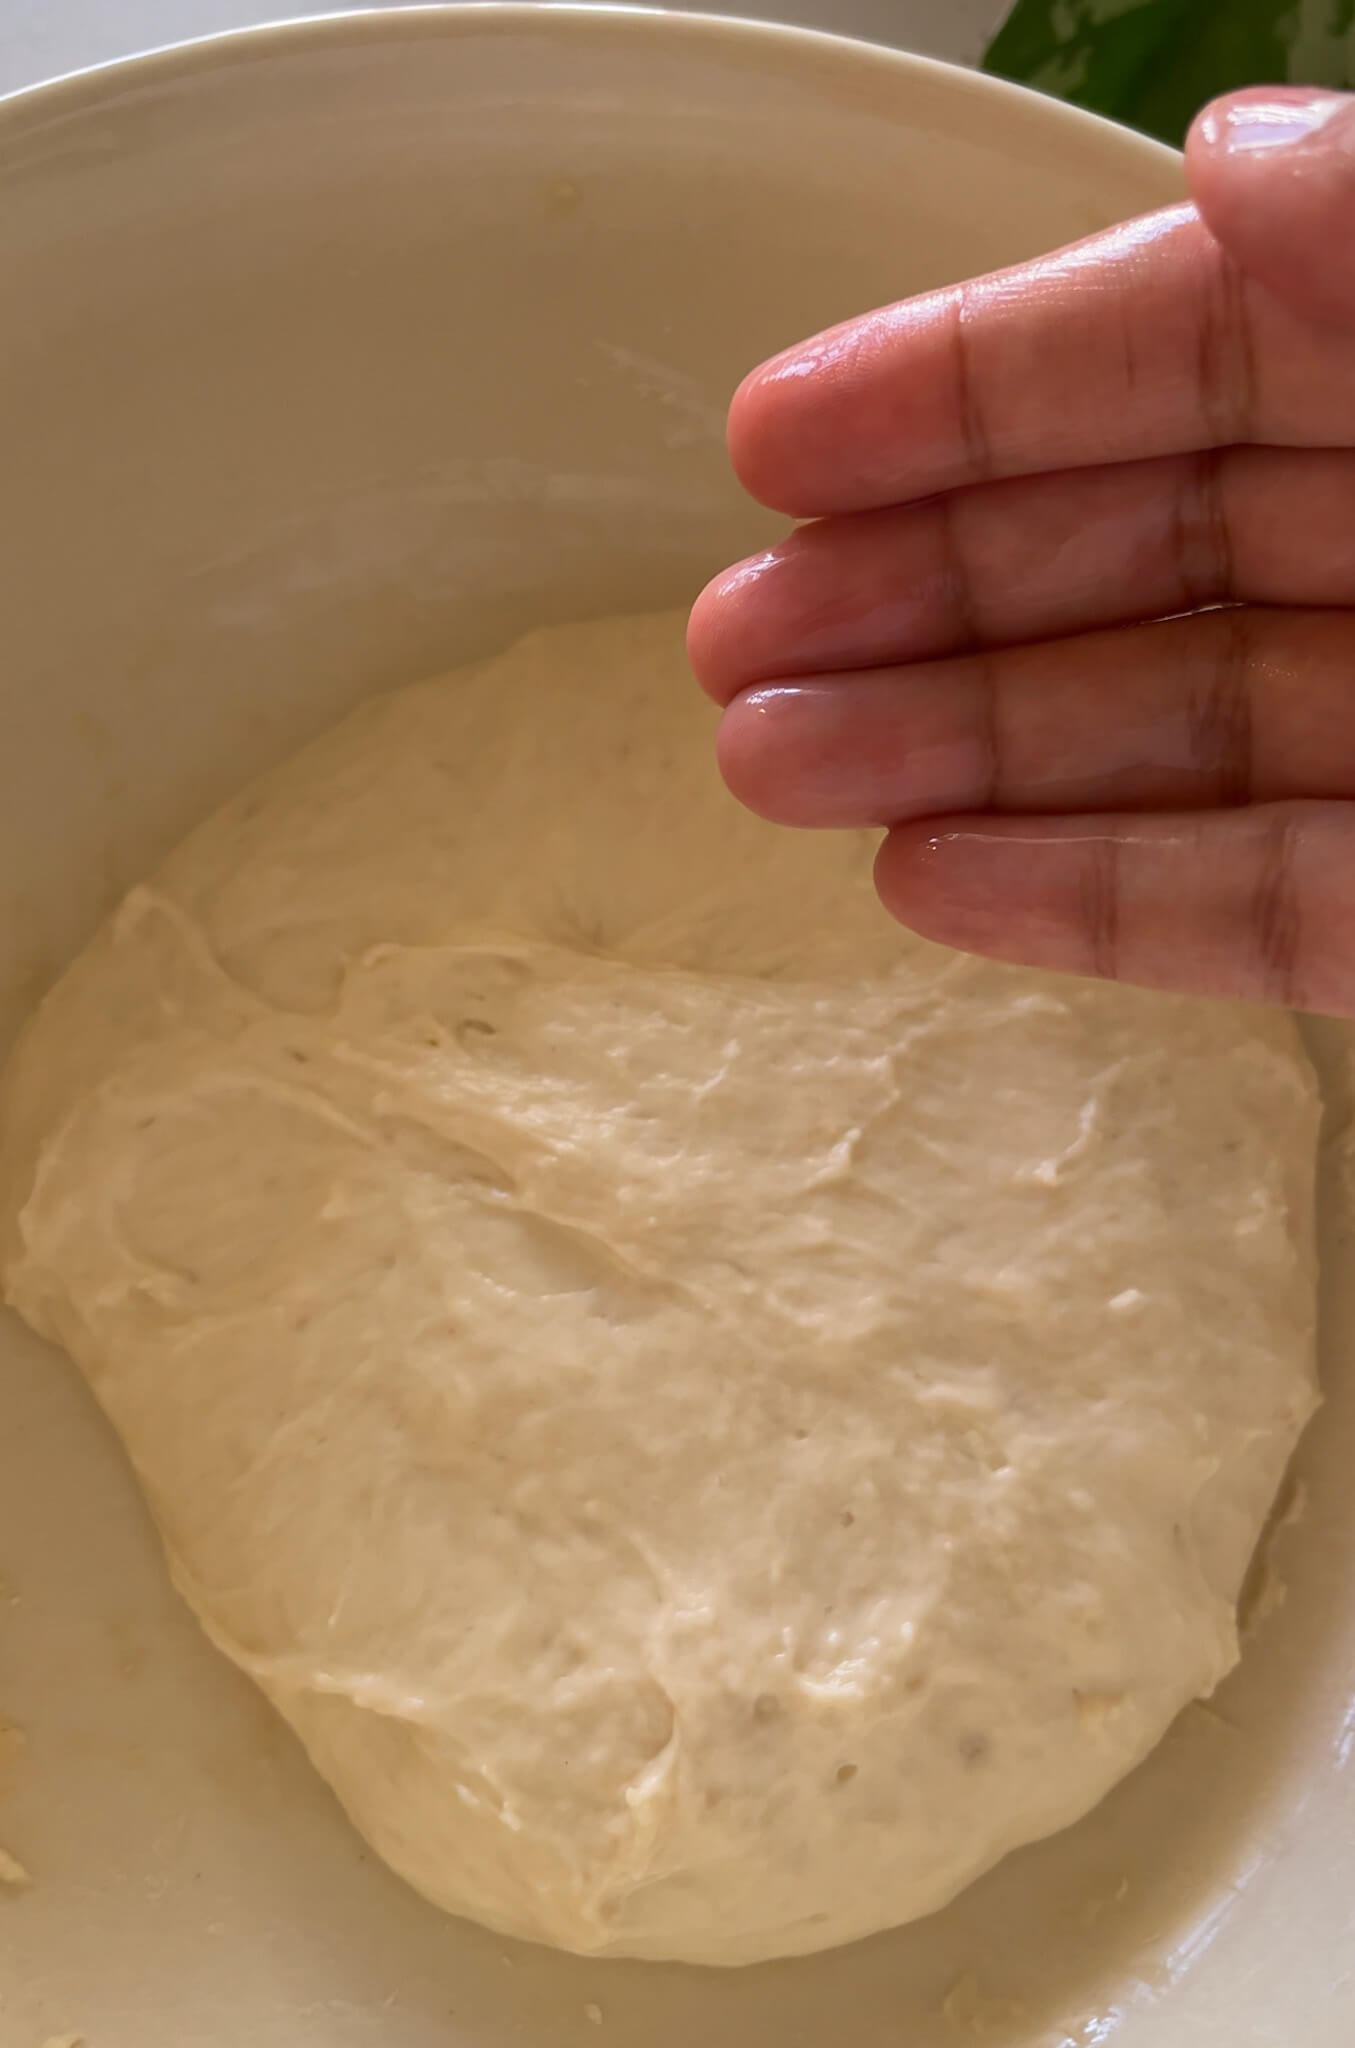
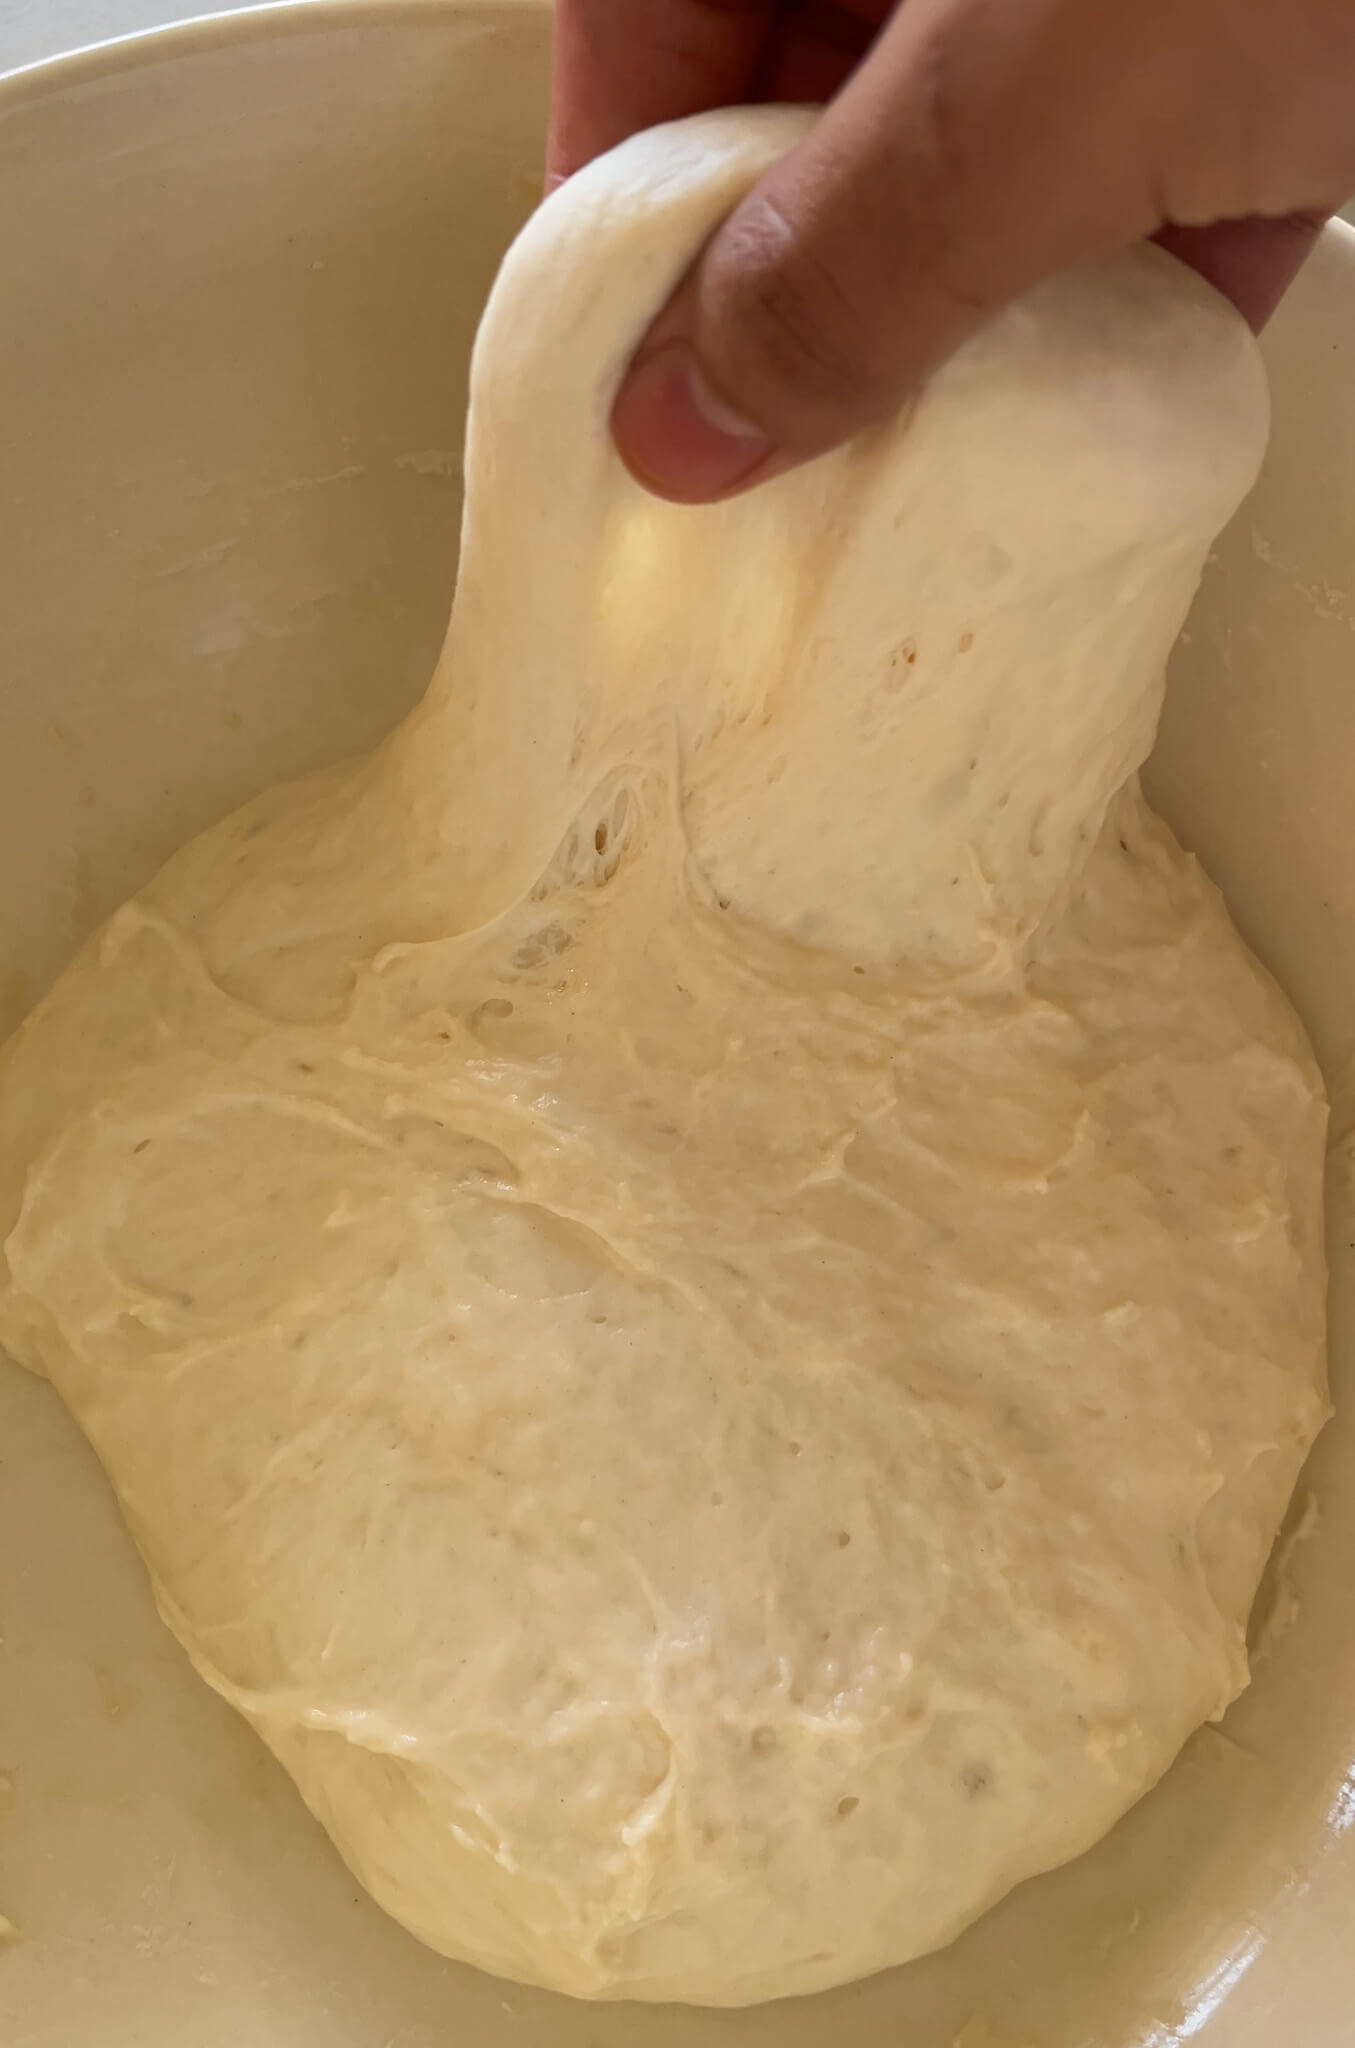
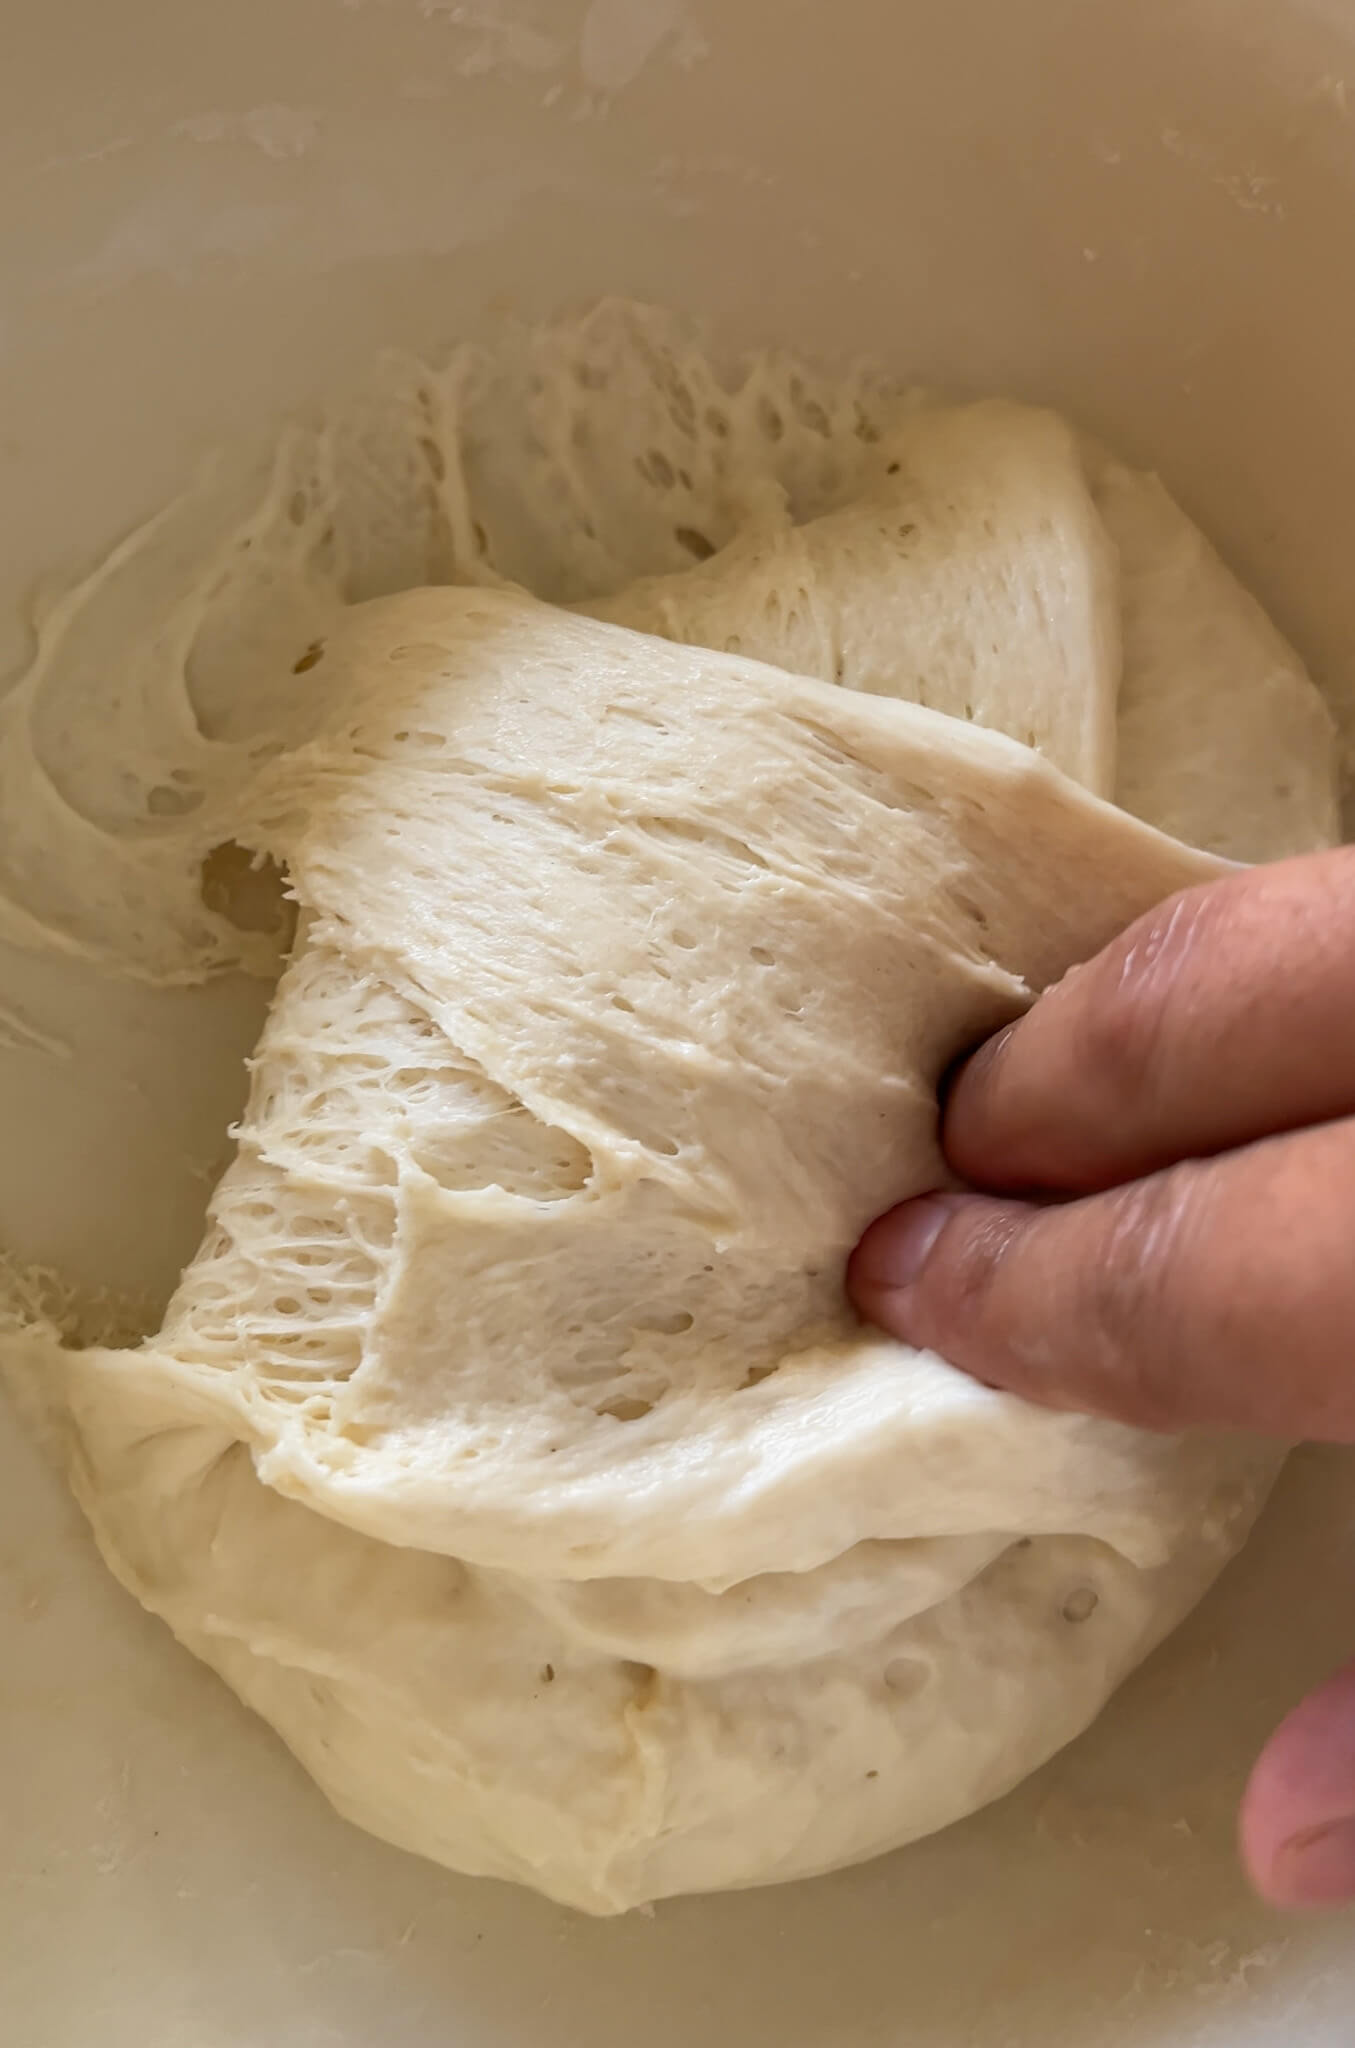
Stretch and folds: I like to do 3 series of stretch and folds, 1 every hour. To do this, dip your hands in cold water and then with wet hands, grab one side of the dough and gently stretch it upward before folding it over itself. Rotate the bowl and repeat on all 4 sides. This strengthens the gluten structure without kneading. I also like to mix in a few coil folds where you lift the dough from the center with both hands, let it stretch down and then fold it over itself. After each set of folds, cover the bowl and let the dough rest in the warm oven.
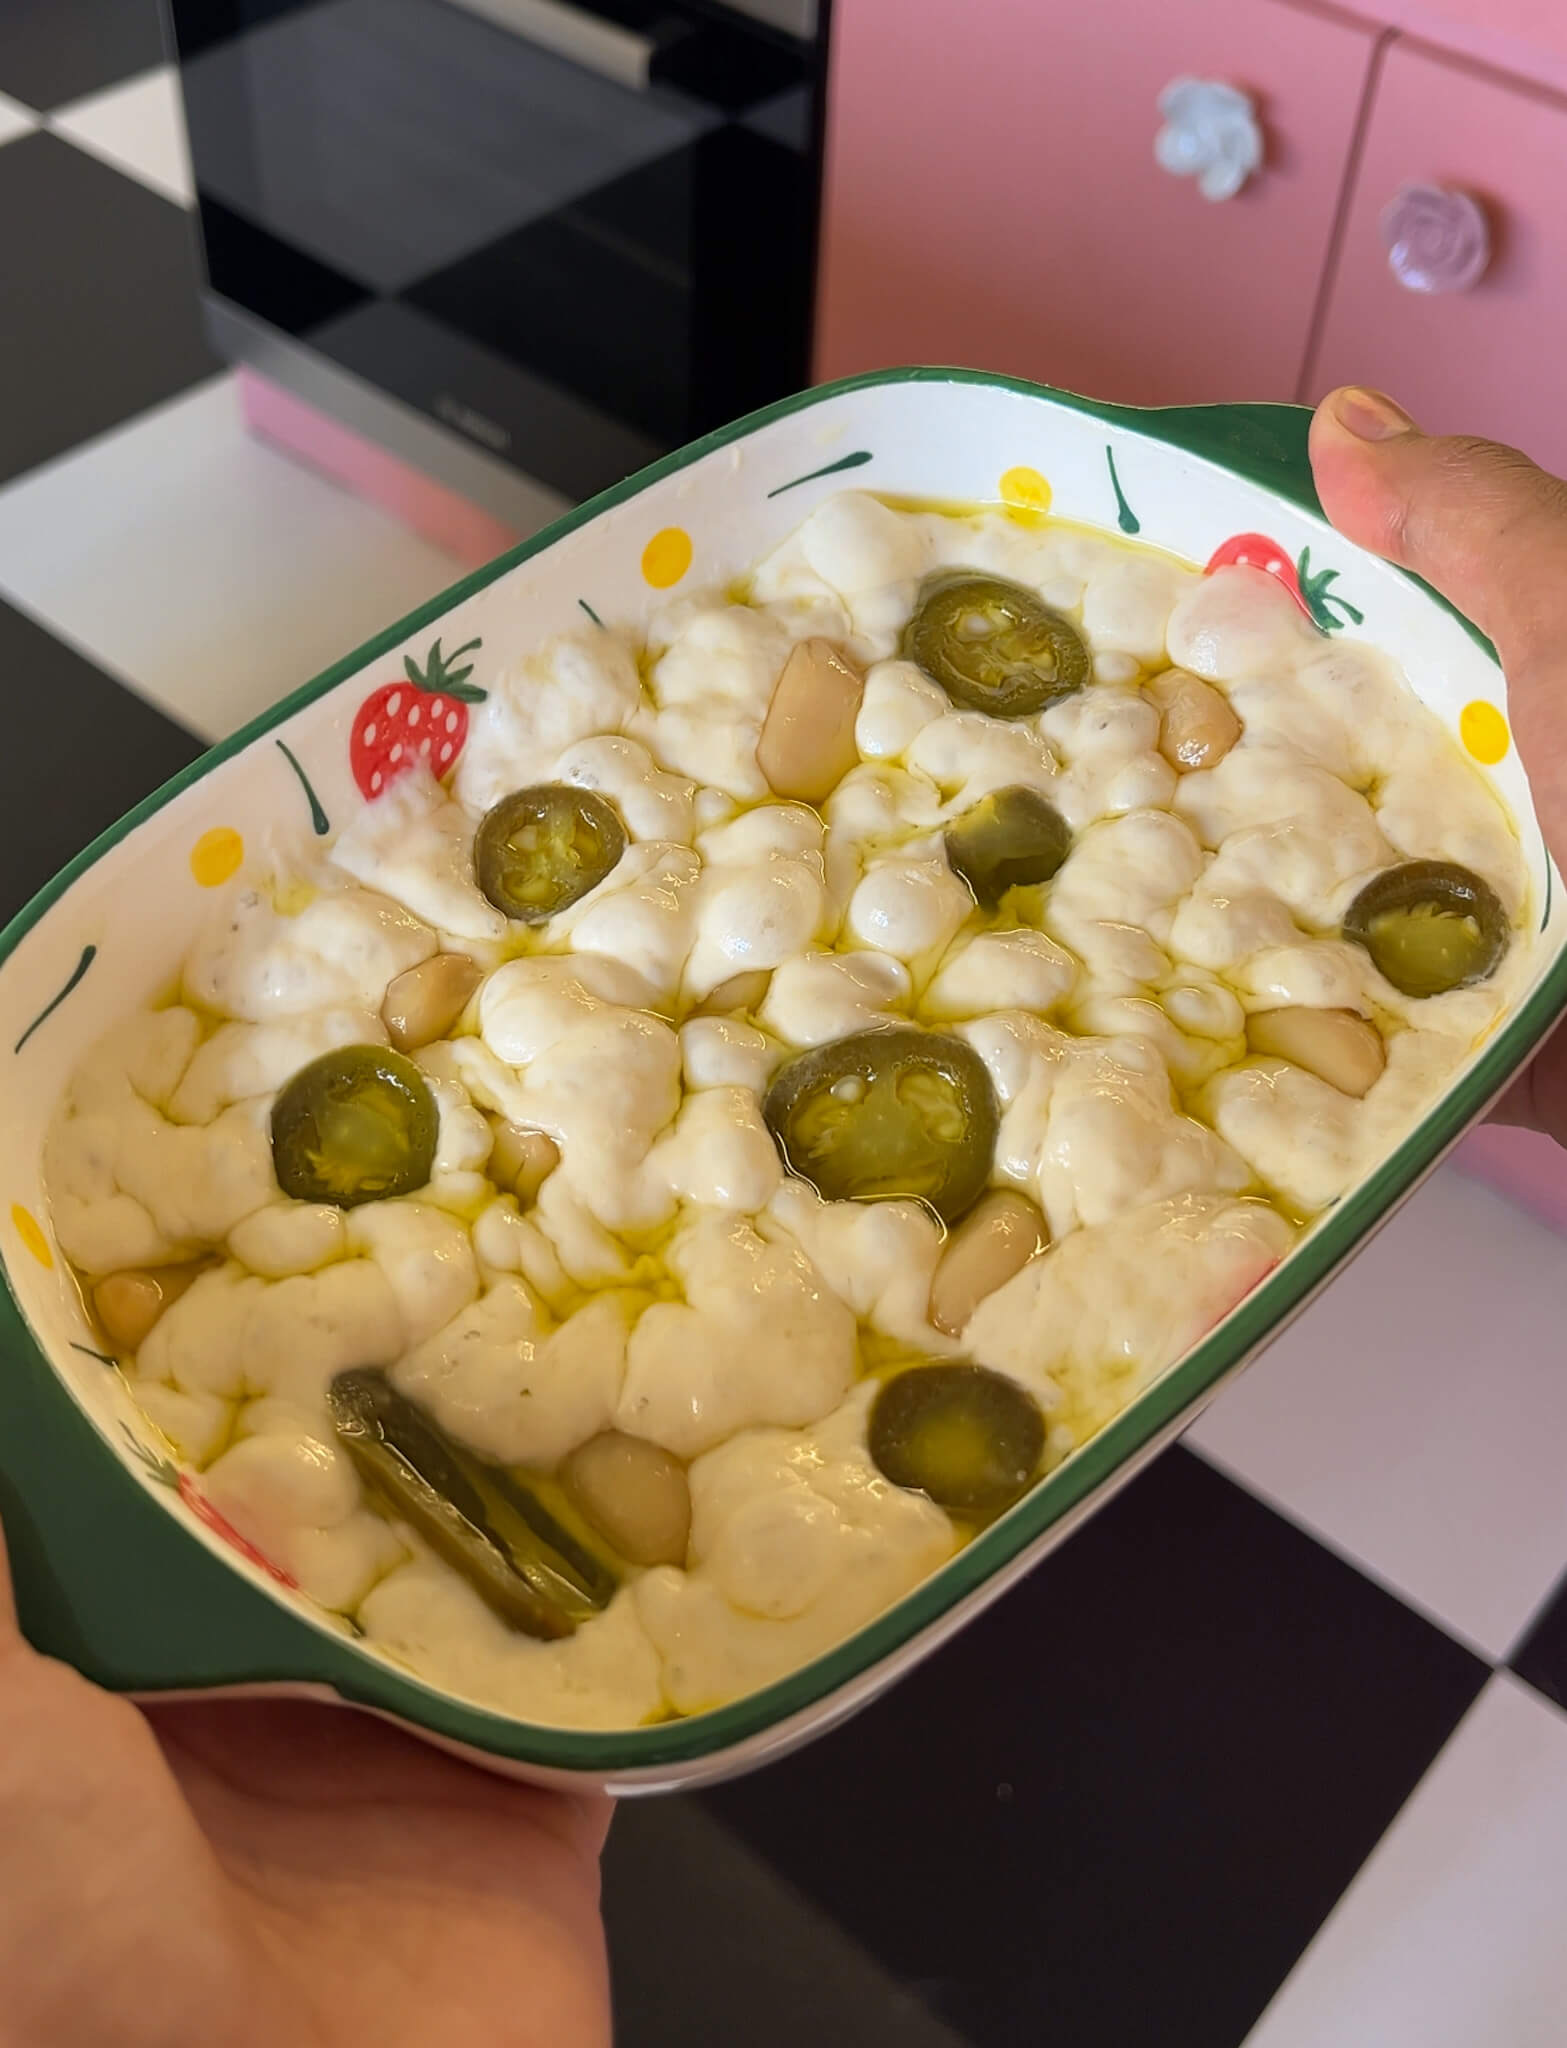
Cold fermentation (optional but recommended): At this point, you have 2 options. You can transfer the dough to a well oiled baking dish, let it rise one more time until puffy, top it with olive oil and your chosen toppings and bake.
OR for better flavour and texture, I like to transfer the dough to the fridge for atleast 12 hours (the dough stays good in the fridge for 12-36 hrs). This helps develop deep flavour and makes the dough even airier and bubblier.
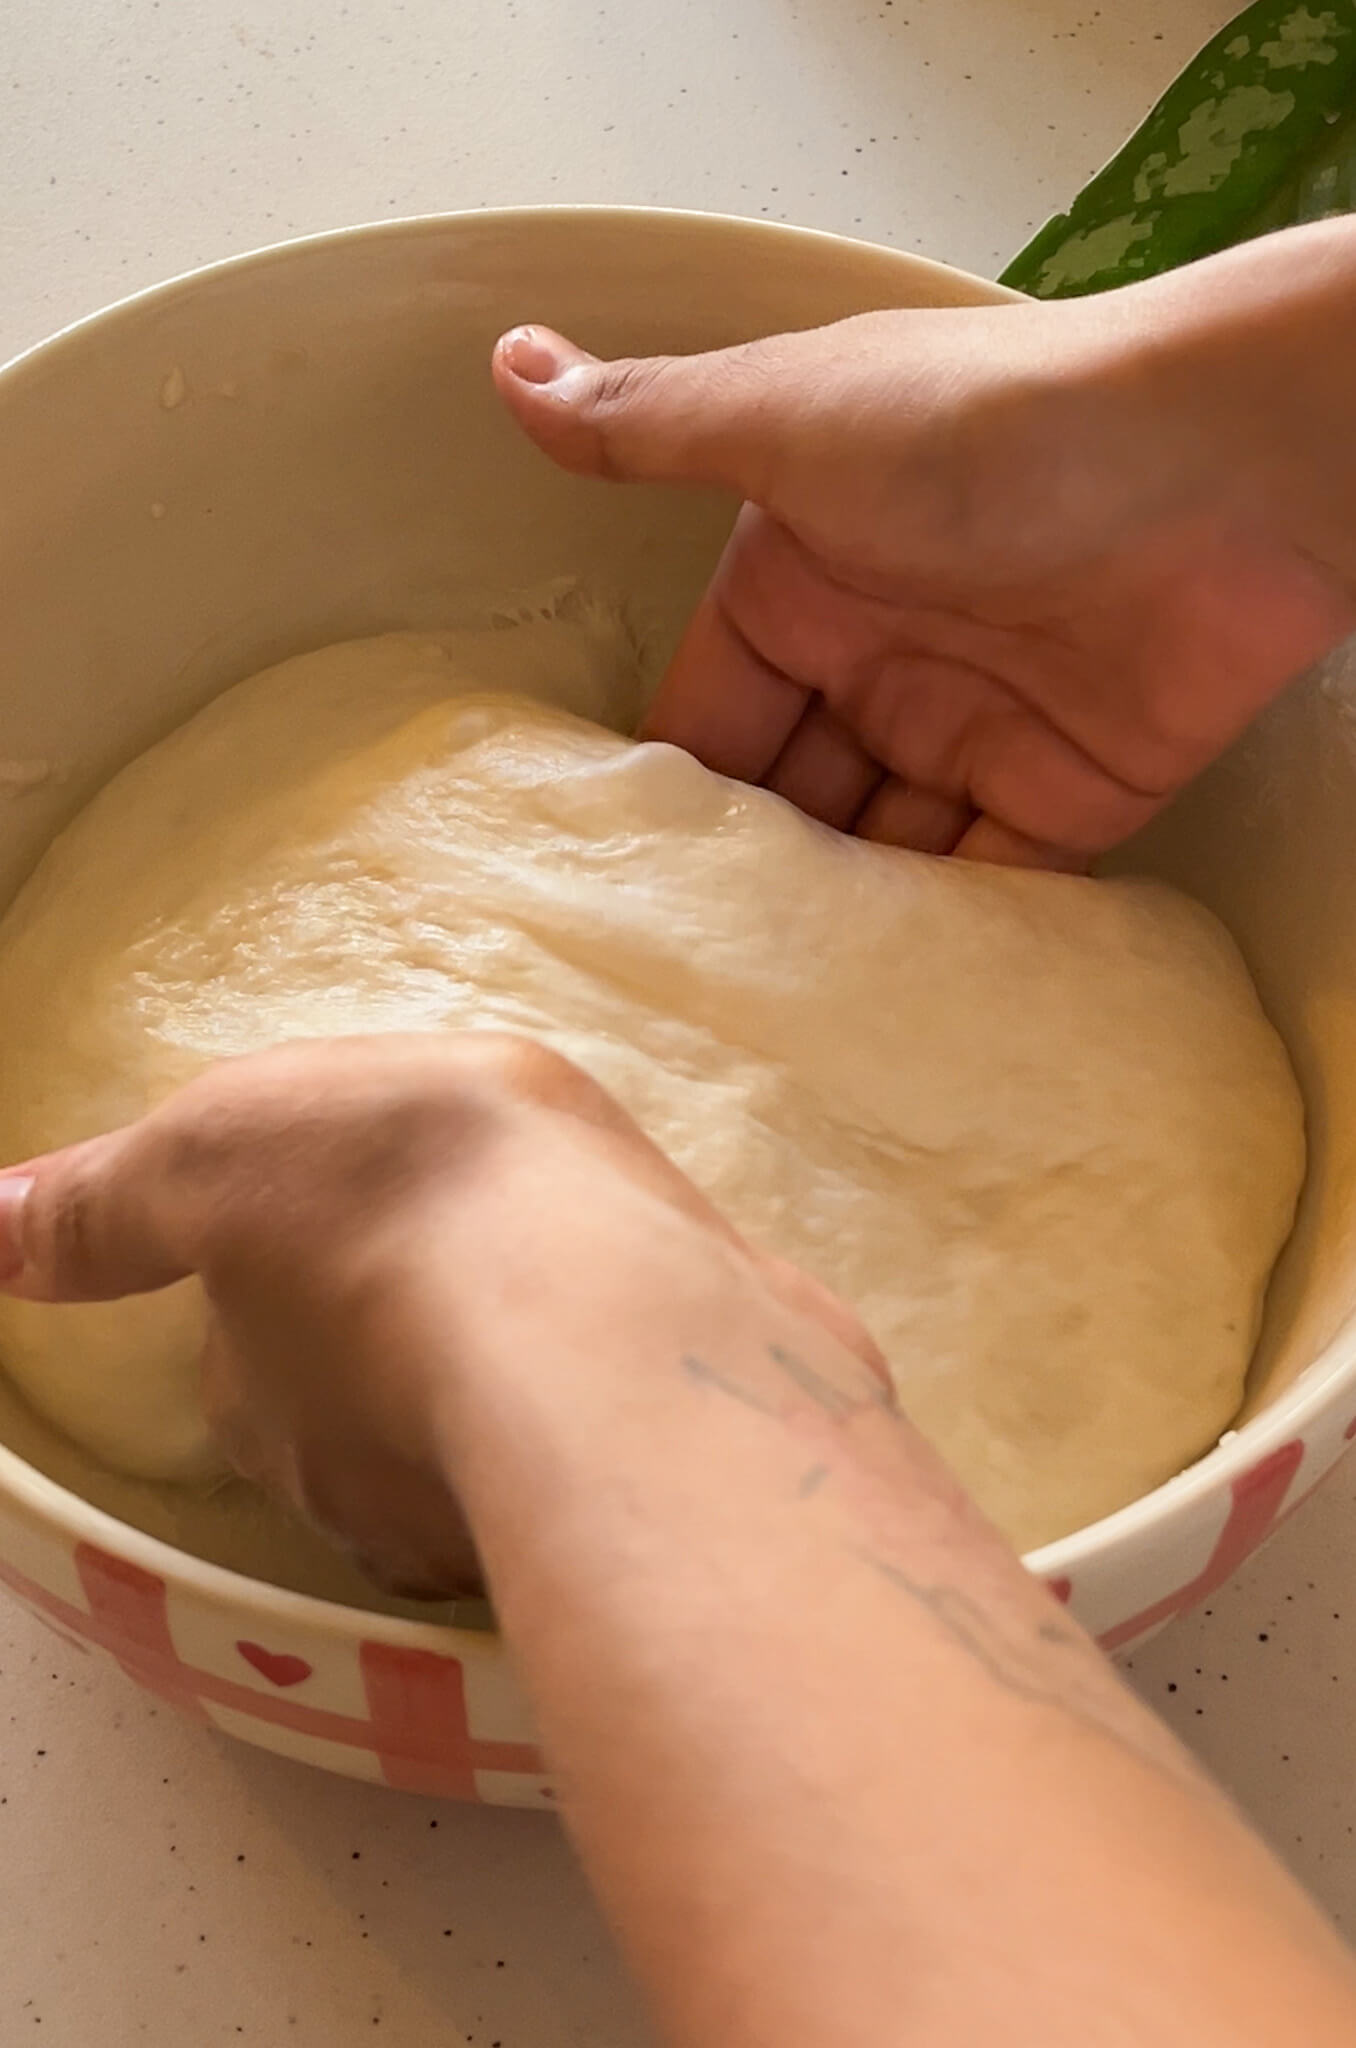
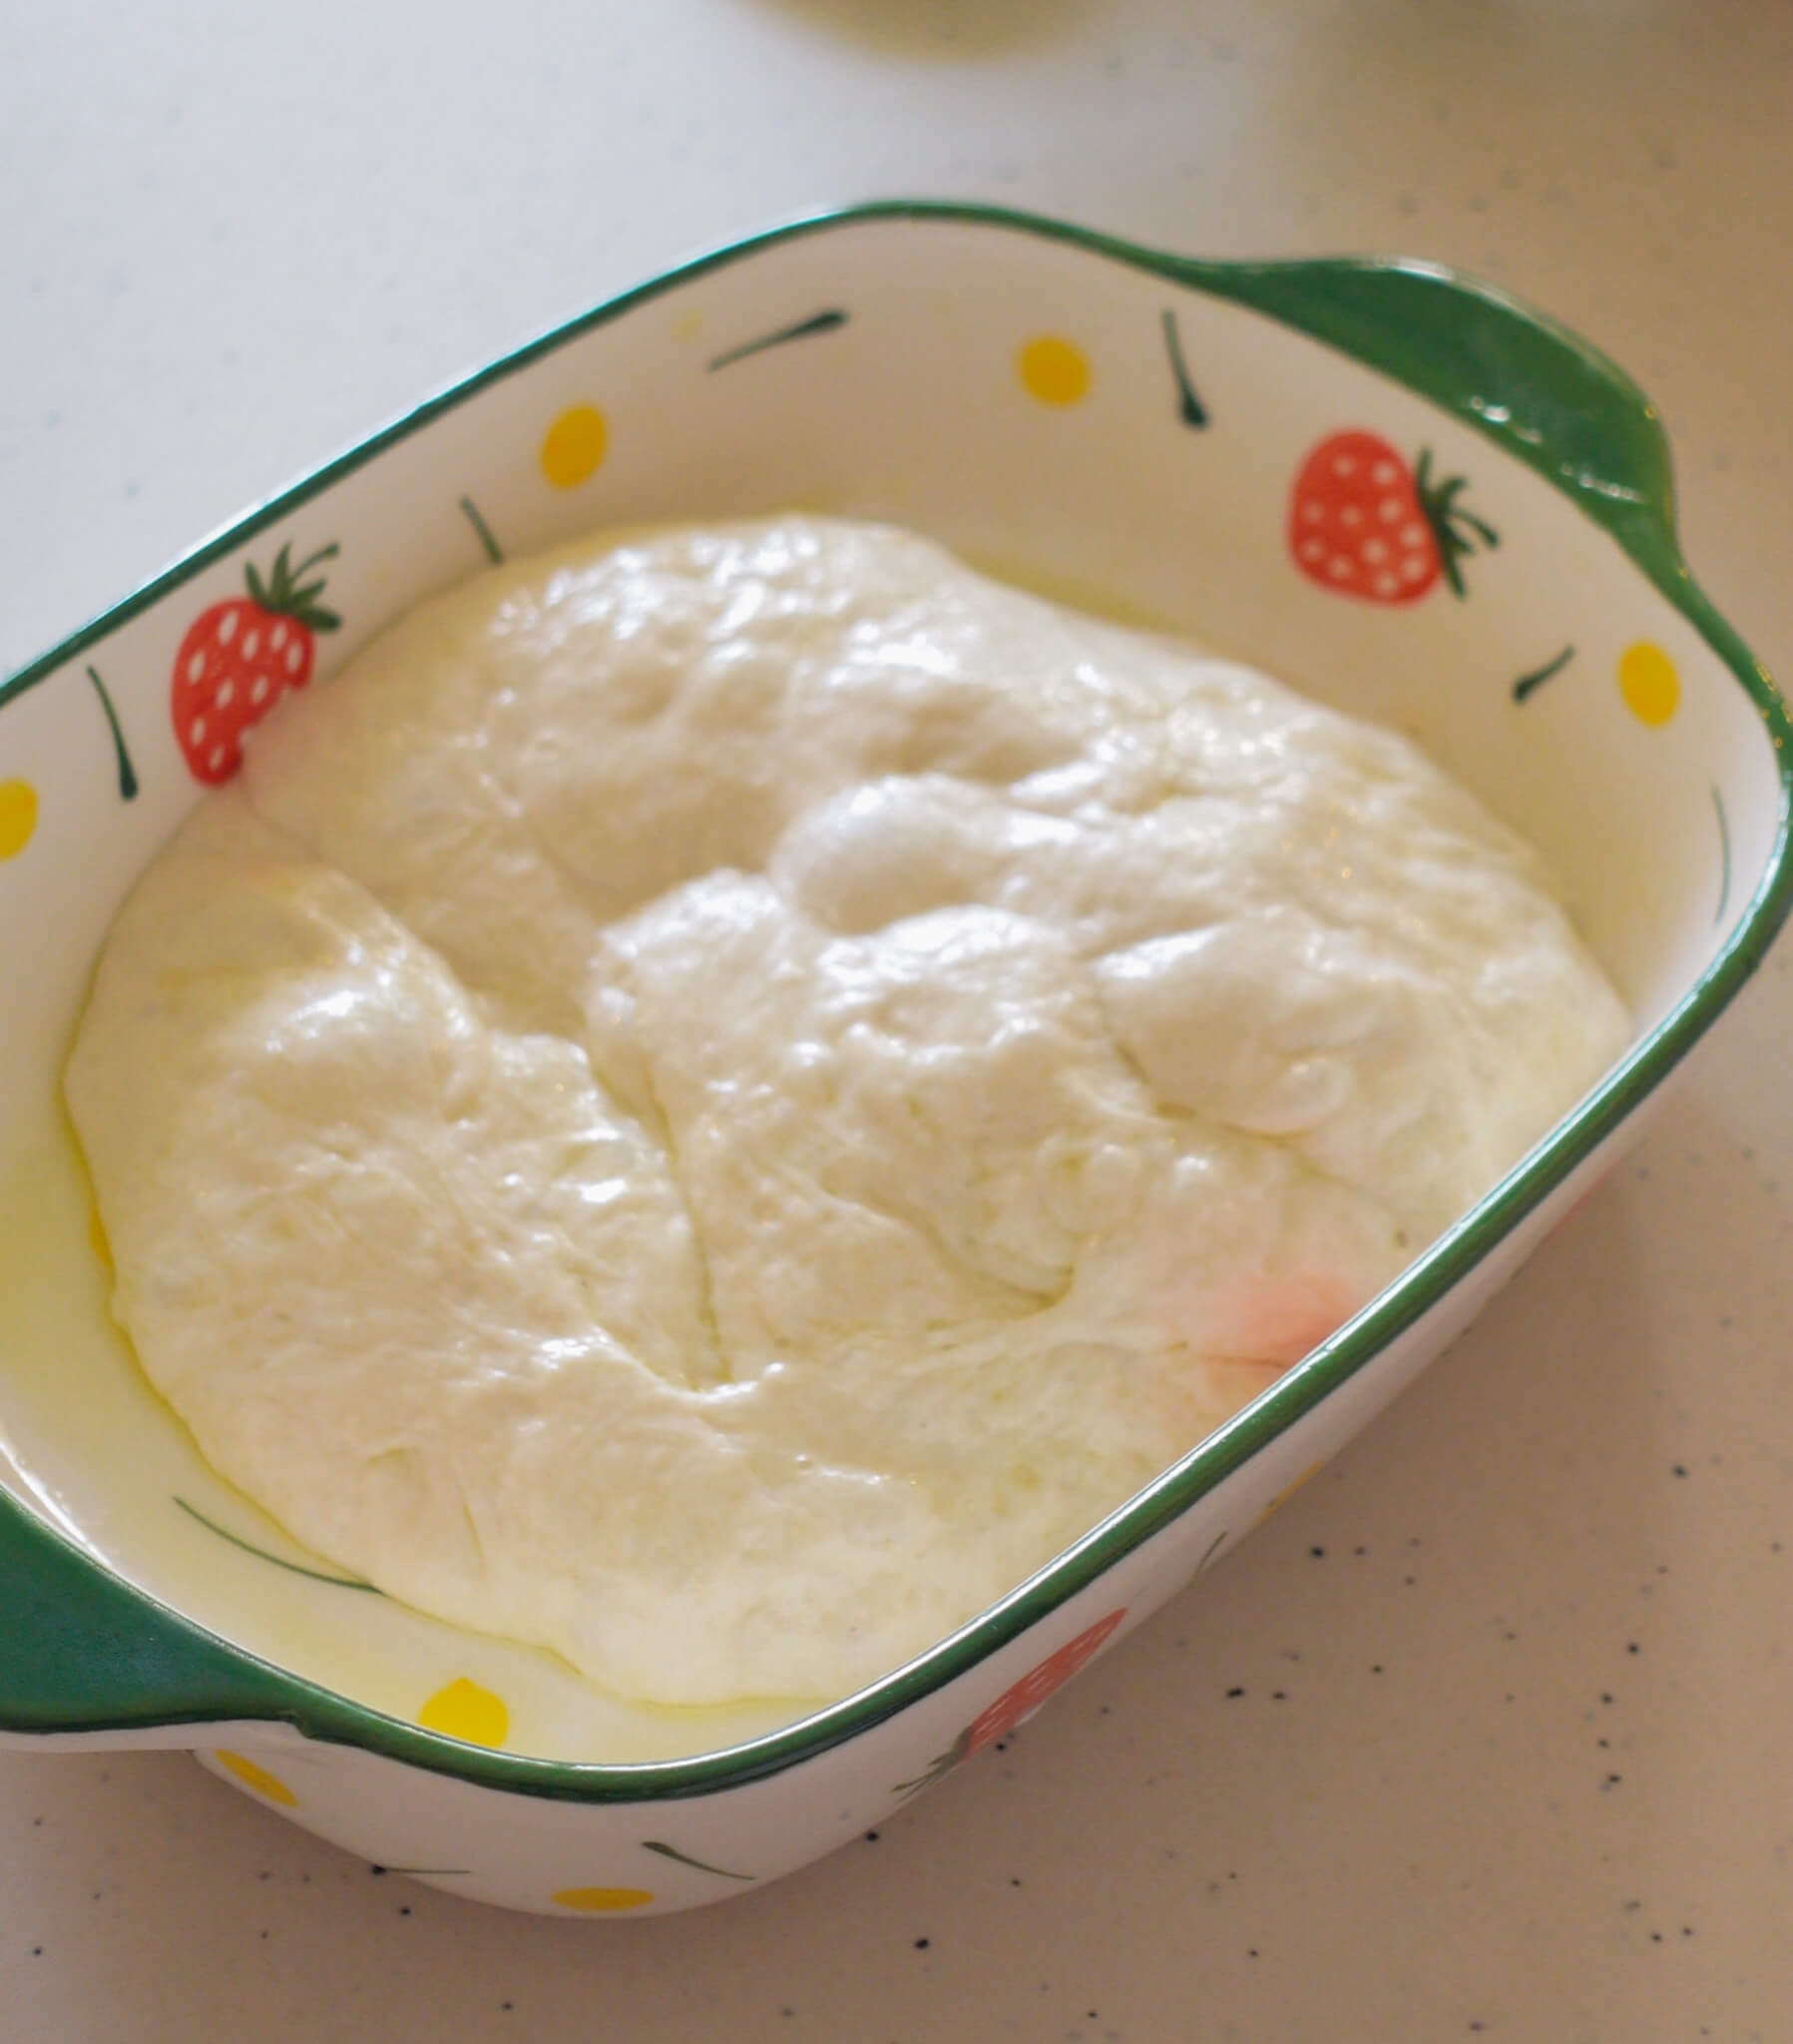
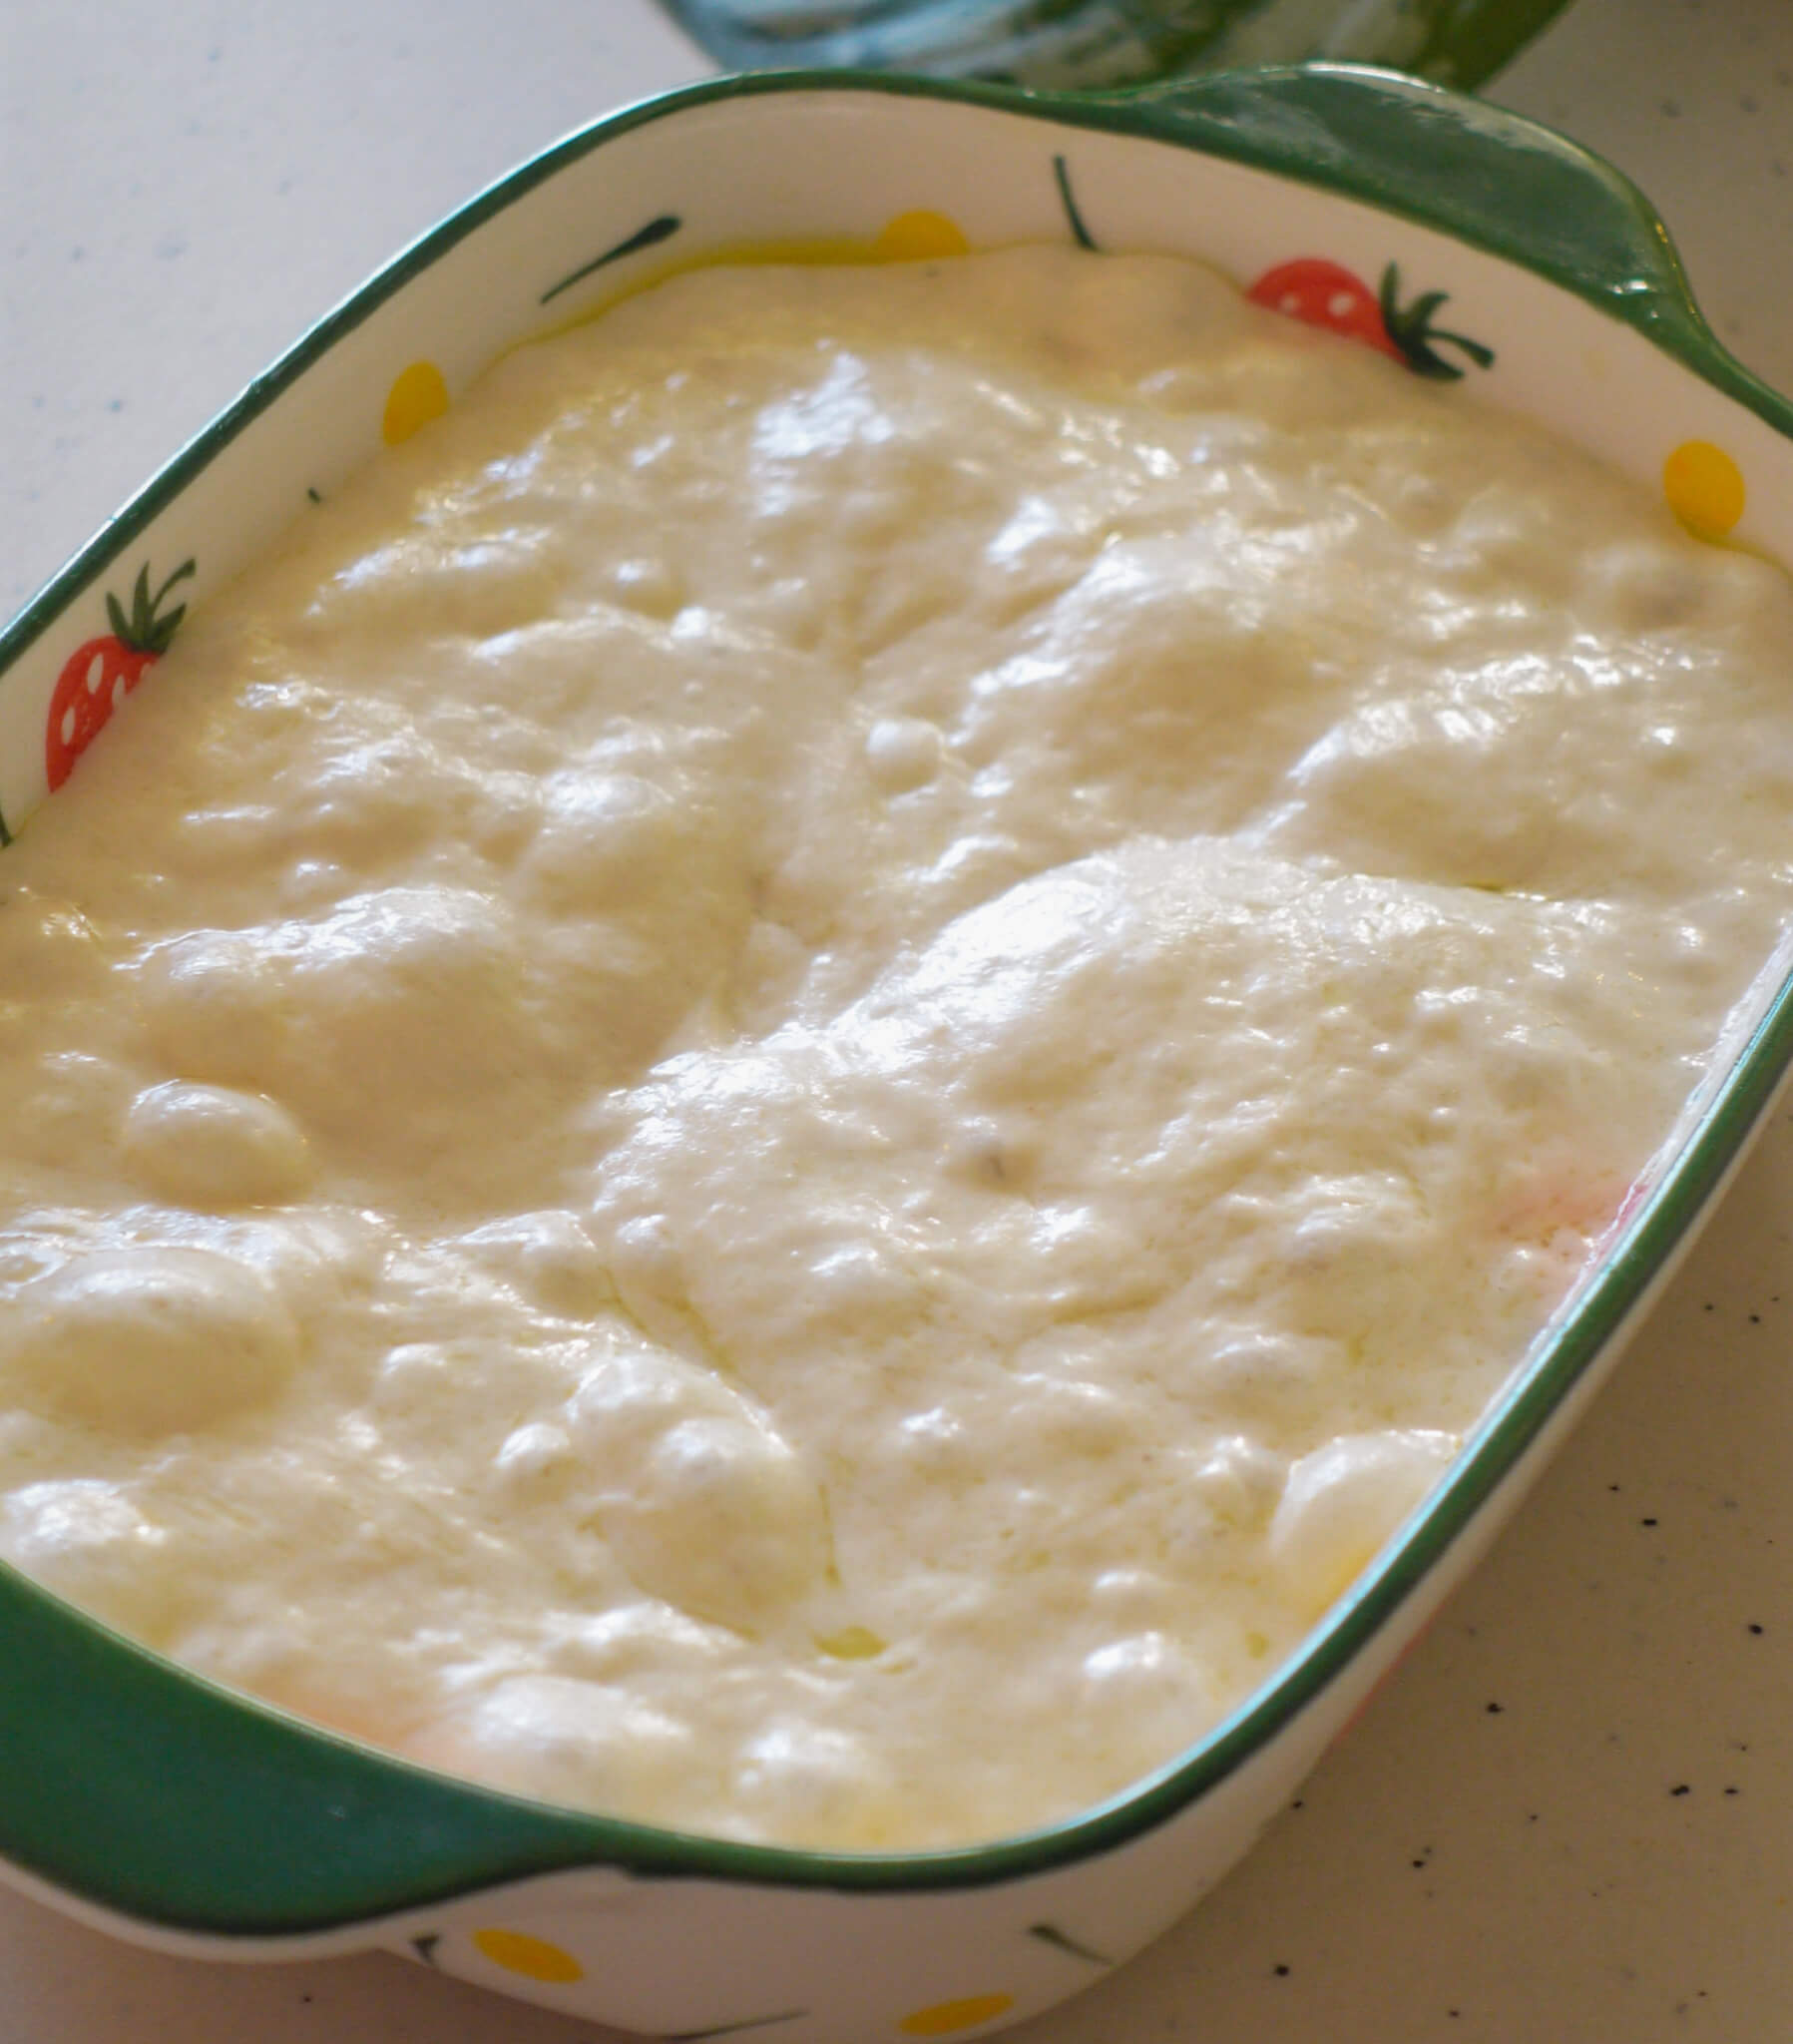
Shaping and final rise: Whenever you’re ready to bake, take the cold dough out of the fridge and transfer it to an oiled baking dish. Let it come to room temperature and rise until it looks puffy and bubbly. This usually takes around 60-90 minutes.
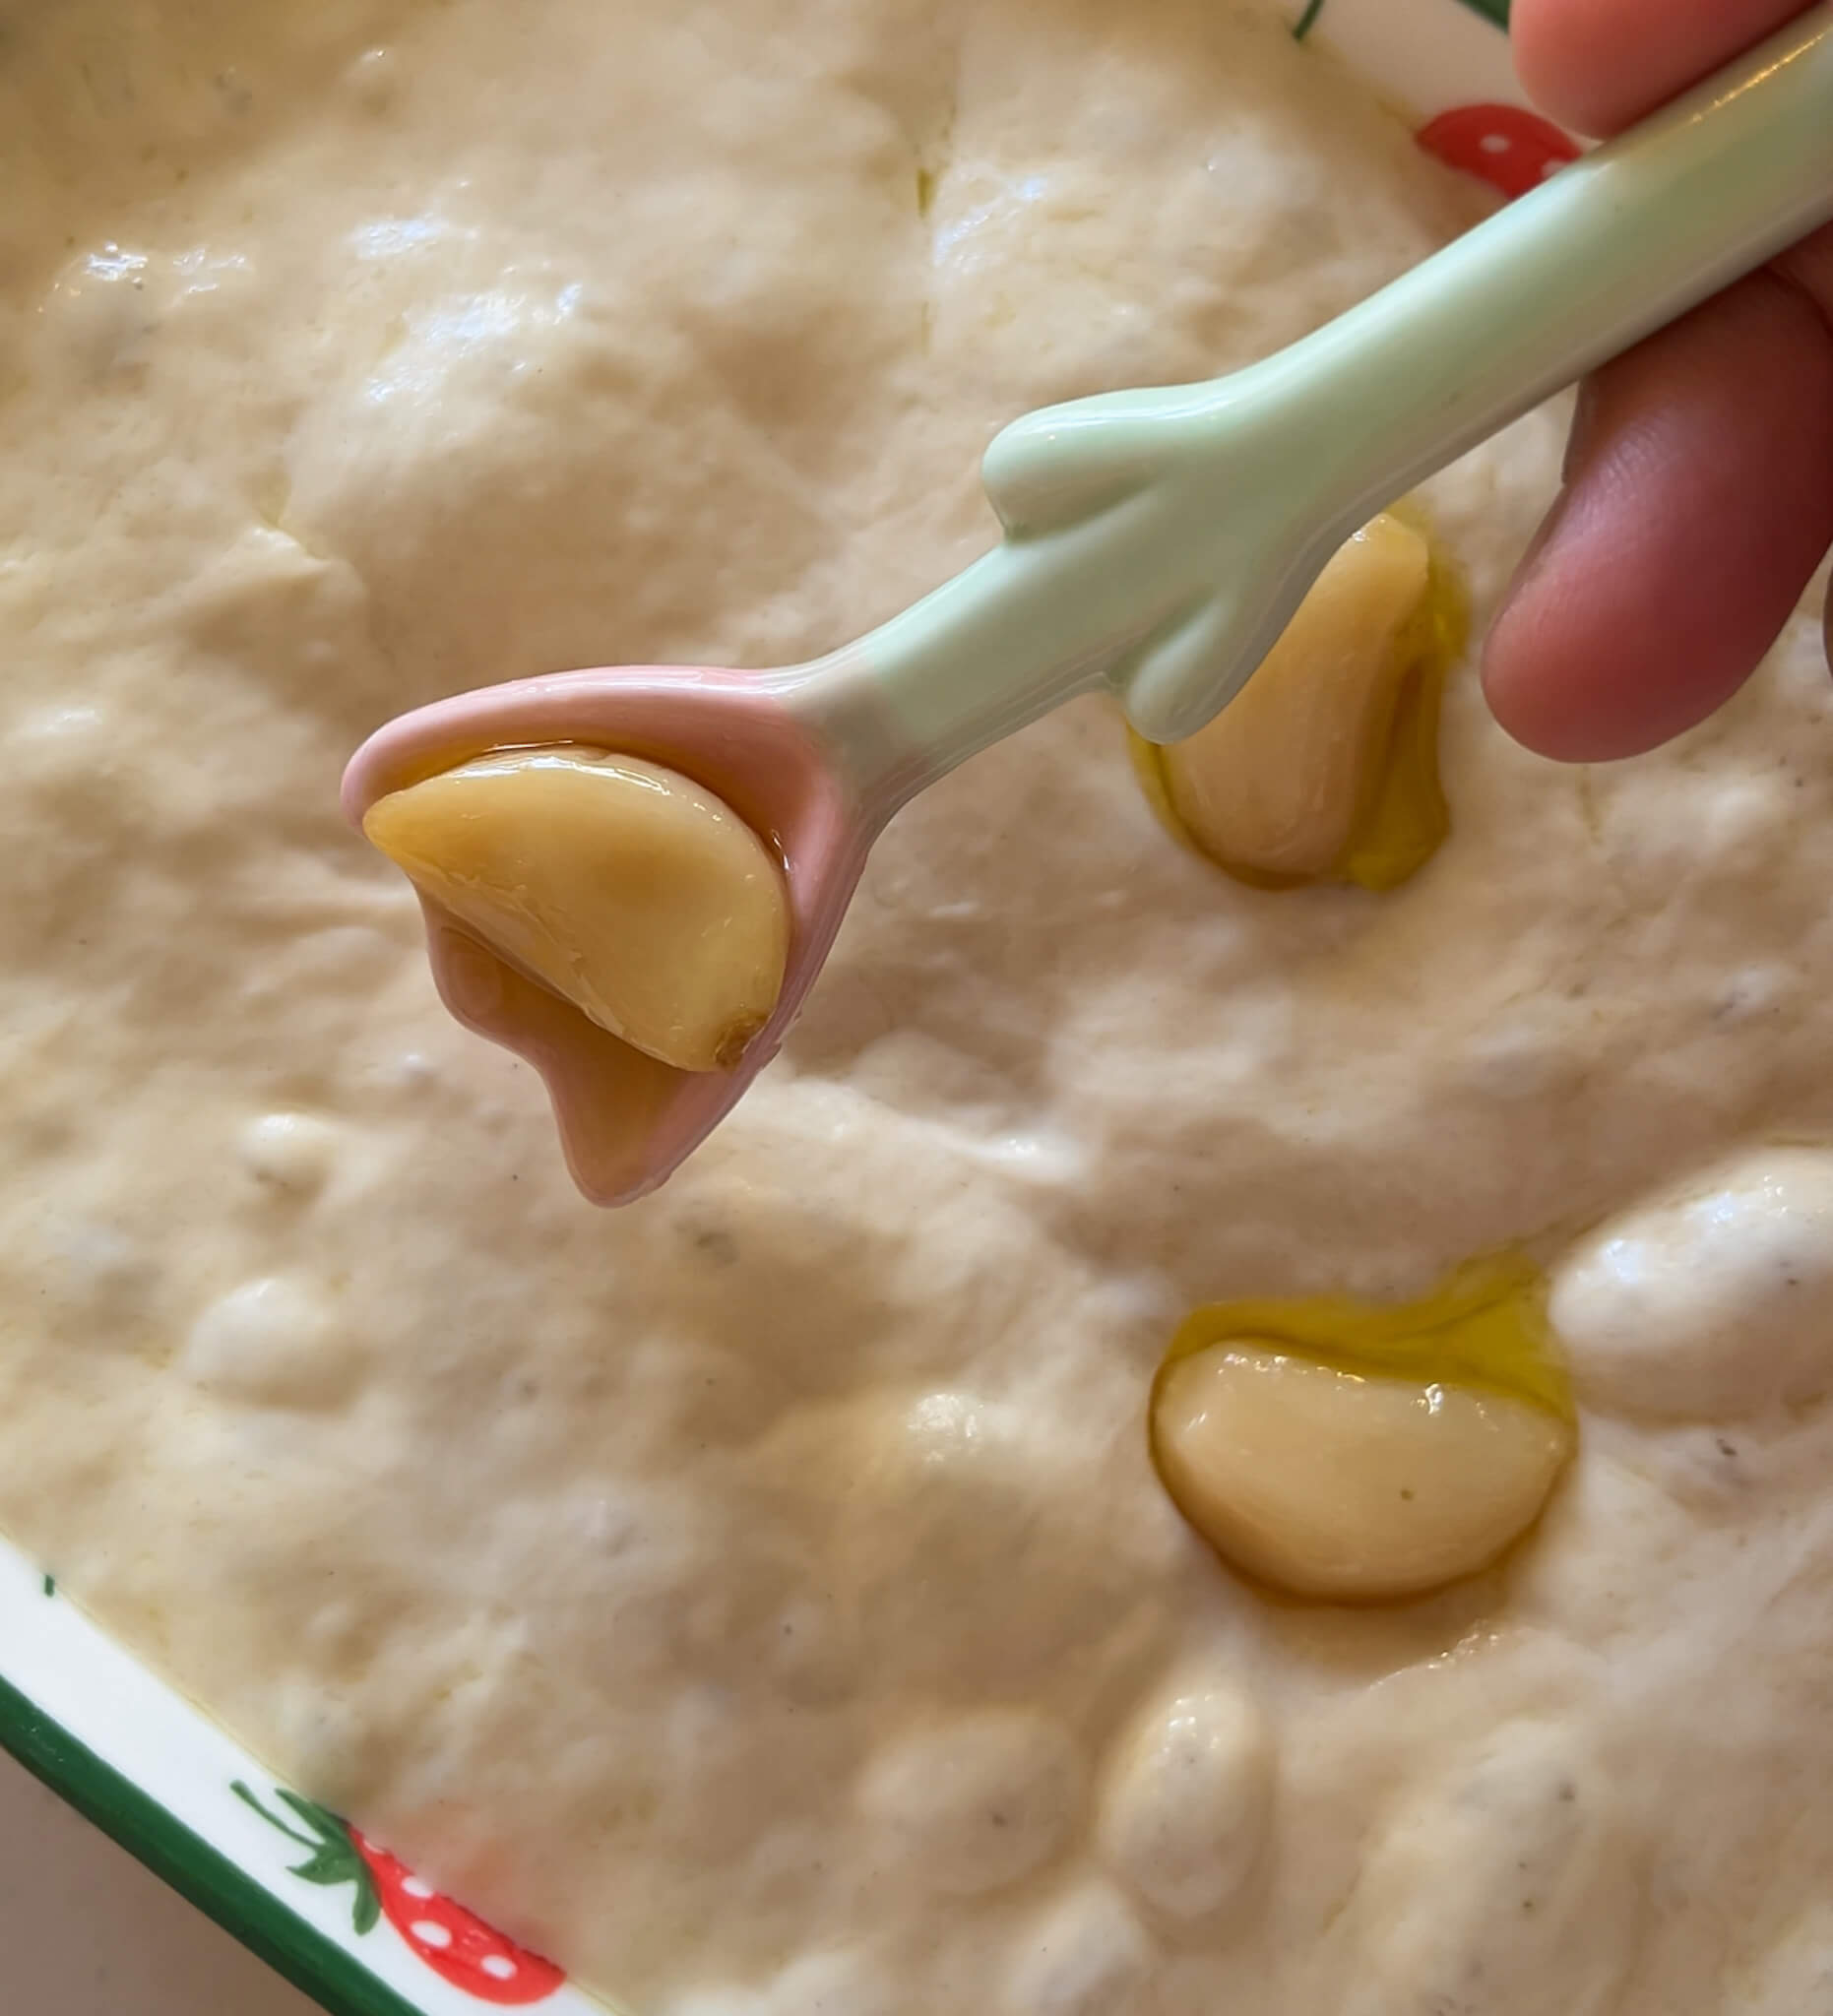
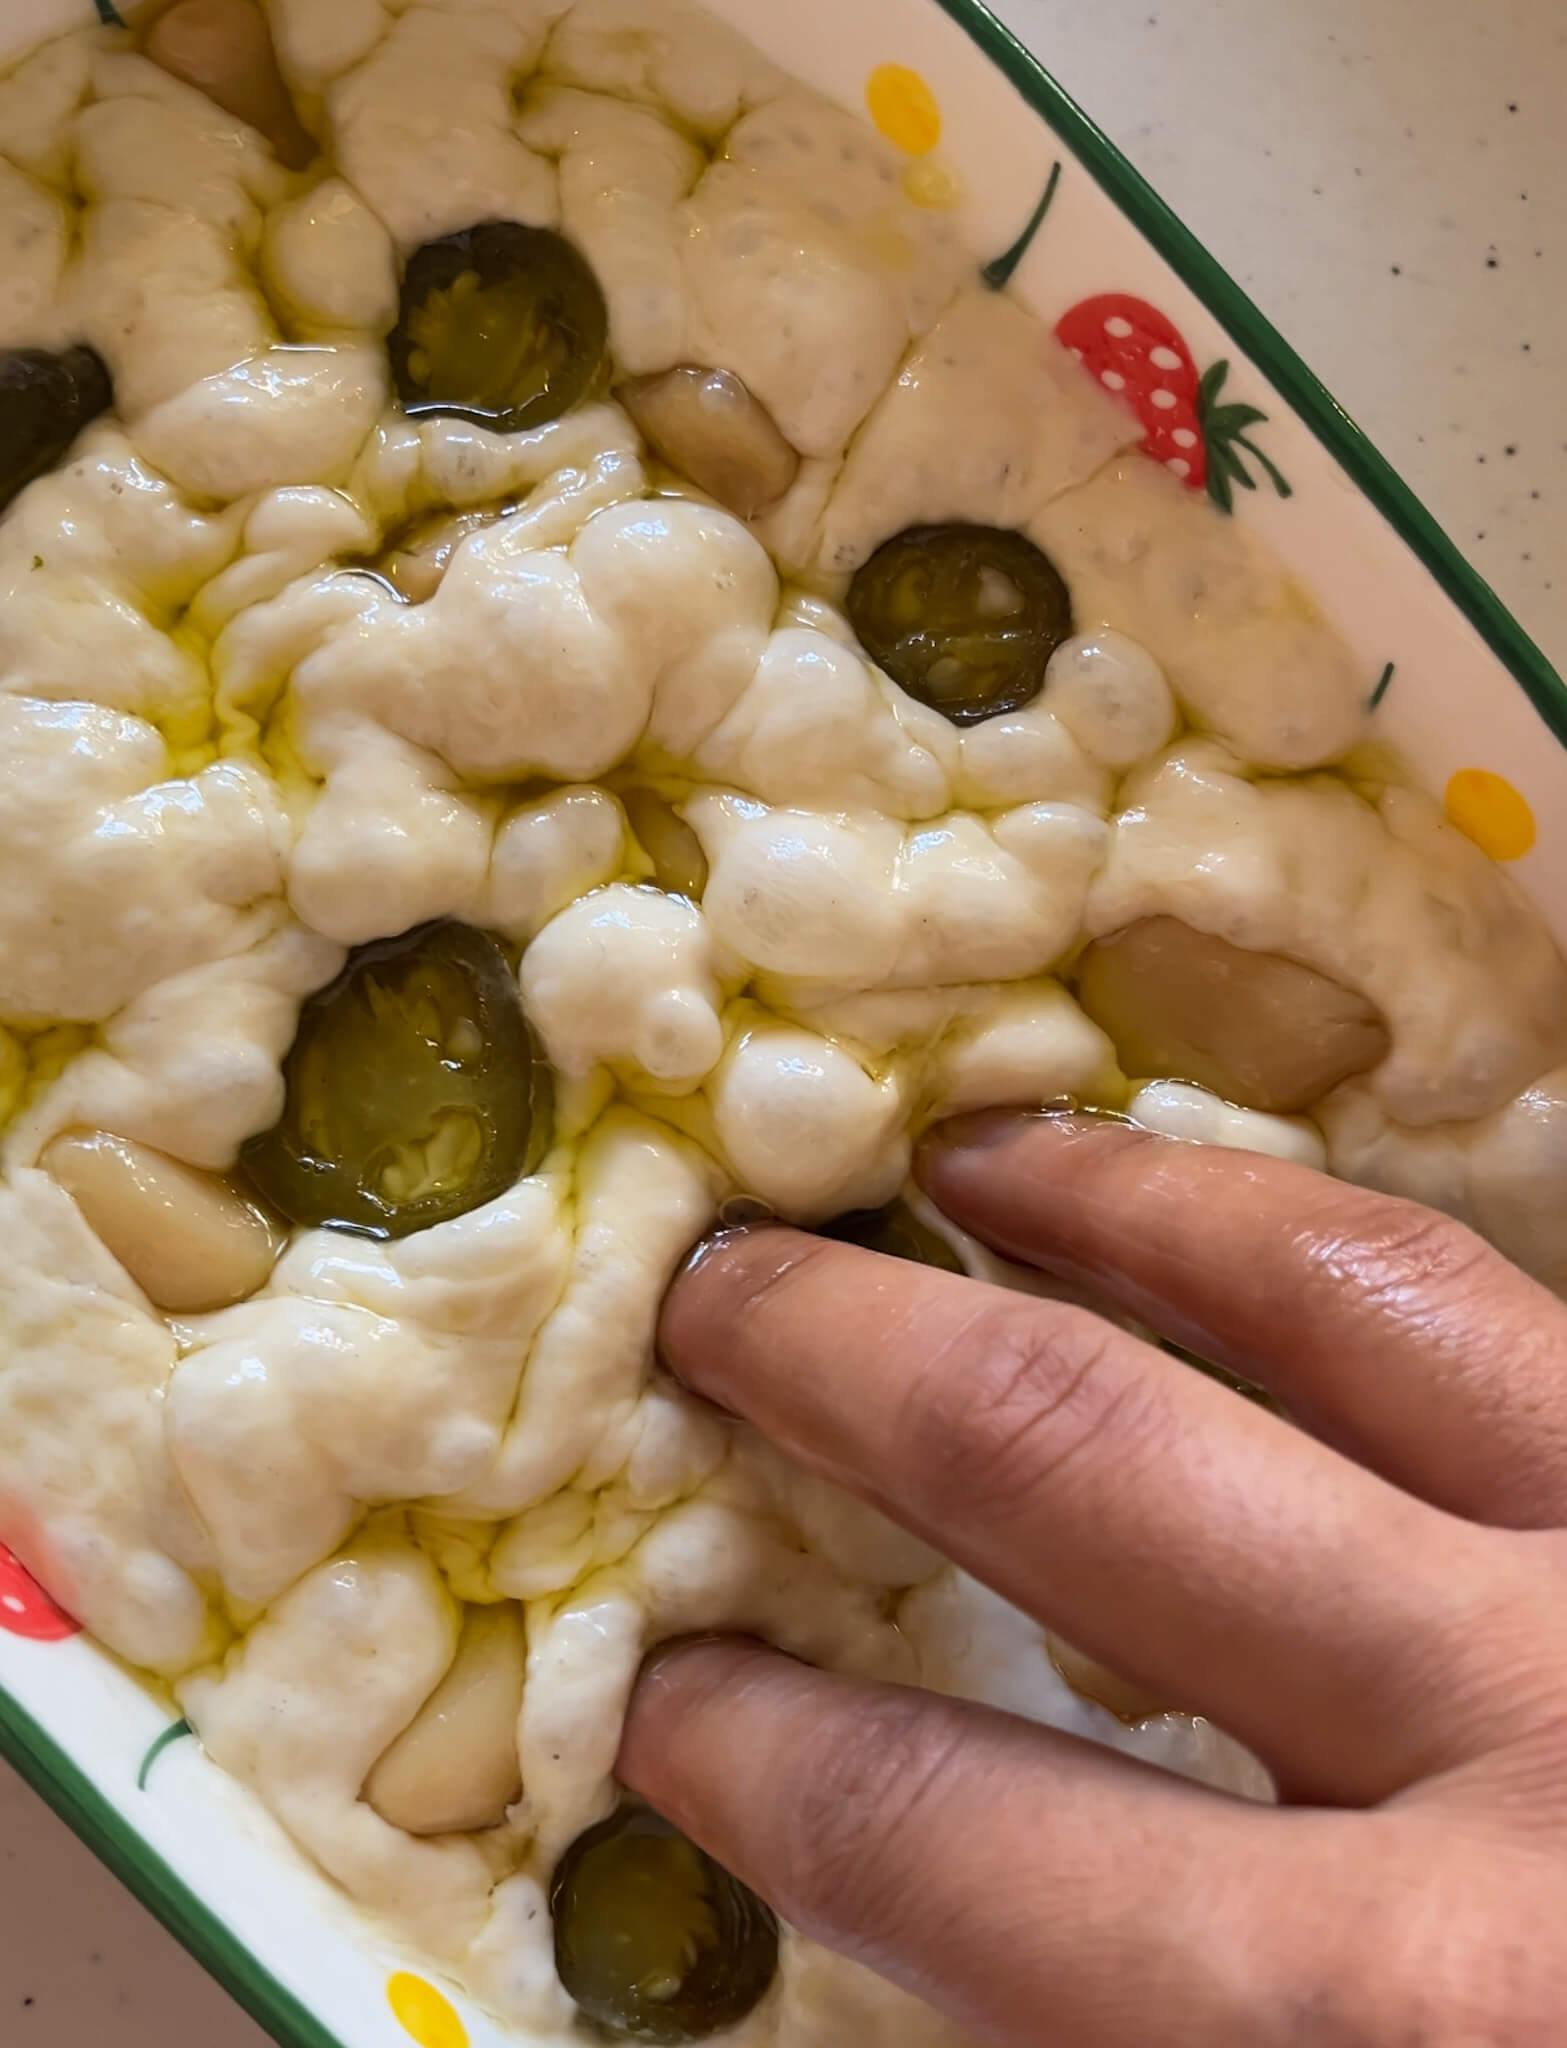
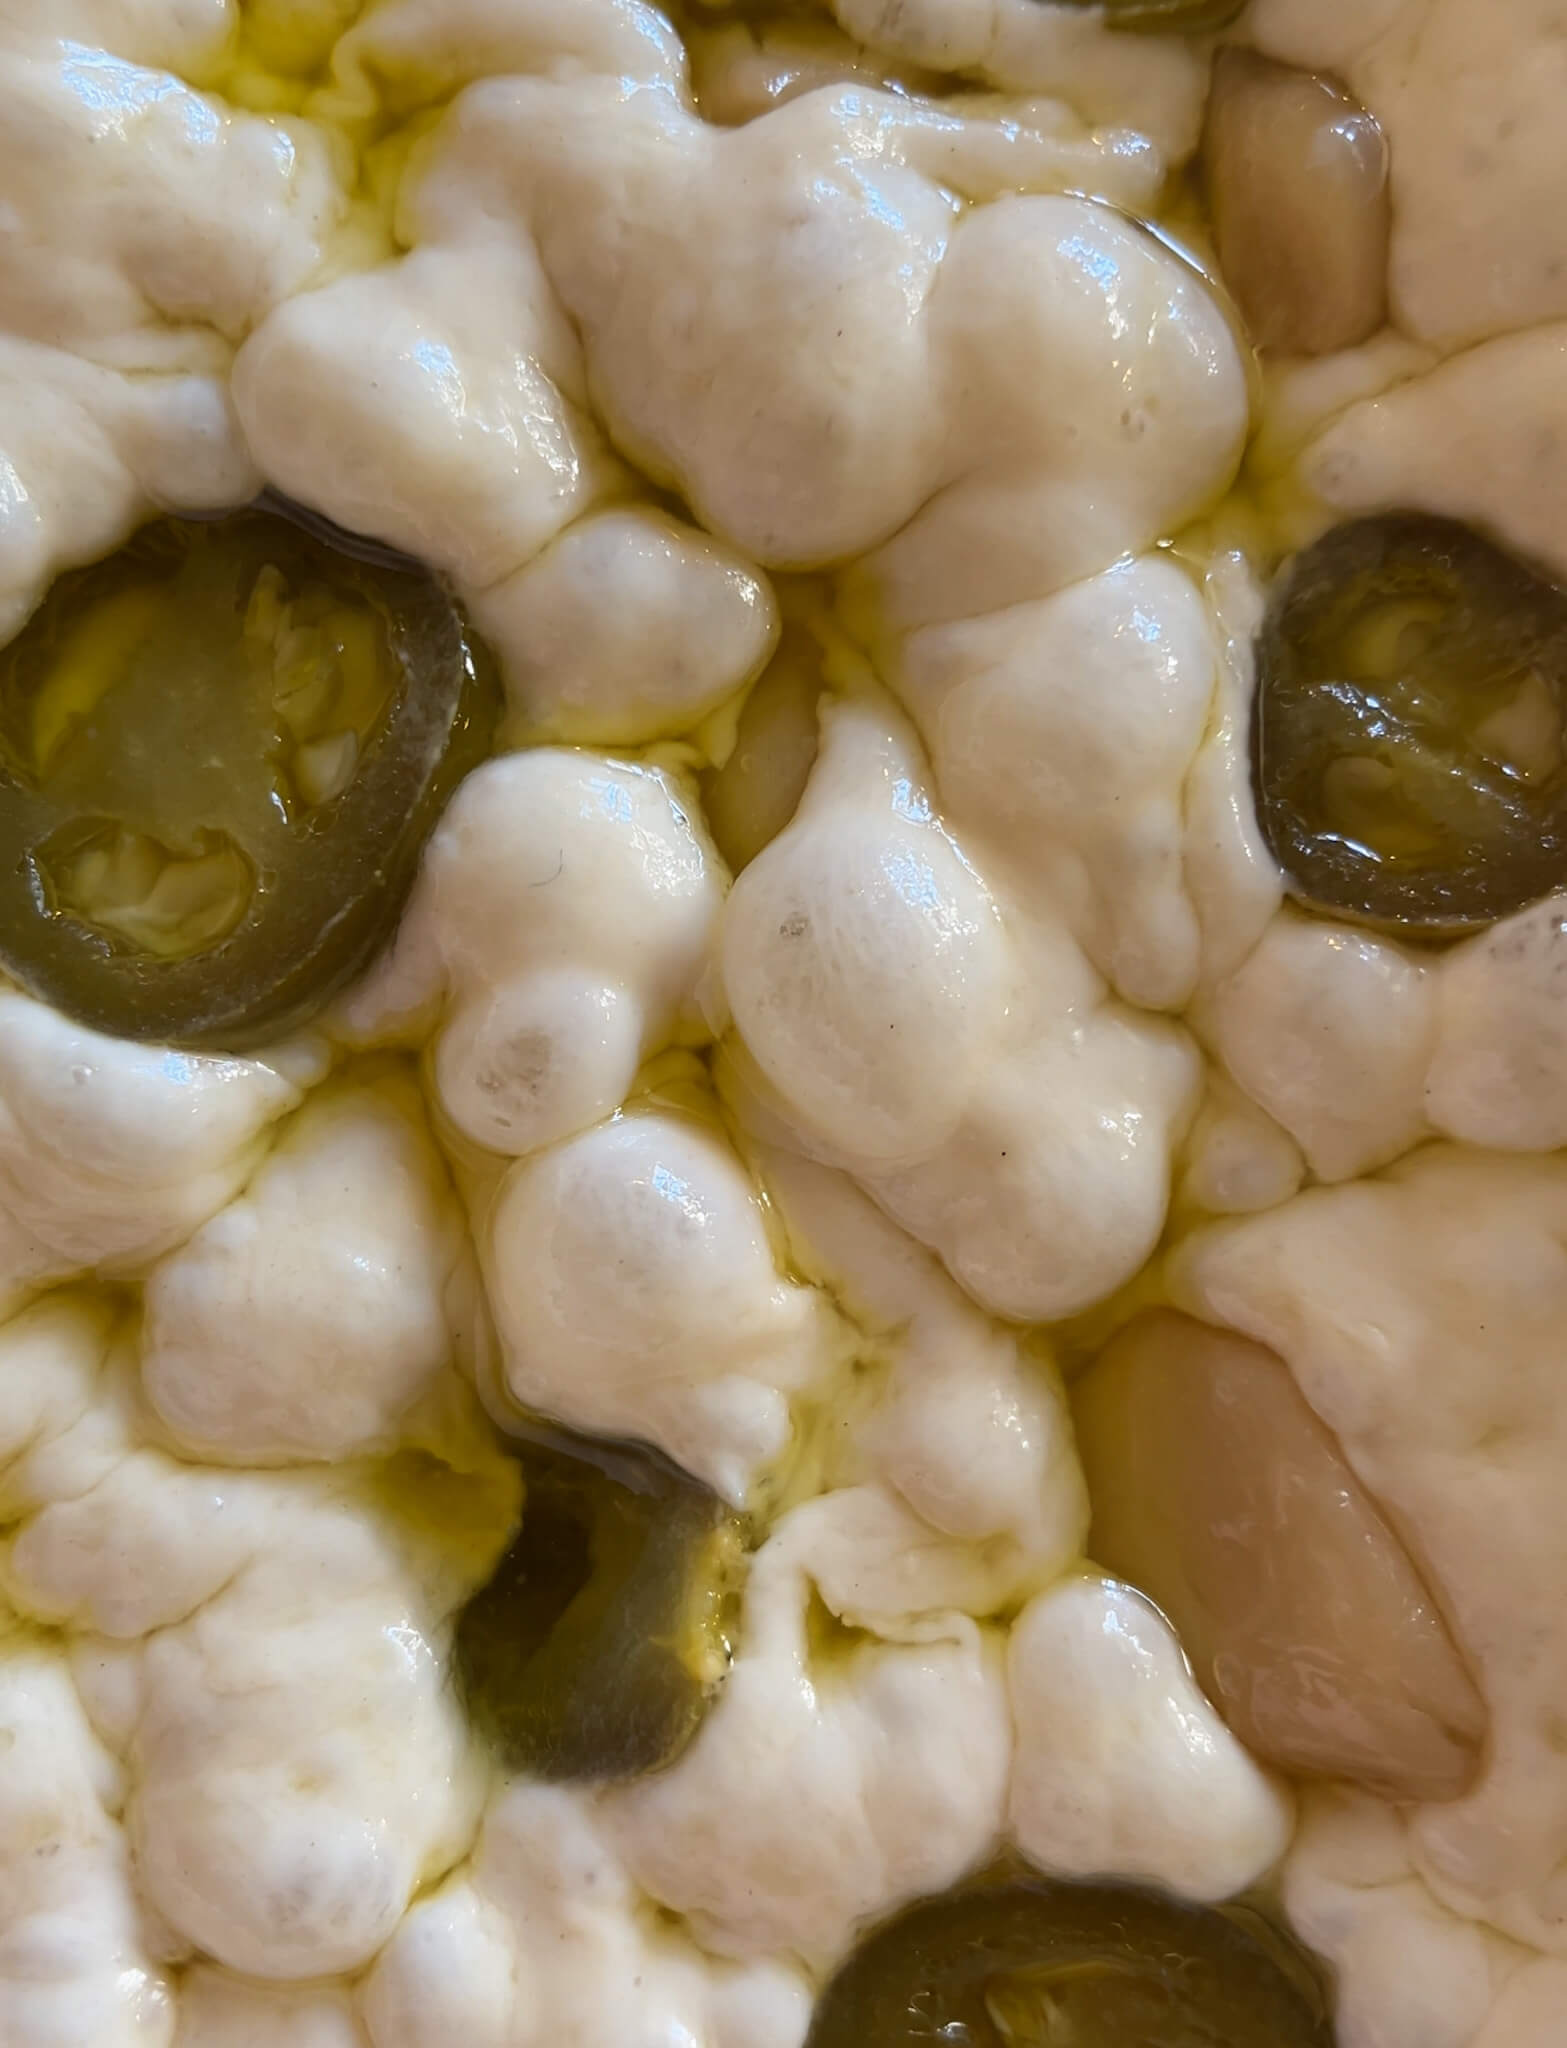
Topping and dimpling: Generously coat the dough with olive oil (I use the garlic infused olive oil from my garlic confit) and then use oiled fingers: dimple it really well. This is what gives focaccia its signature look and texture. Add toppings of your choice, I did garlic confit, flaky salt and pickled jalapenos but you can add whatever you love.
Baking:
• Oven: Bake at 220°C for 20-30 minutes until golden brown and crispy.
• Airfryer: Bake at 200°C for about 15-20 minutes. My trick here is to pour some water into the bottom compartment of the airfryer and place a few ice cubes around the baking dish. This creates steam, giving you a crispy exterior while keeping the inside soft and chewy.
Cooling and serving: Once baked, let the focaccia cool before slicing. This step is important as it allows the structure to set and prevents it from becoming gummy. Then slice, serve and enjoyy!
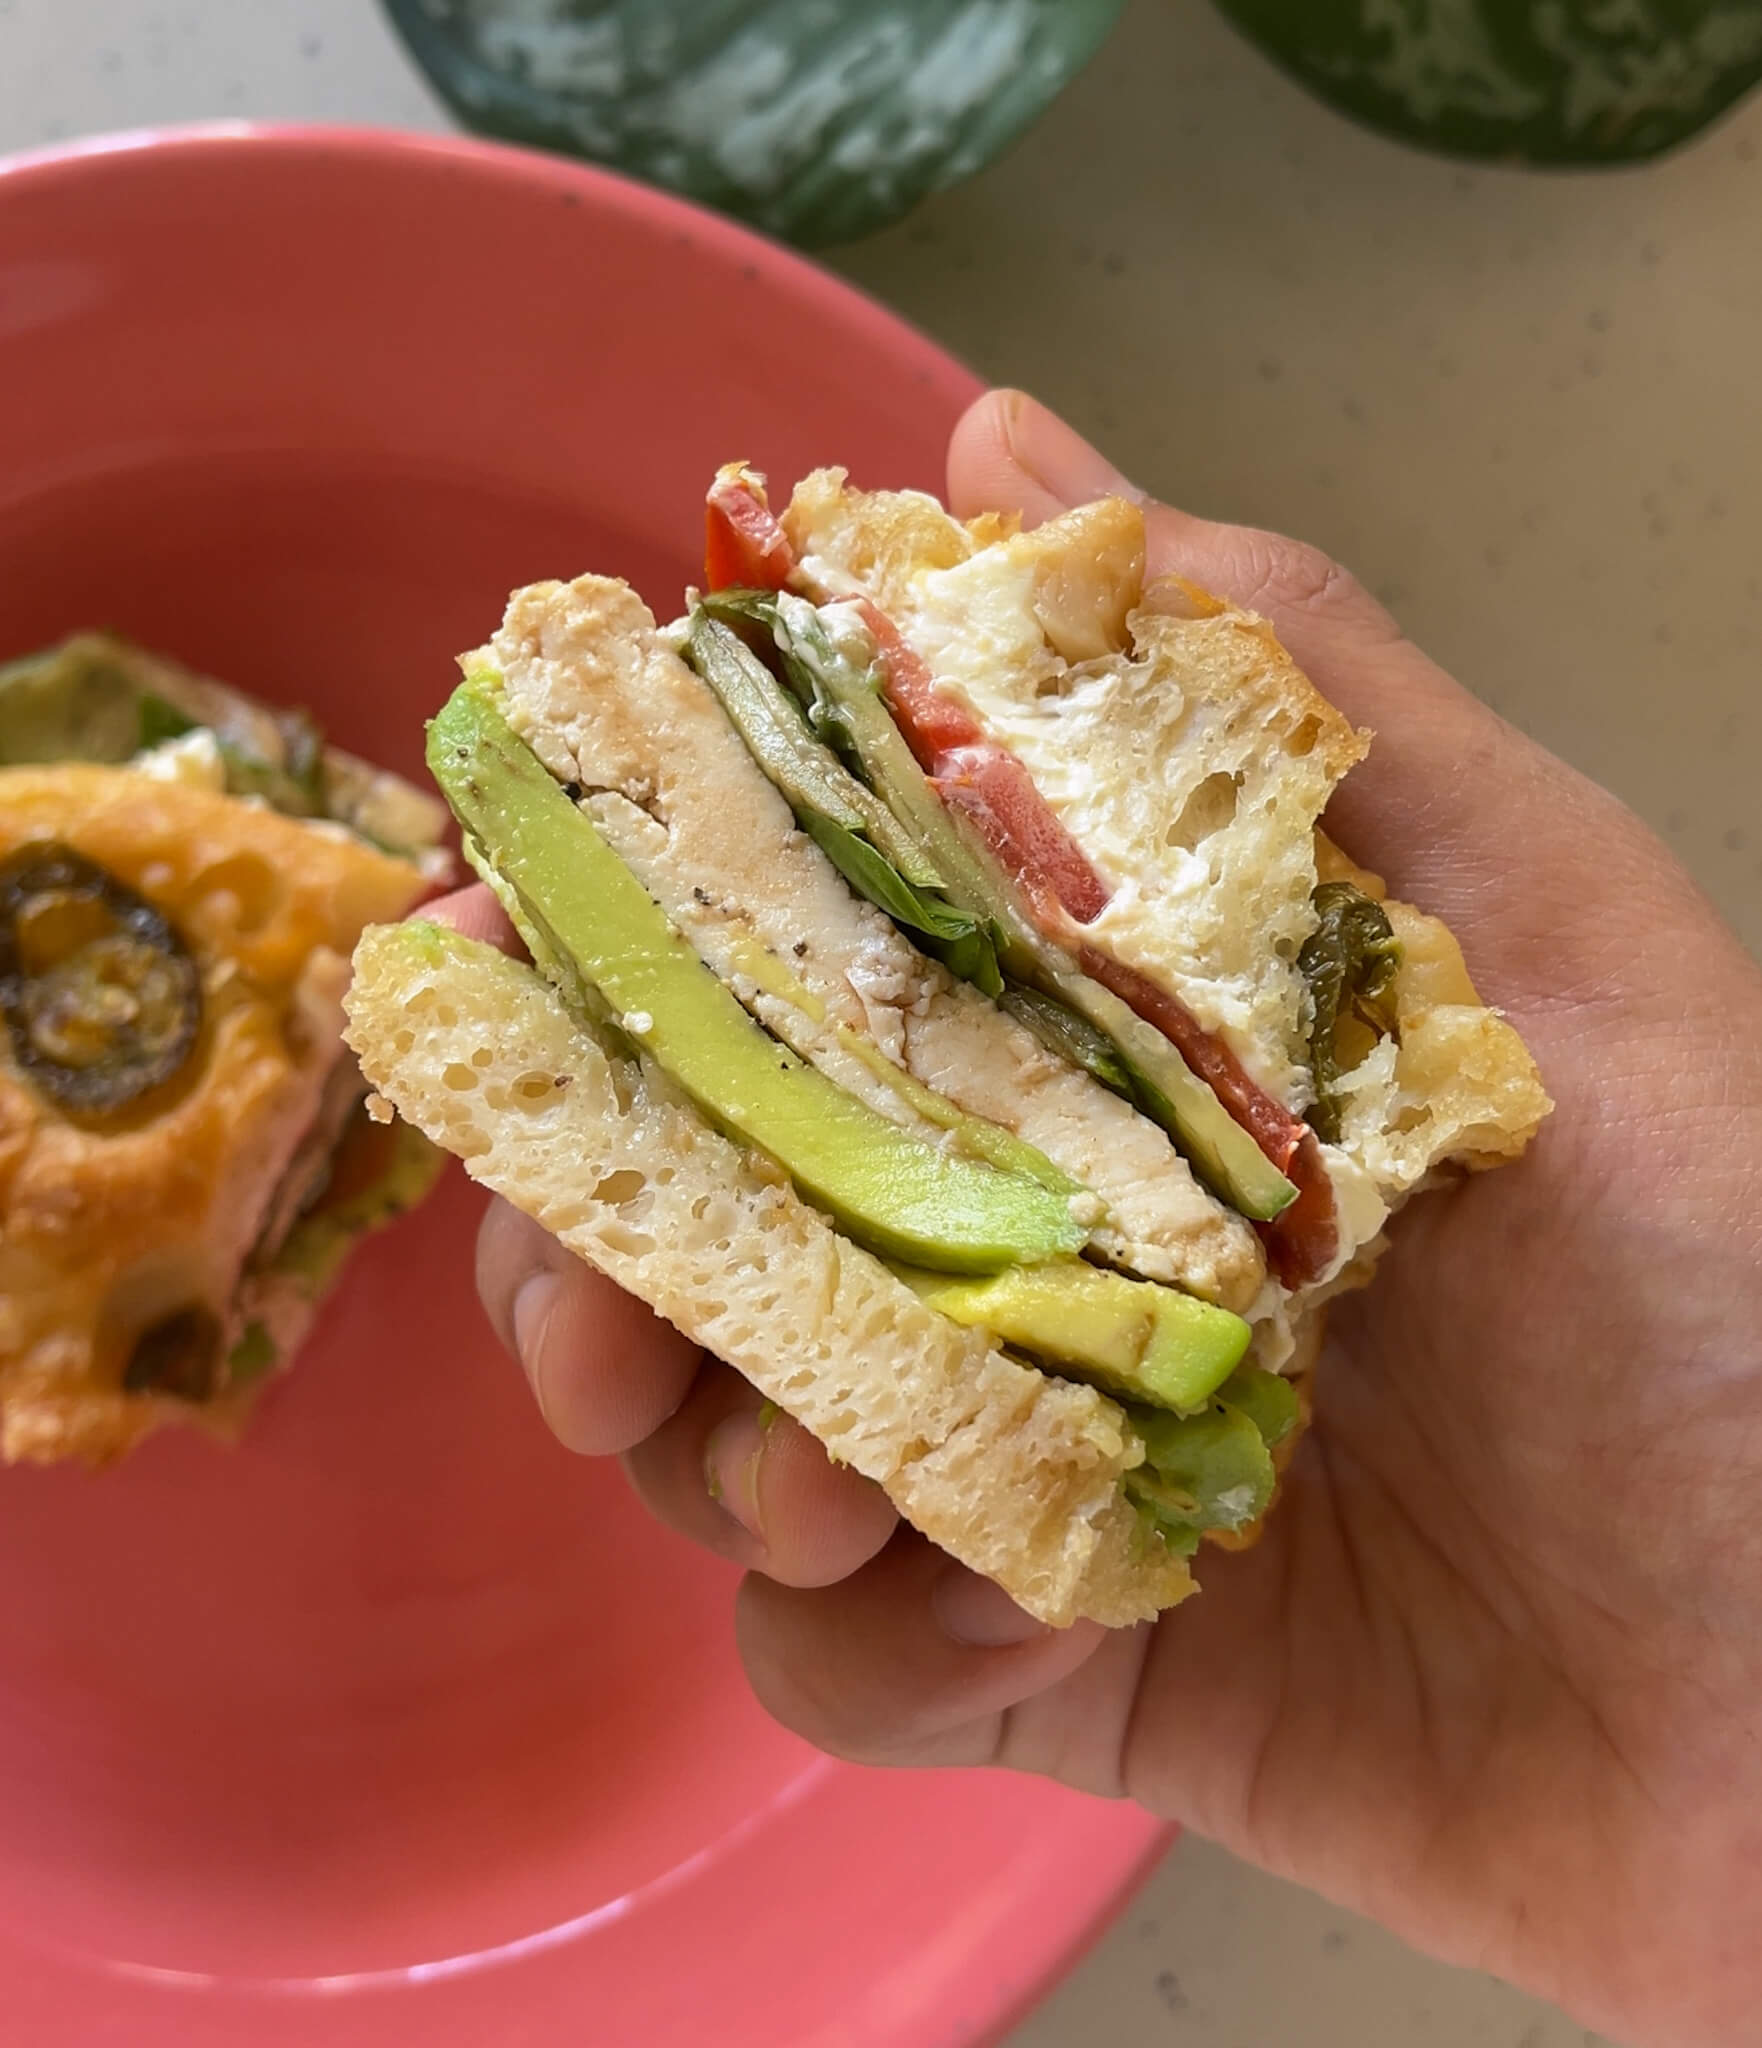
This focaccia also makes the most amazing sandwiches!
You might also want to try my:
No Knead Focaccia (Airfryer Friendly)
Crispy on the outside, soft, spongy and slightly chewy on the inside: this no knead focaccia is made with just 5 ingredients!
servings
6 pieces
prep time
15 min
proof time
3.5 - 12 hrs
bake time
oven: 20-30 min
airfryer: 15-20 min
Ingredients
Dough
- 1/2 cup + 1 tbsp warm water
- 1 tsp honey (or sugar)
- 1/2 tsp active dry yeast
- 1 tbsp extra virgin olive oil
- 1 cup all purpose flour
- 1 tsp salt
Top
Equipment
Instructions:
- Mix warm water, honey and yeast in a small bowl and let it sit for 10 minutes till foamy. If it doesn’t foam, start over with a new packet of yeast.
- In a large bowl, combine the proofed yeast mixture with flour, salt and olive oil. Mix using chopsticks, a spatula or your fingers until a sticky, shaggy dough forms. No kneading required.
- Cover and place the dough in a warm spot to rise and double in size. You can create a warm environment for the dough by placing a bowl of hot water in the bottom rack of your oven (turned off).
- I like to 3 sets of a mixture of coil folds and stretch and folds. For stretch and fold: dip your hands in cold water, lift one side of the dough and fold it over itself. Rotate the bowl and repeat on all sides. For coil folds: gently lift the dough with both hands, stretch it upwards and fold it under itself. Repeat every hour, three times.
- After the third rise, you can either refrigerate the dough for 12-36 hours to develop more flavour and airiness or proceed straight to baking. If baking immediately, transfer the dough to an oiled baking dish and let it rise again.
- If refrigerating, take the cold dough out whenever you're ready to bake. Transfer it to an oiled baking dish and let it come to room temperature while rising in the dish.
- Once the dough is bubbly and risen, drizzle generously with extra virgin olive oil and use your oiled fingers to dimple the dough.
- Add toppings of your choice: I did garlic confit, flaky salt and pickled jalapenos. Push the toppings in gently with your fingers.
- For oven: bake at 220°C for 20-30 minutes. For airfryer: bake at 200°C for about 20 minutes. To create steam, pour some water into the bottom compartment of the air fryer and add a few ice cubes beside the baking dish.
- Once baked, let the focaccia cool completely before slicing. Enjoyy!
Recipe Video
Leave a Comment
works every single time
Made this thrice now, it come out incredible each time
What would be the measurements if I want to make double the quantity?
Made this delicious bread multiple times & it’s always great! I have never tried the overnight proofing because I’m too impatient 🙂 Wonderful recipe! Thanks
It was amazingggg
Very clear instructions very cute website and the bred turned out so well absolutely in love thanks a ton🎀♥️♥️
I just love the way you make every dish with soo much love… and i tried soo many of them nd not gonn a lie they taste soooo good…