


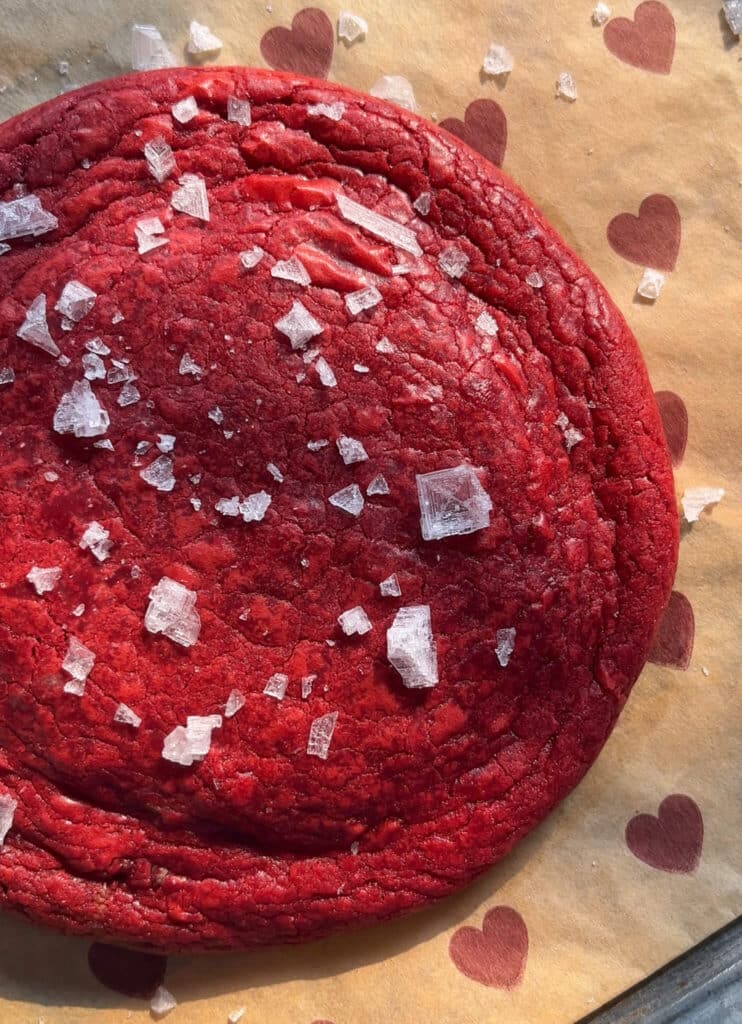
Single Serve Red Velvet Brookie
Craving something extra special? You need to make my Single Serve Red Velvet Brookie stuffed with cream cheese: it’s eggless, airfryer friendly and comes together in under 15 minutes!
Disclosure: This post may contain affiliate links. I may earn a small commission for my endorsement, recommendation, testimonial, and/or link to any products or services from this website.
If you’re not very good with self control, this recipe might be kind of dangerous for you. Why? Cause it is SO easy to make, you’ll want to make it every single day! It’s eggless, airfryer friendly and comes together in under 15 minutes.
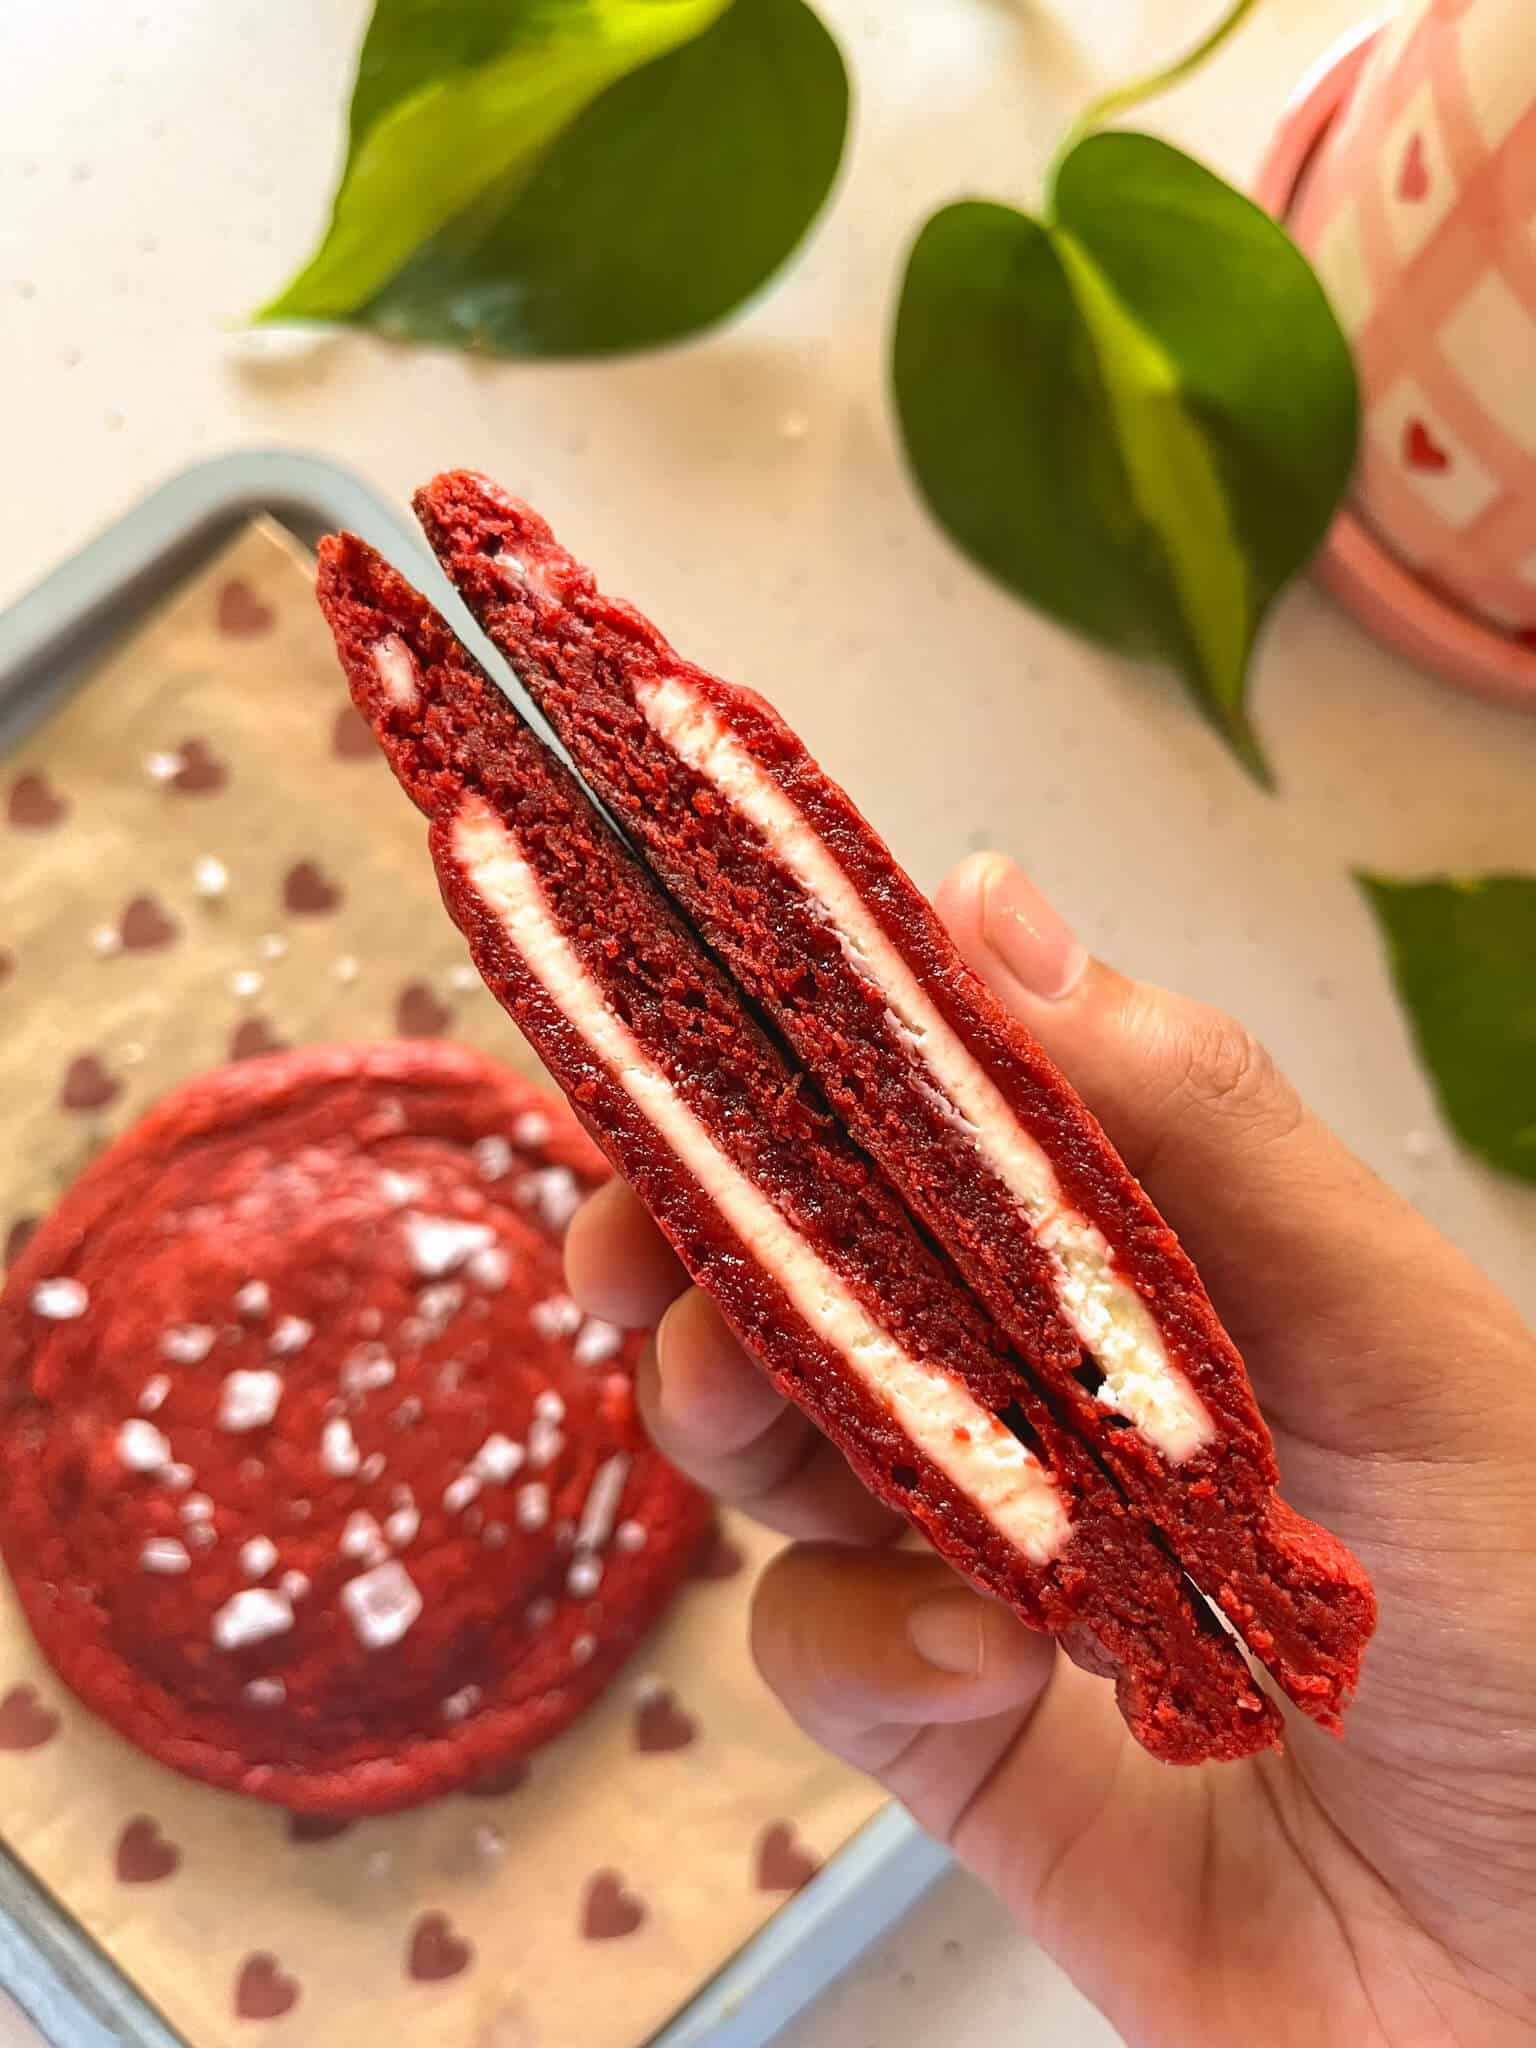
If you love a fudgy brownie, a chewy cookie and a little surprise centre, this dessert is pure magic. It’s soft and decadent with a classic red velvet flavour, a tangy cream cheese filling and that perfect crackly top. After making my Classic Single Serve Brookie which turned out so so good (and honestly, y’all loved it just as much), I knew I had to create a red velvet version too and it turned out even better than I could’ve imagined!
What is a brookie?
It’s exactly what it sounds like! A brookie is a cookie and a brownie mixed into one cause why choose when you can have both? It’s perfect for those moments when you’re craving something indulgent but can’t decide between a brownie or a cookie.
My Latest YouTube Video
What You’ll Need (And Why)
- White and Dark Chocolate Chips: In my classic brookie, I use only dark chocolate chips but for this red velvet version, I’m using a mix of white and dark chocolate. White chocolate forms the base while the dark chocolate adds that subtle cocoa depth you expect from a red velvet dessert. Instead of adding cocoa powder, I’m layering in flavour by using dark chocolate chips directly.
- Butter: Melted with the chocolate chips, butter gives richness and that soft, fudgy texture we all love in a brookie.
- Red Food Colouring: You can’t have a red velvet dessert without that gorgeous red colour.
- Vanilla Extract: Never optional in a cookie like this! Vanilla rounds out the flavours and enhances the red velvet vibe.
- Vinegar: A tiny splash of vinegar is essential for that classic red velvet “essence”. It’s not enough to taste sour but it brightens the flavour and reacts with the baking soda to make the brookie tender.
- Condensed Milk: Condensed milk replaces the need for extra sugar and eggs. It helps create a glossy, crackly top because the sugar is already broken down which when combined with the sugar in the chocolate chips guarantees that perfect finish.
- All Purpose Flour & Baking Soda: These two keep the structure simple and classic- soft, chewy and just the right amount of lift without making the brookie cakey.
- Frozen Cream Cheese: Since the brookie itself is quite sweet, I like using plain frozen cream cheese for the filling to balance the flavours. If you prefer a sweeter centre, you can mix a little condensed milk or sugar into the cream cheese before freezing it!

Welcome to shivangi kooks! Here I share easy and delicious vegetarian recipes that’ll make you go: this is just so so goood!
More Recipes

How to make this brookie
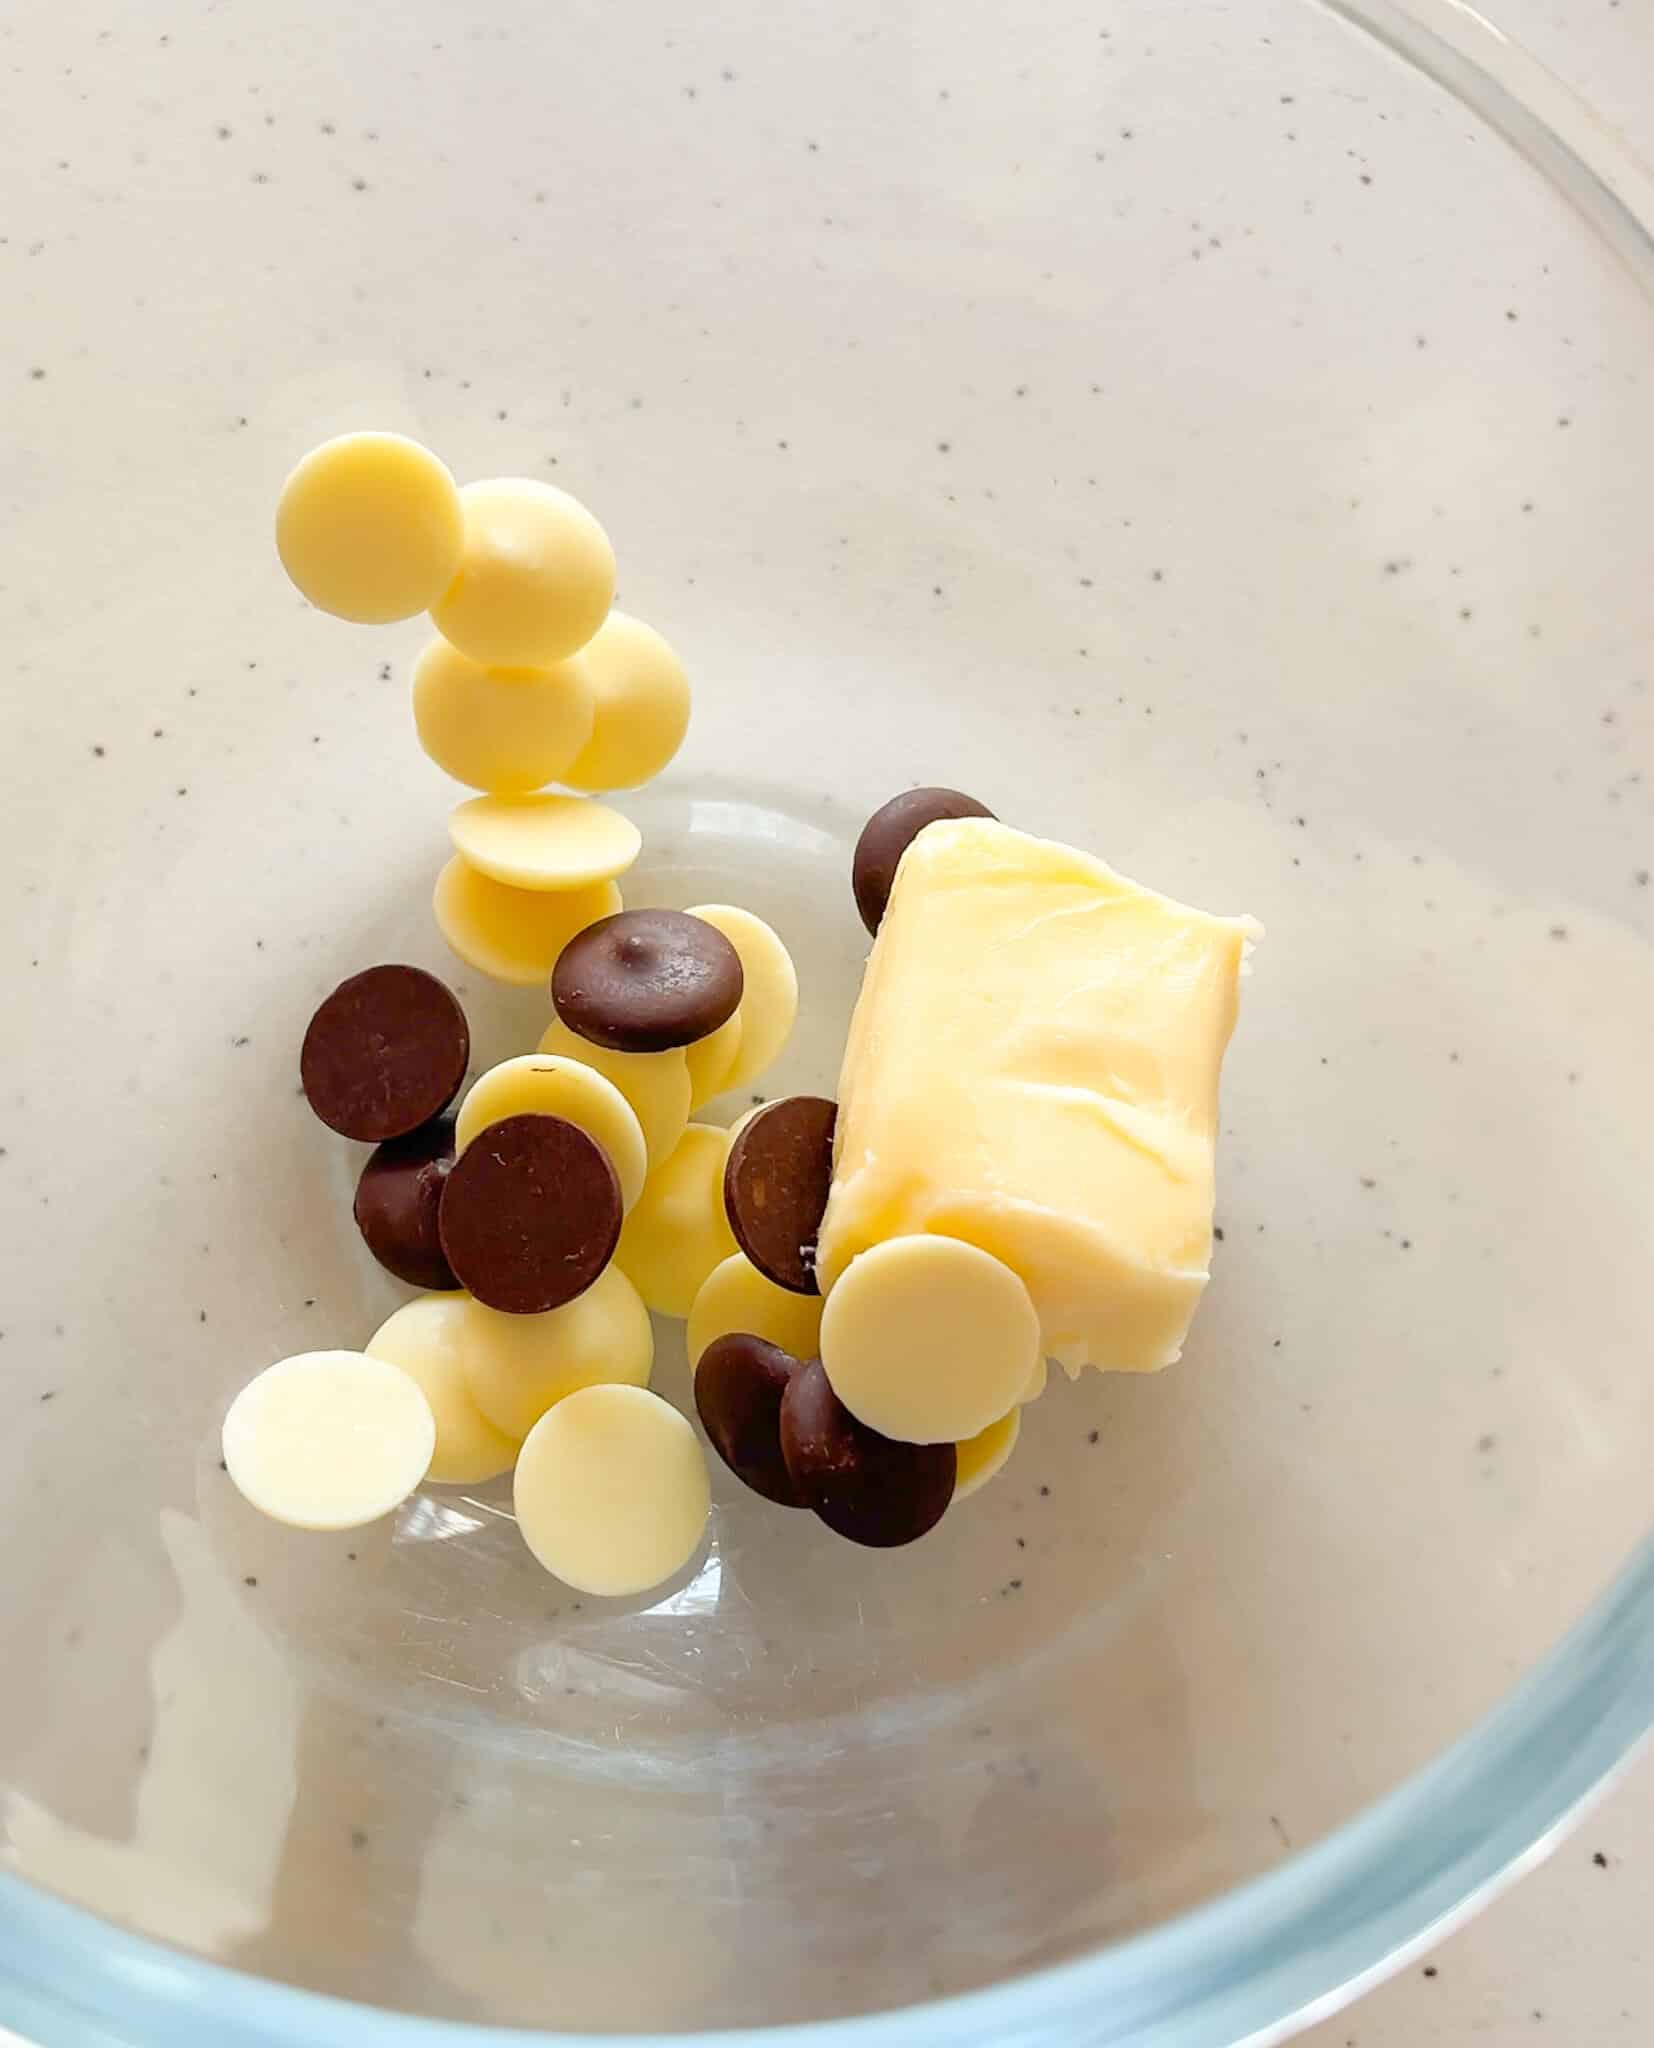
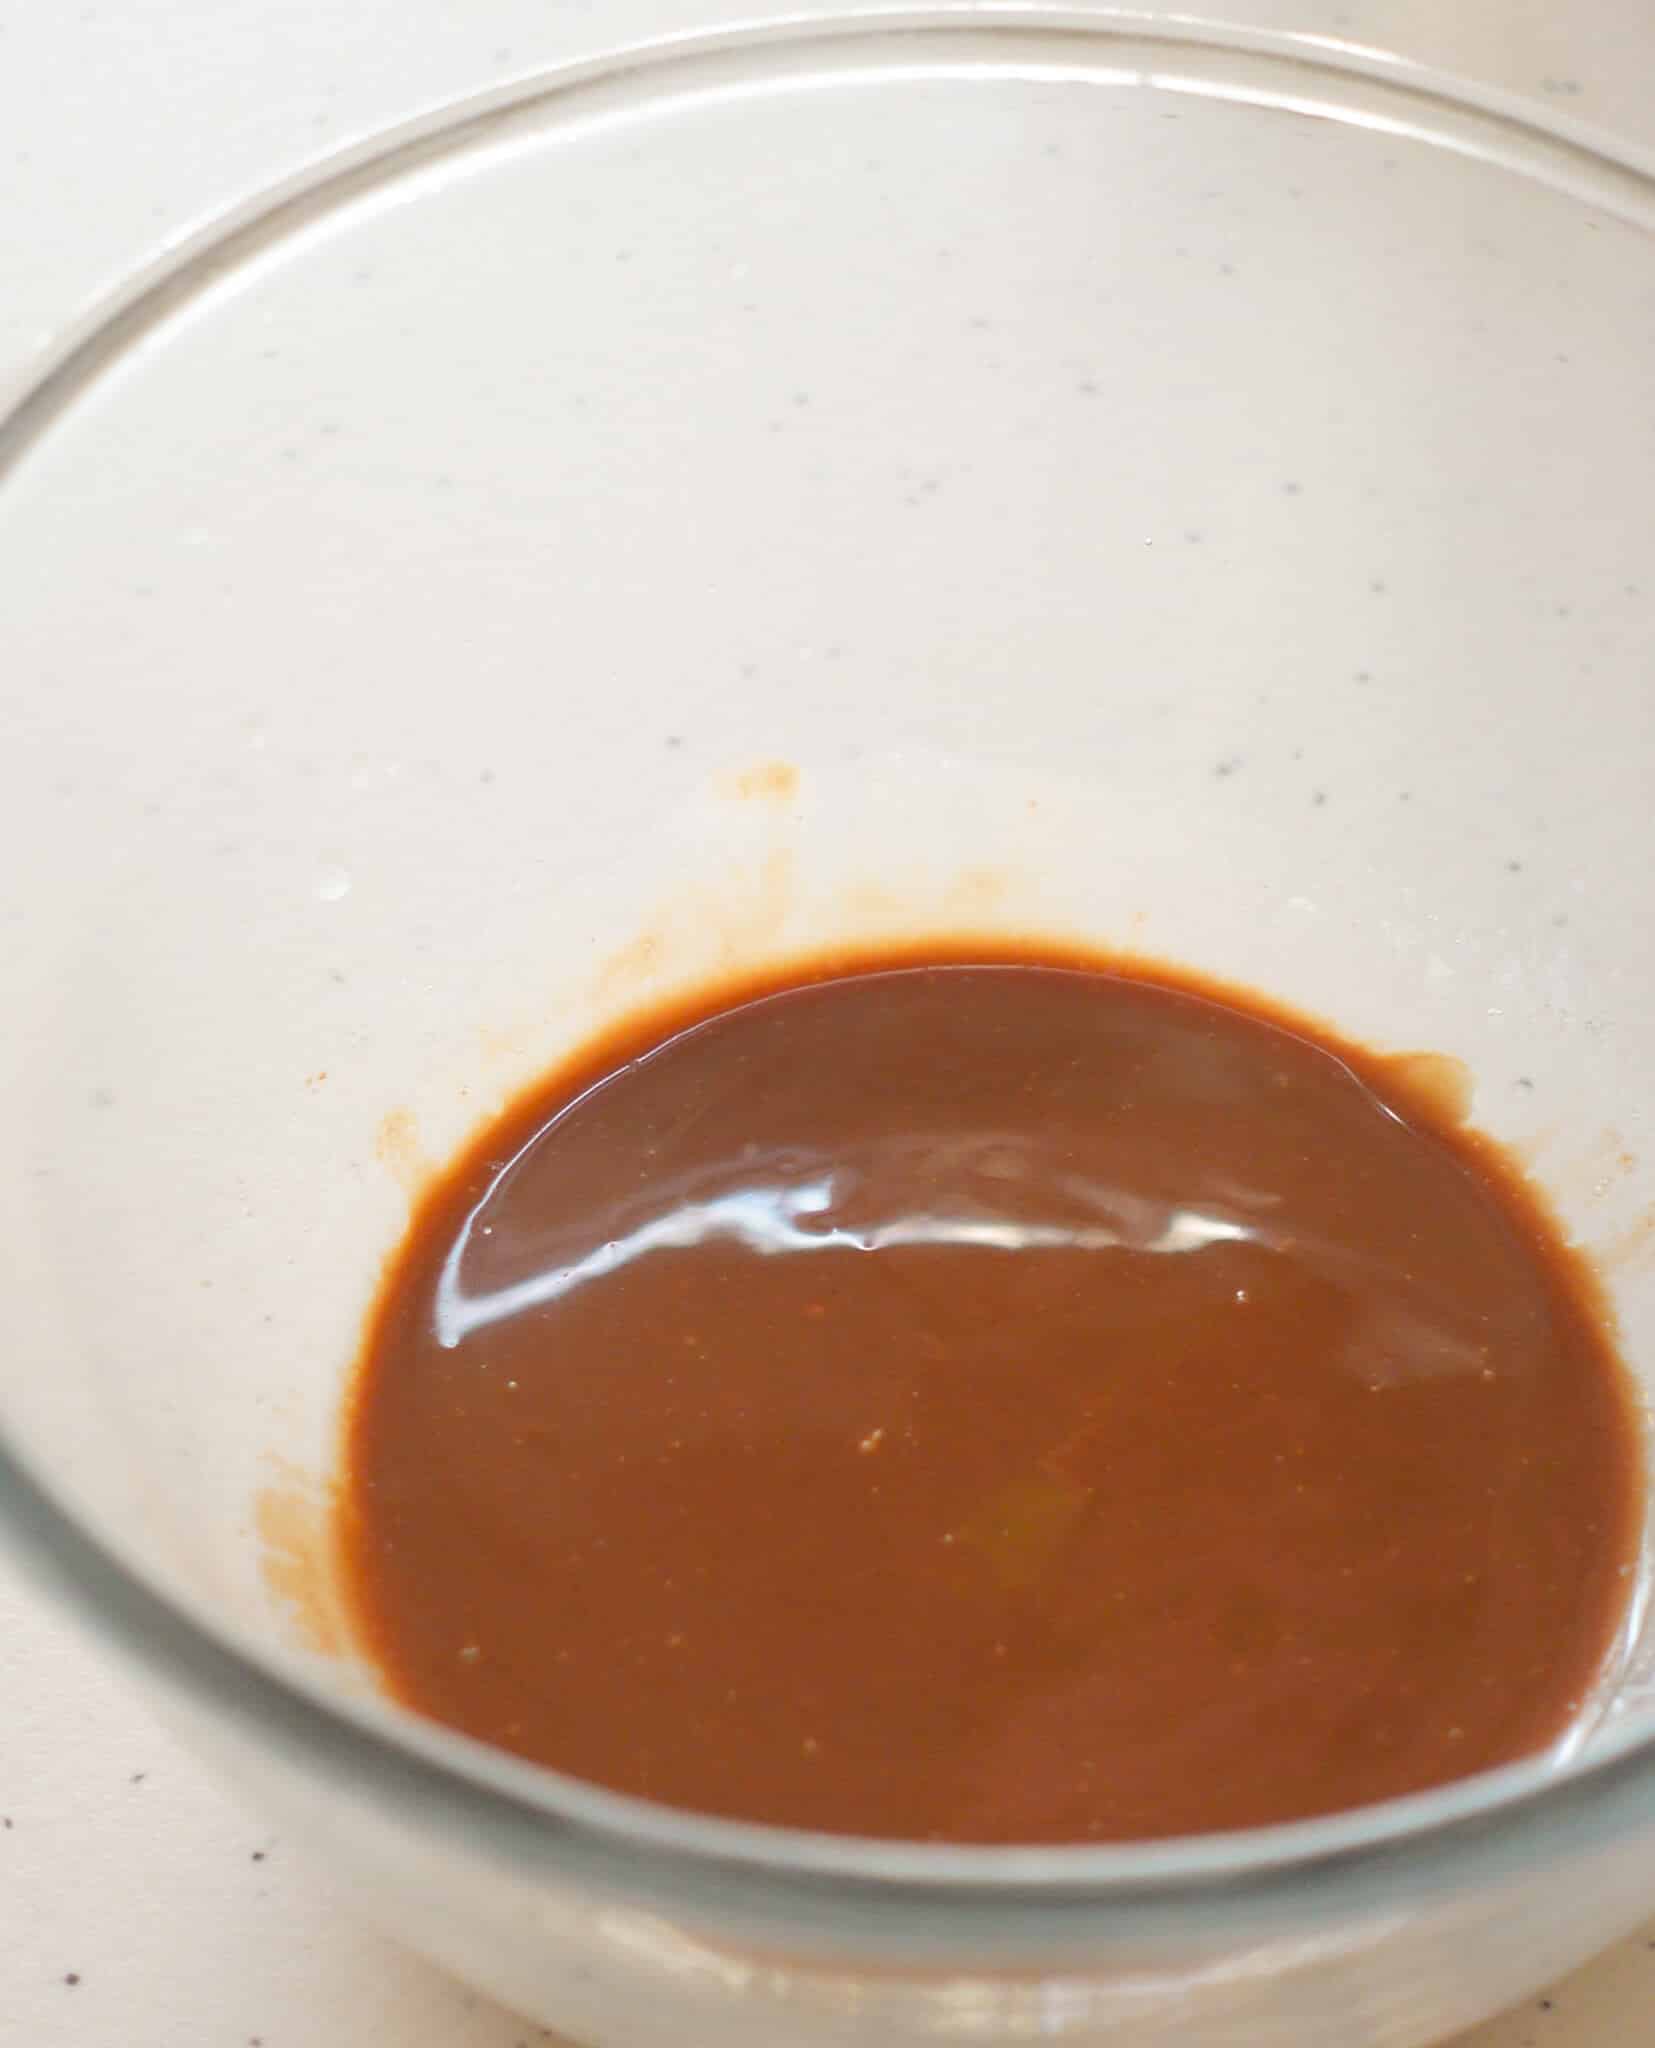
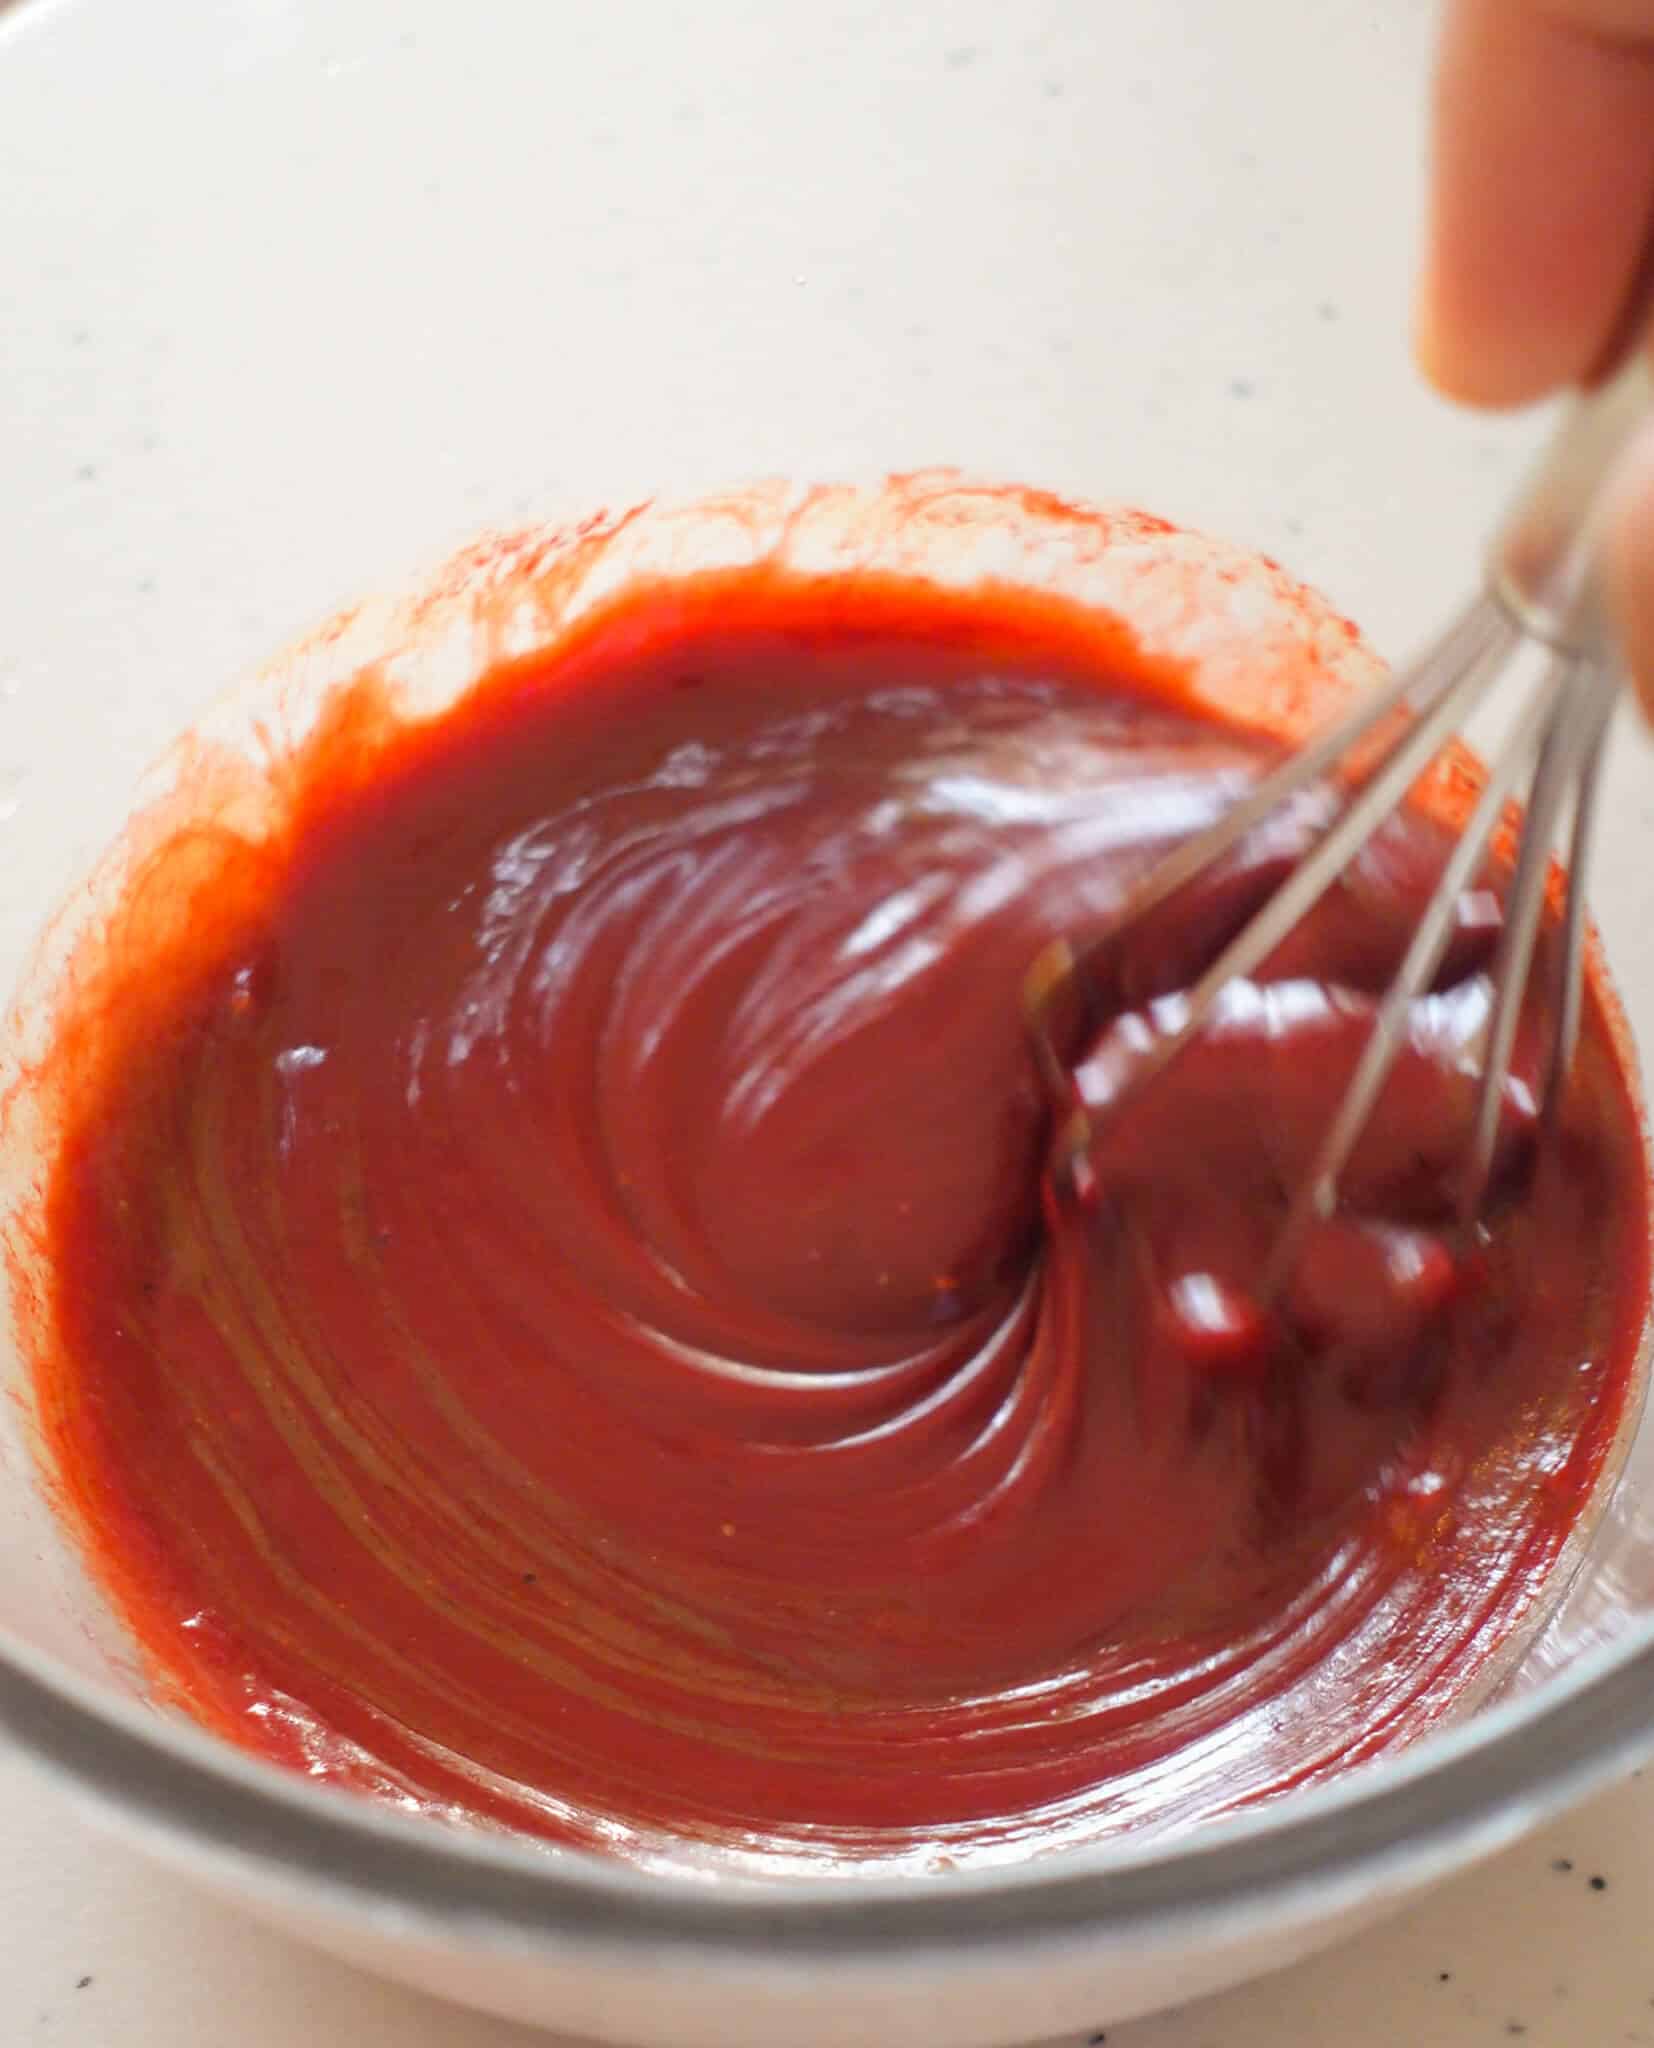
Melt chocolate and butter: In a microwave safe bowl, combine white and dark chocolate chips and butter. Microwave for 30-60 seconds till the butter is fully melted and the mixture is warm. Whisk till the chocolate is completely melted and smooth.
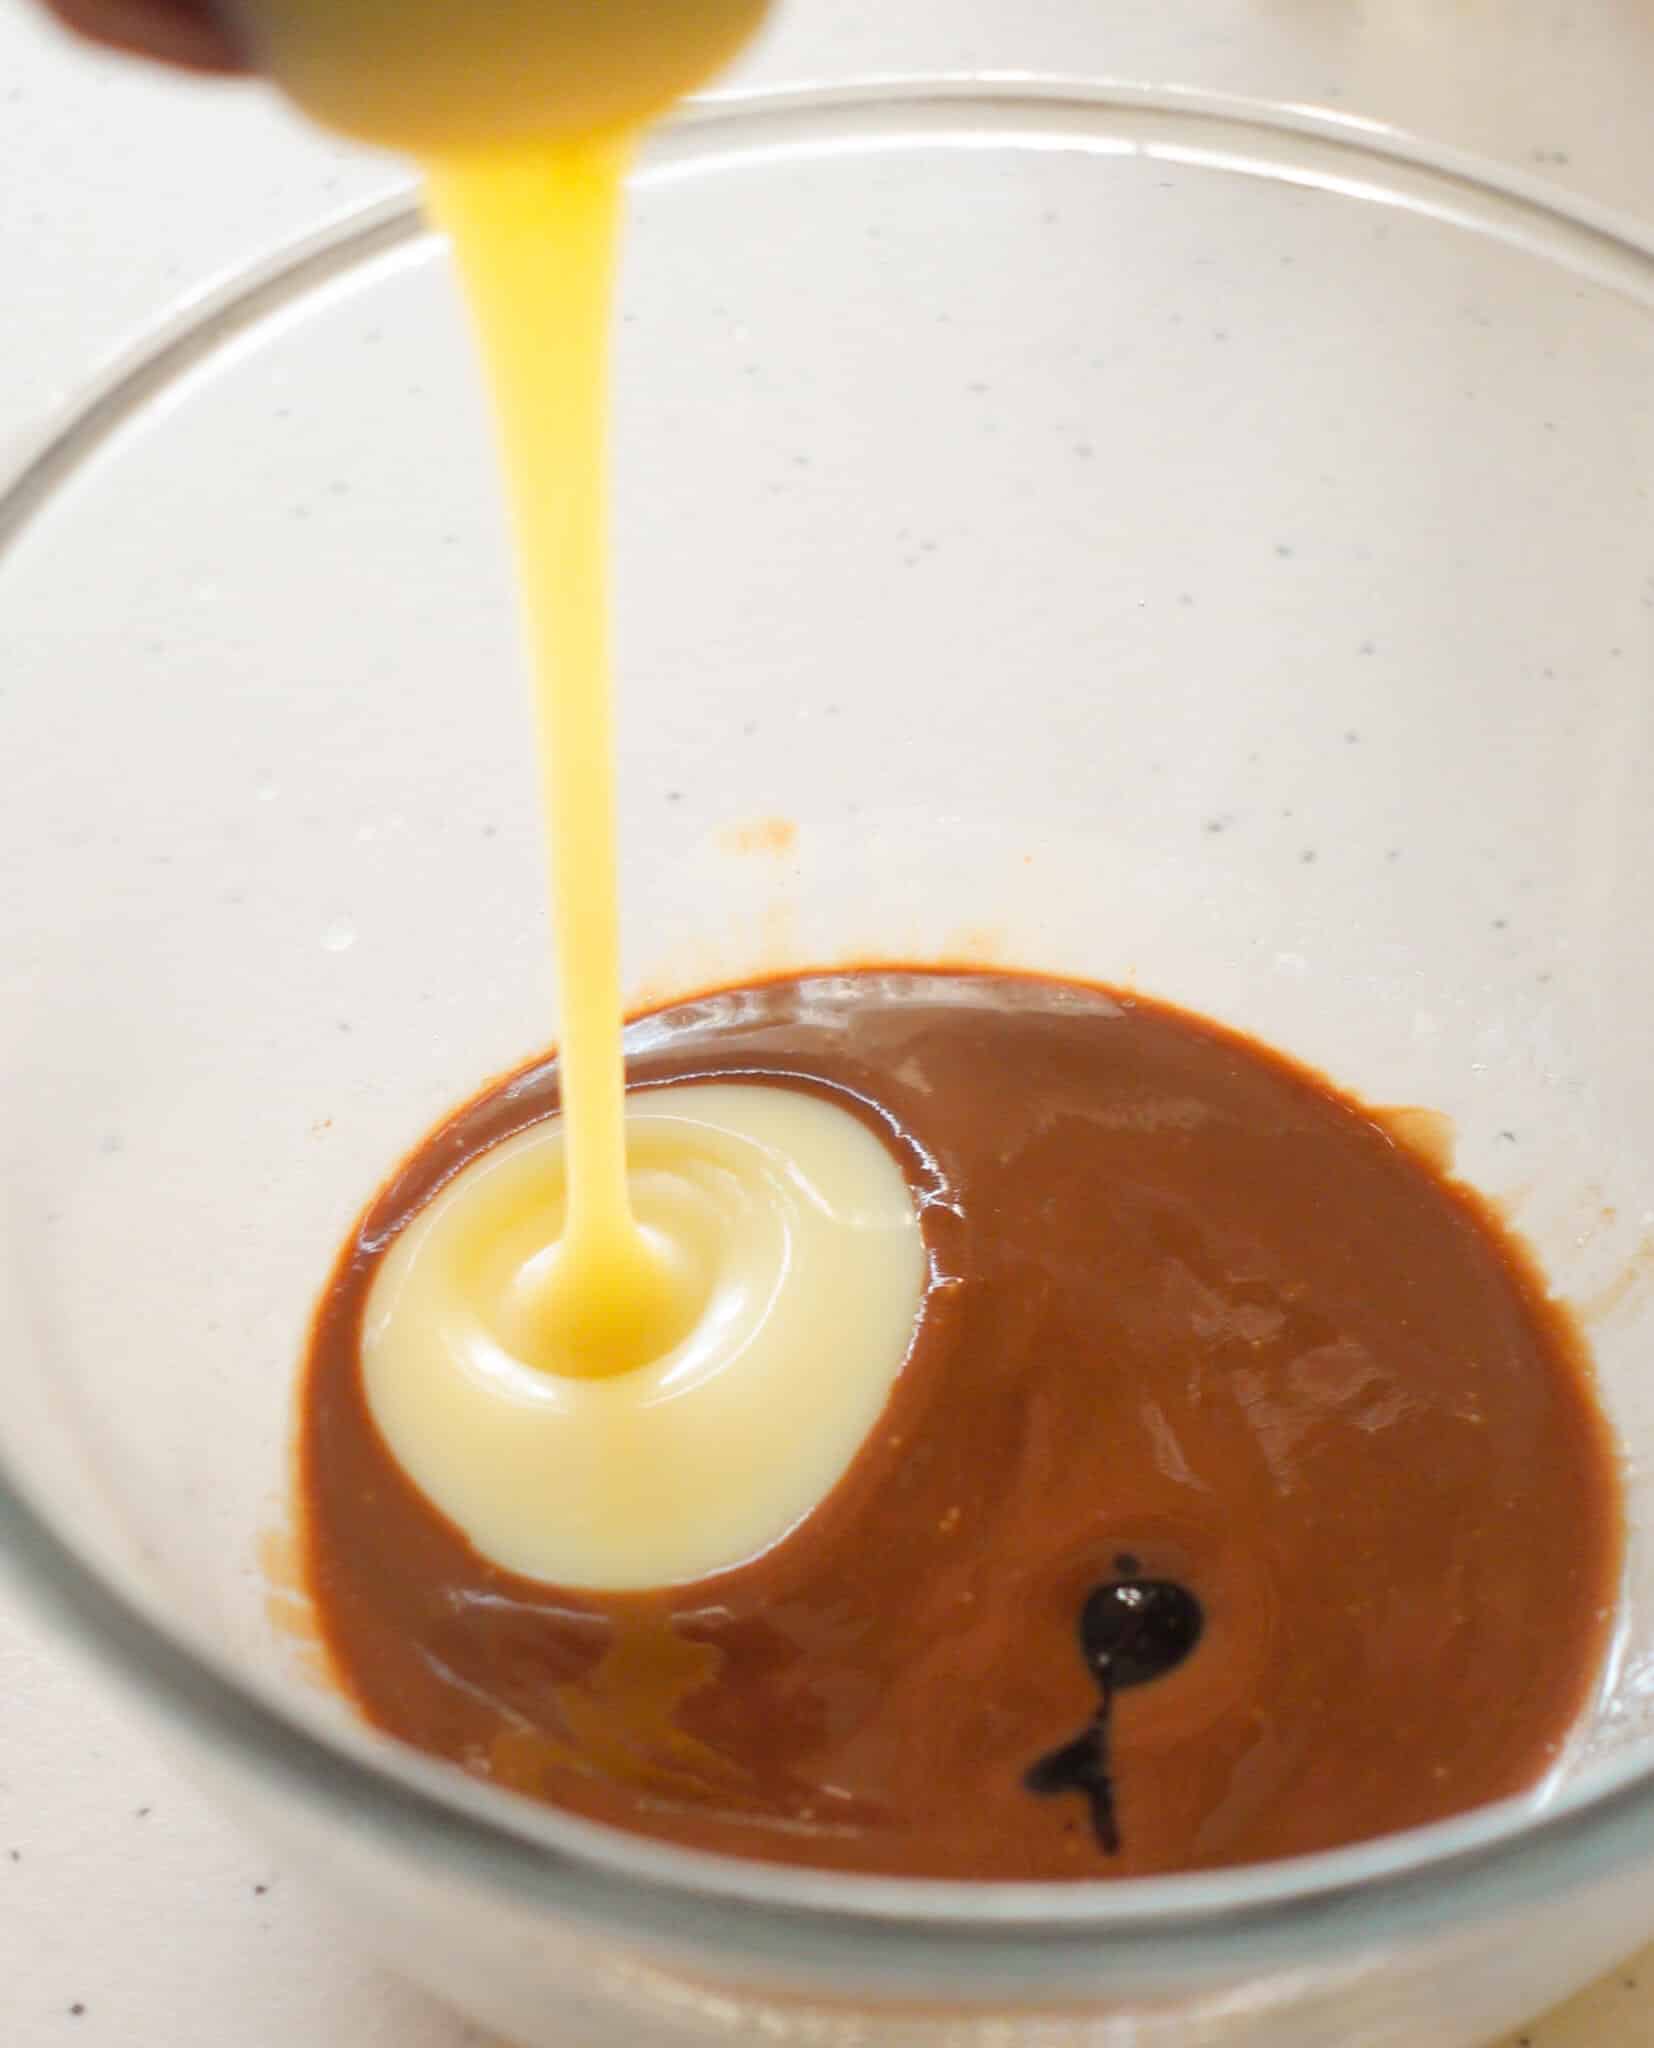
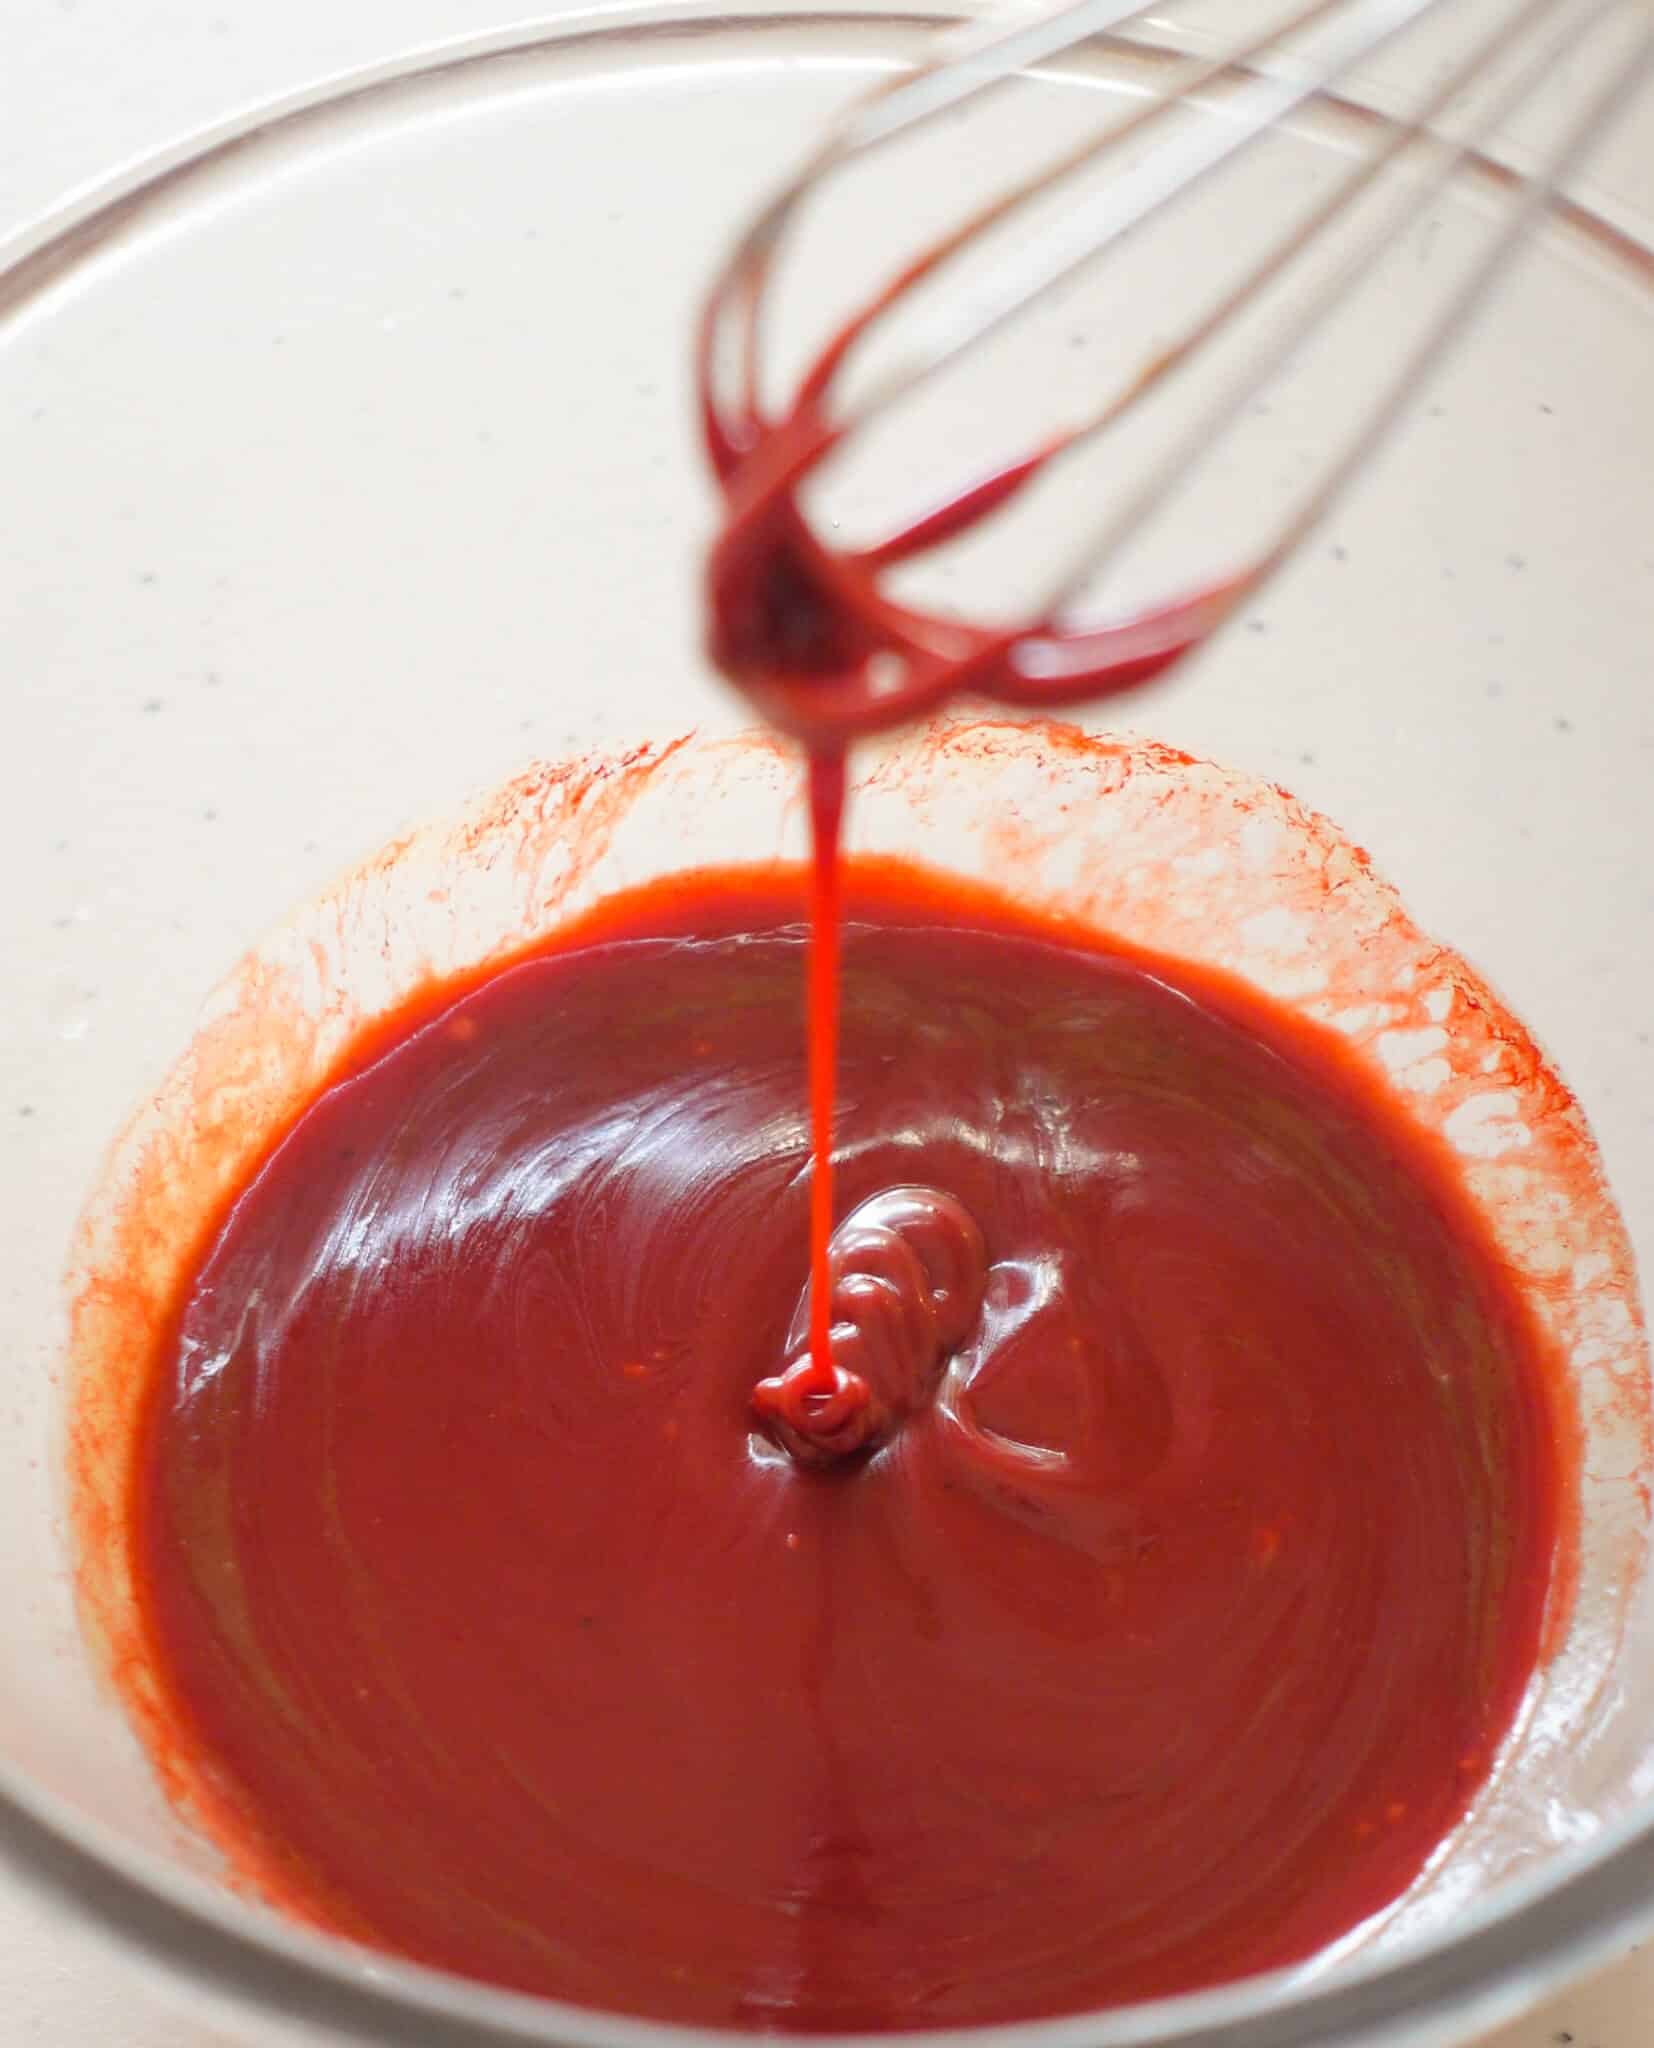
Add wet ingredients: While the mixture is still warm, add red food colour, condensed milk, vanilla extract and the tiniest drop of vinegar. Mix well until fully combined.
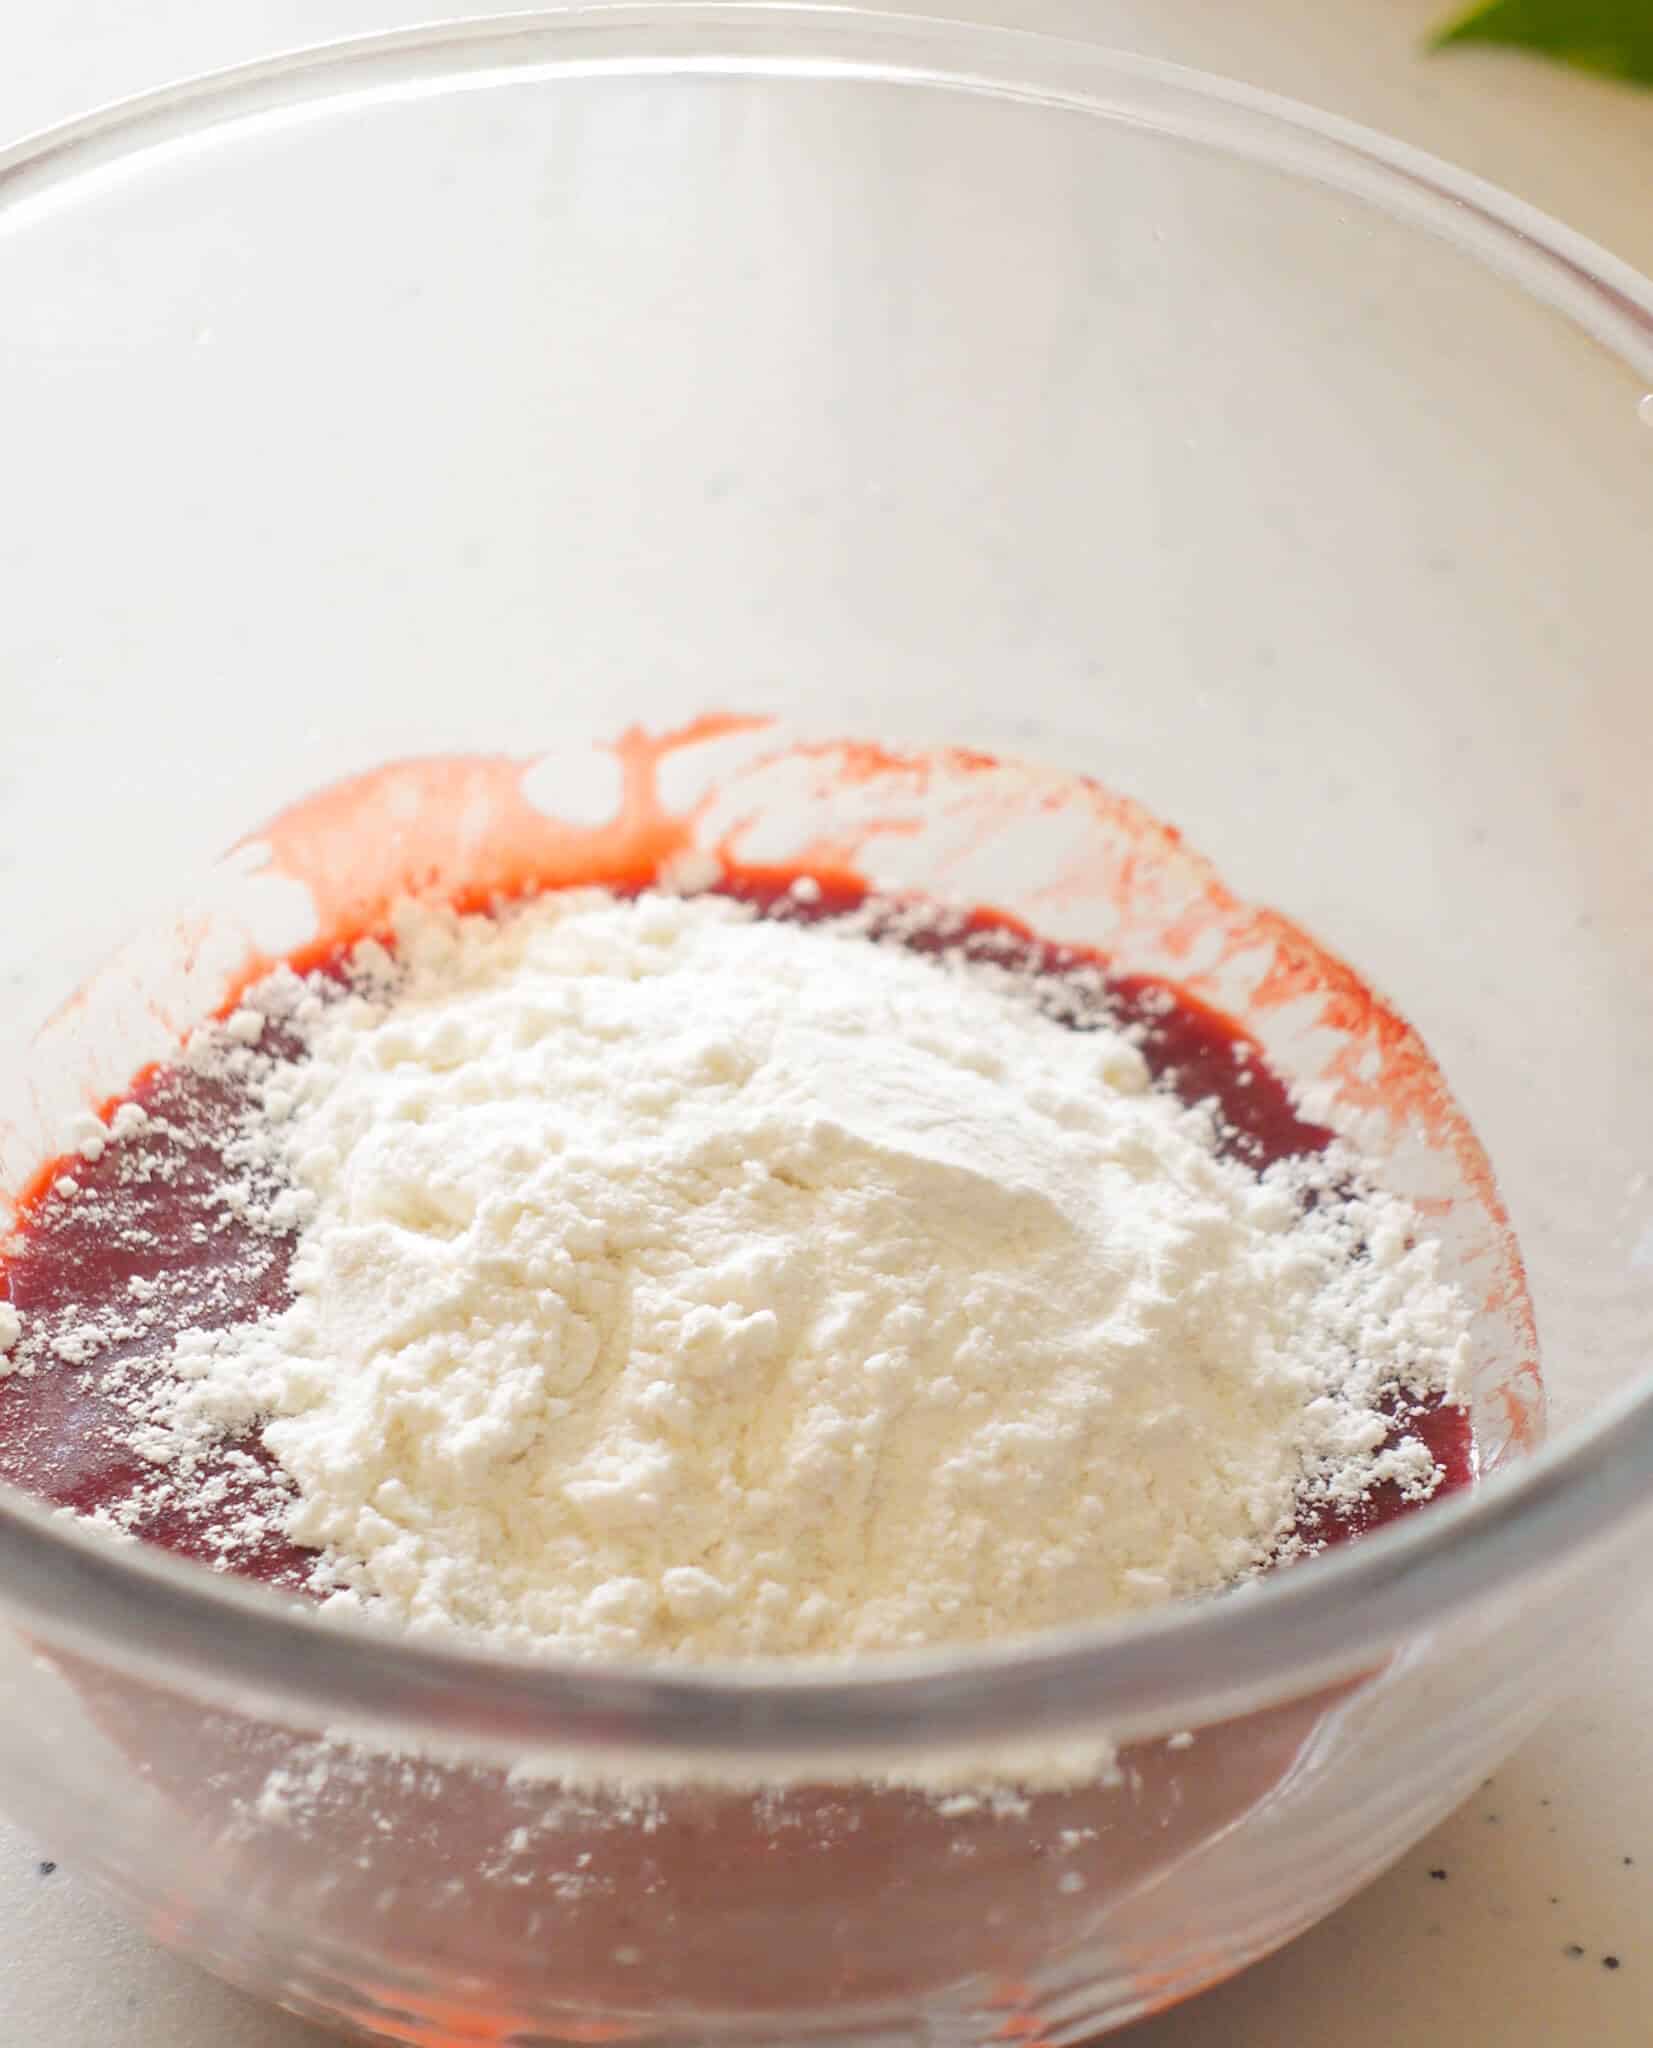
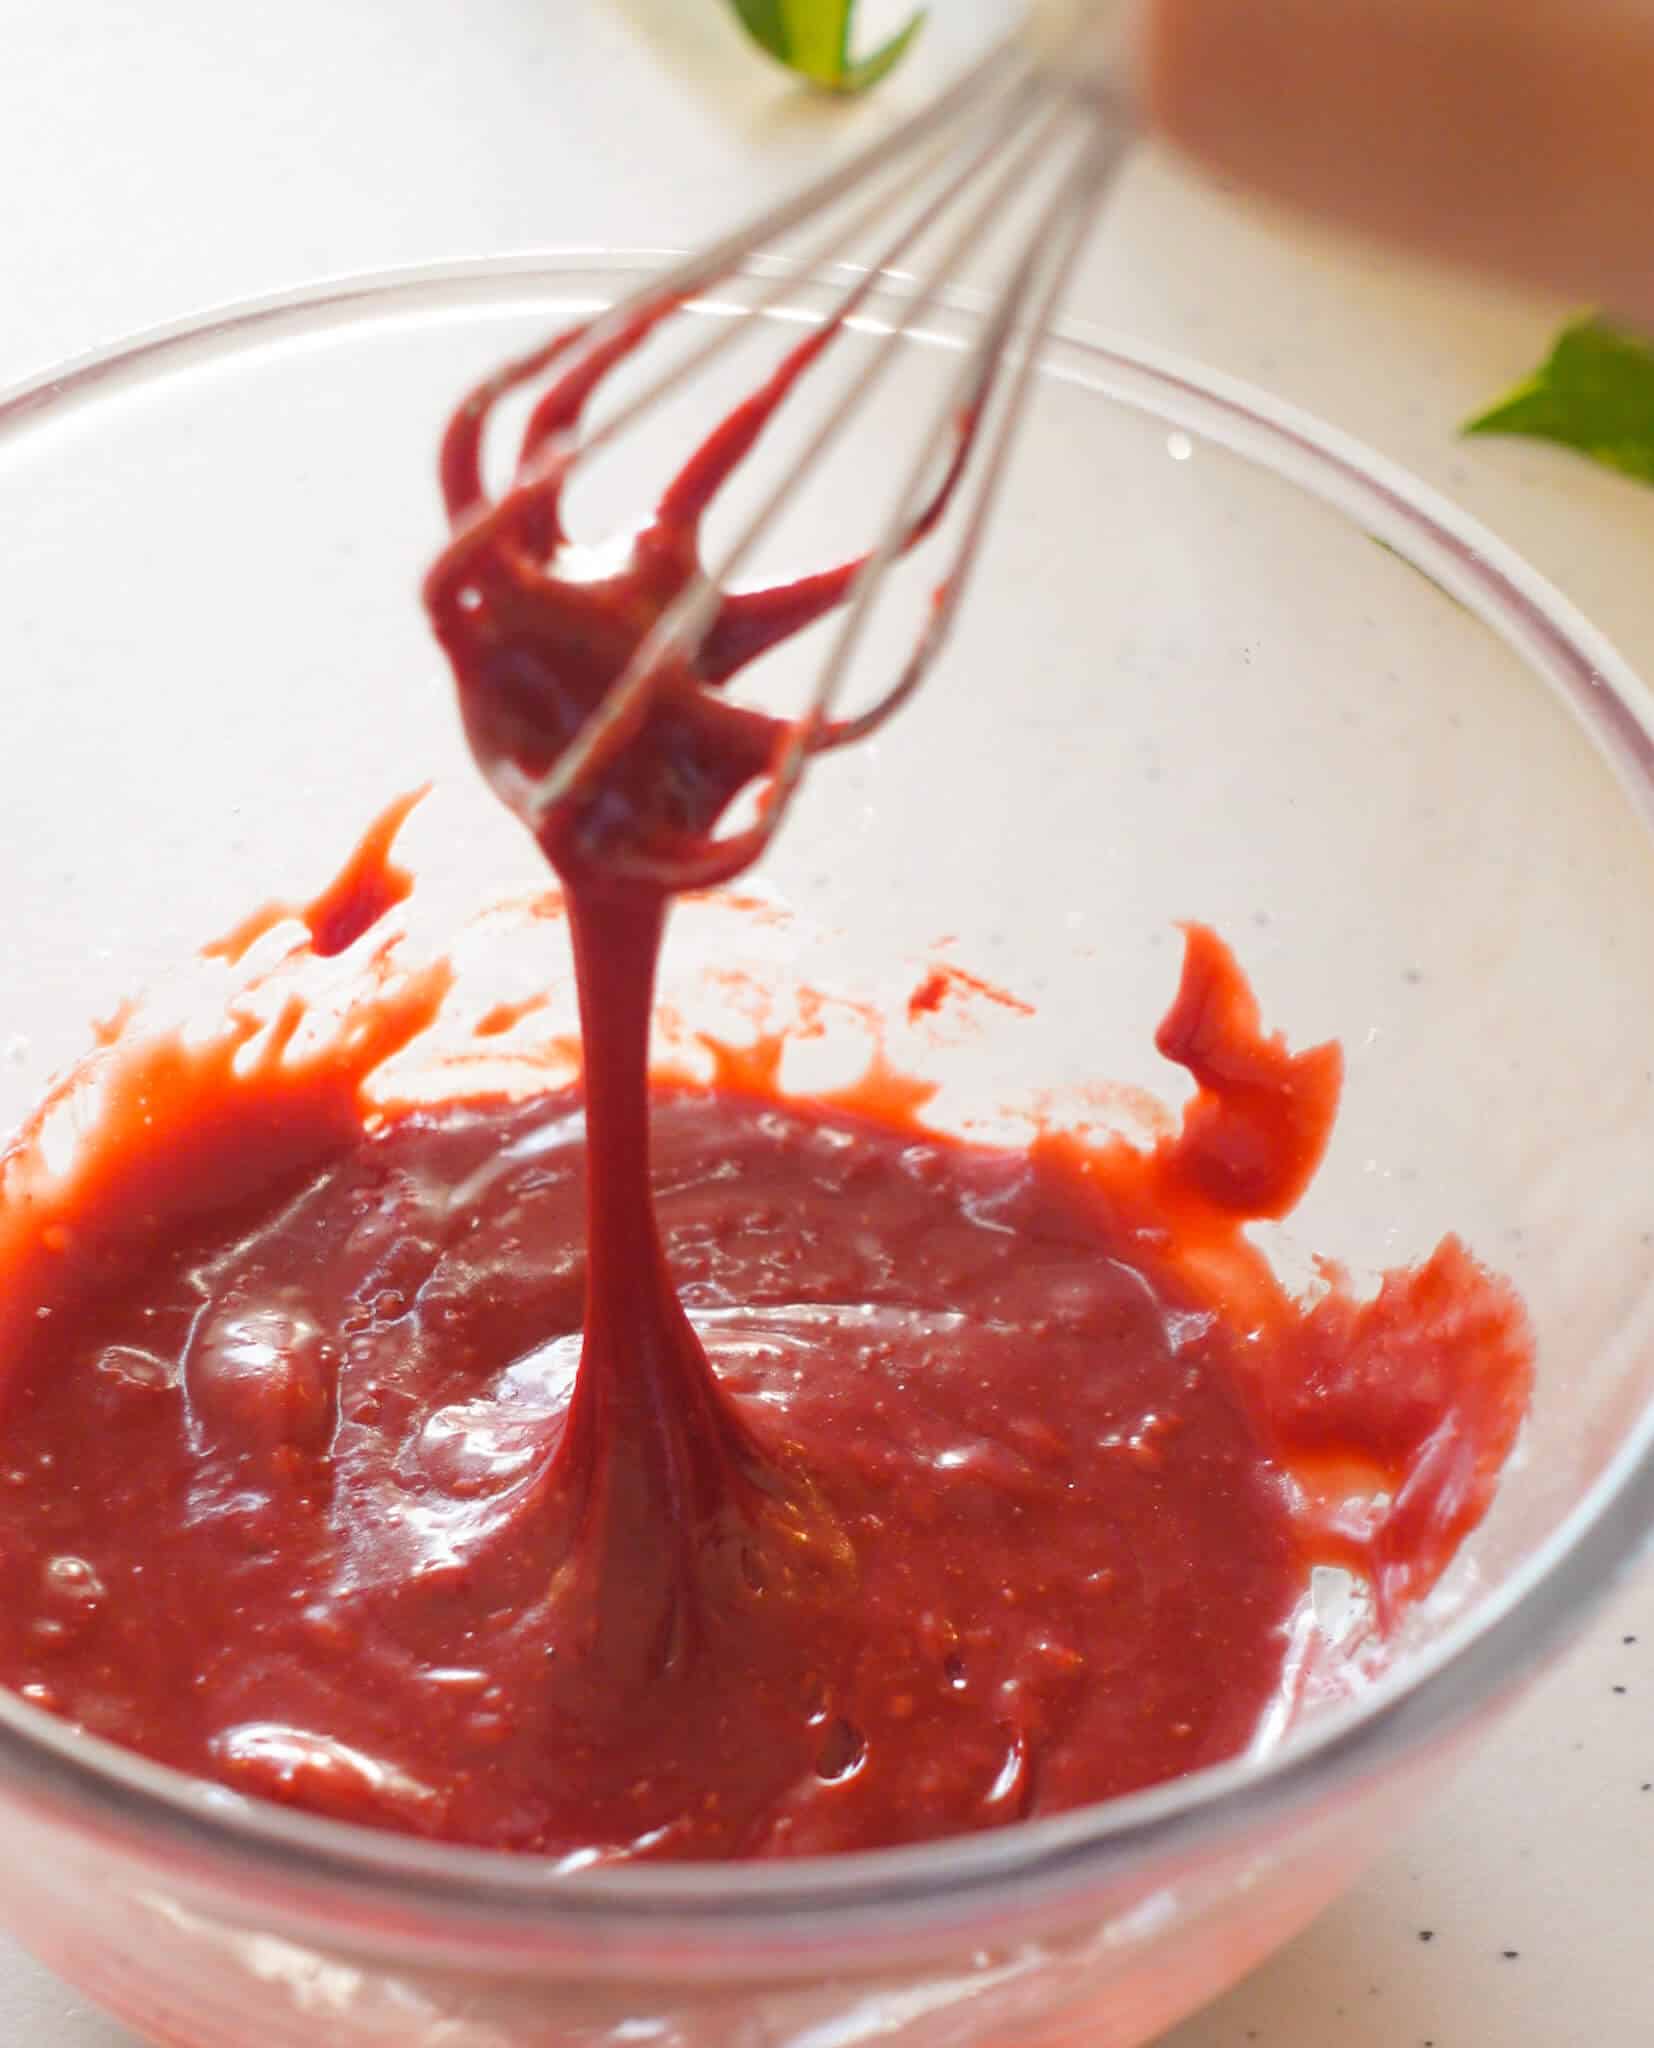
Mix in the dry ingredients: Add all purpose flour and baking soda and whisk gently until just combined. Do not overmix.
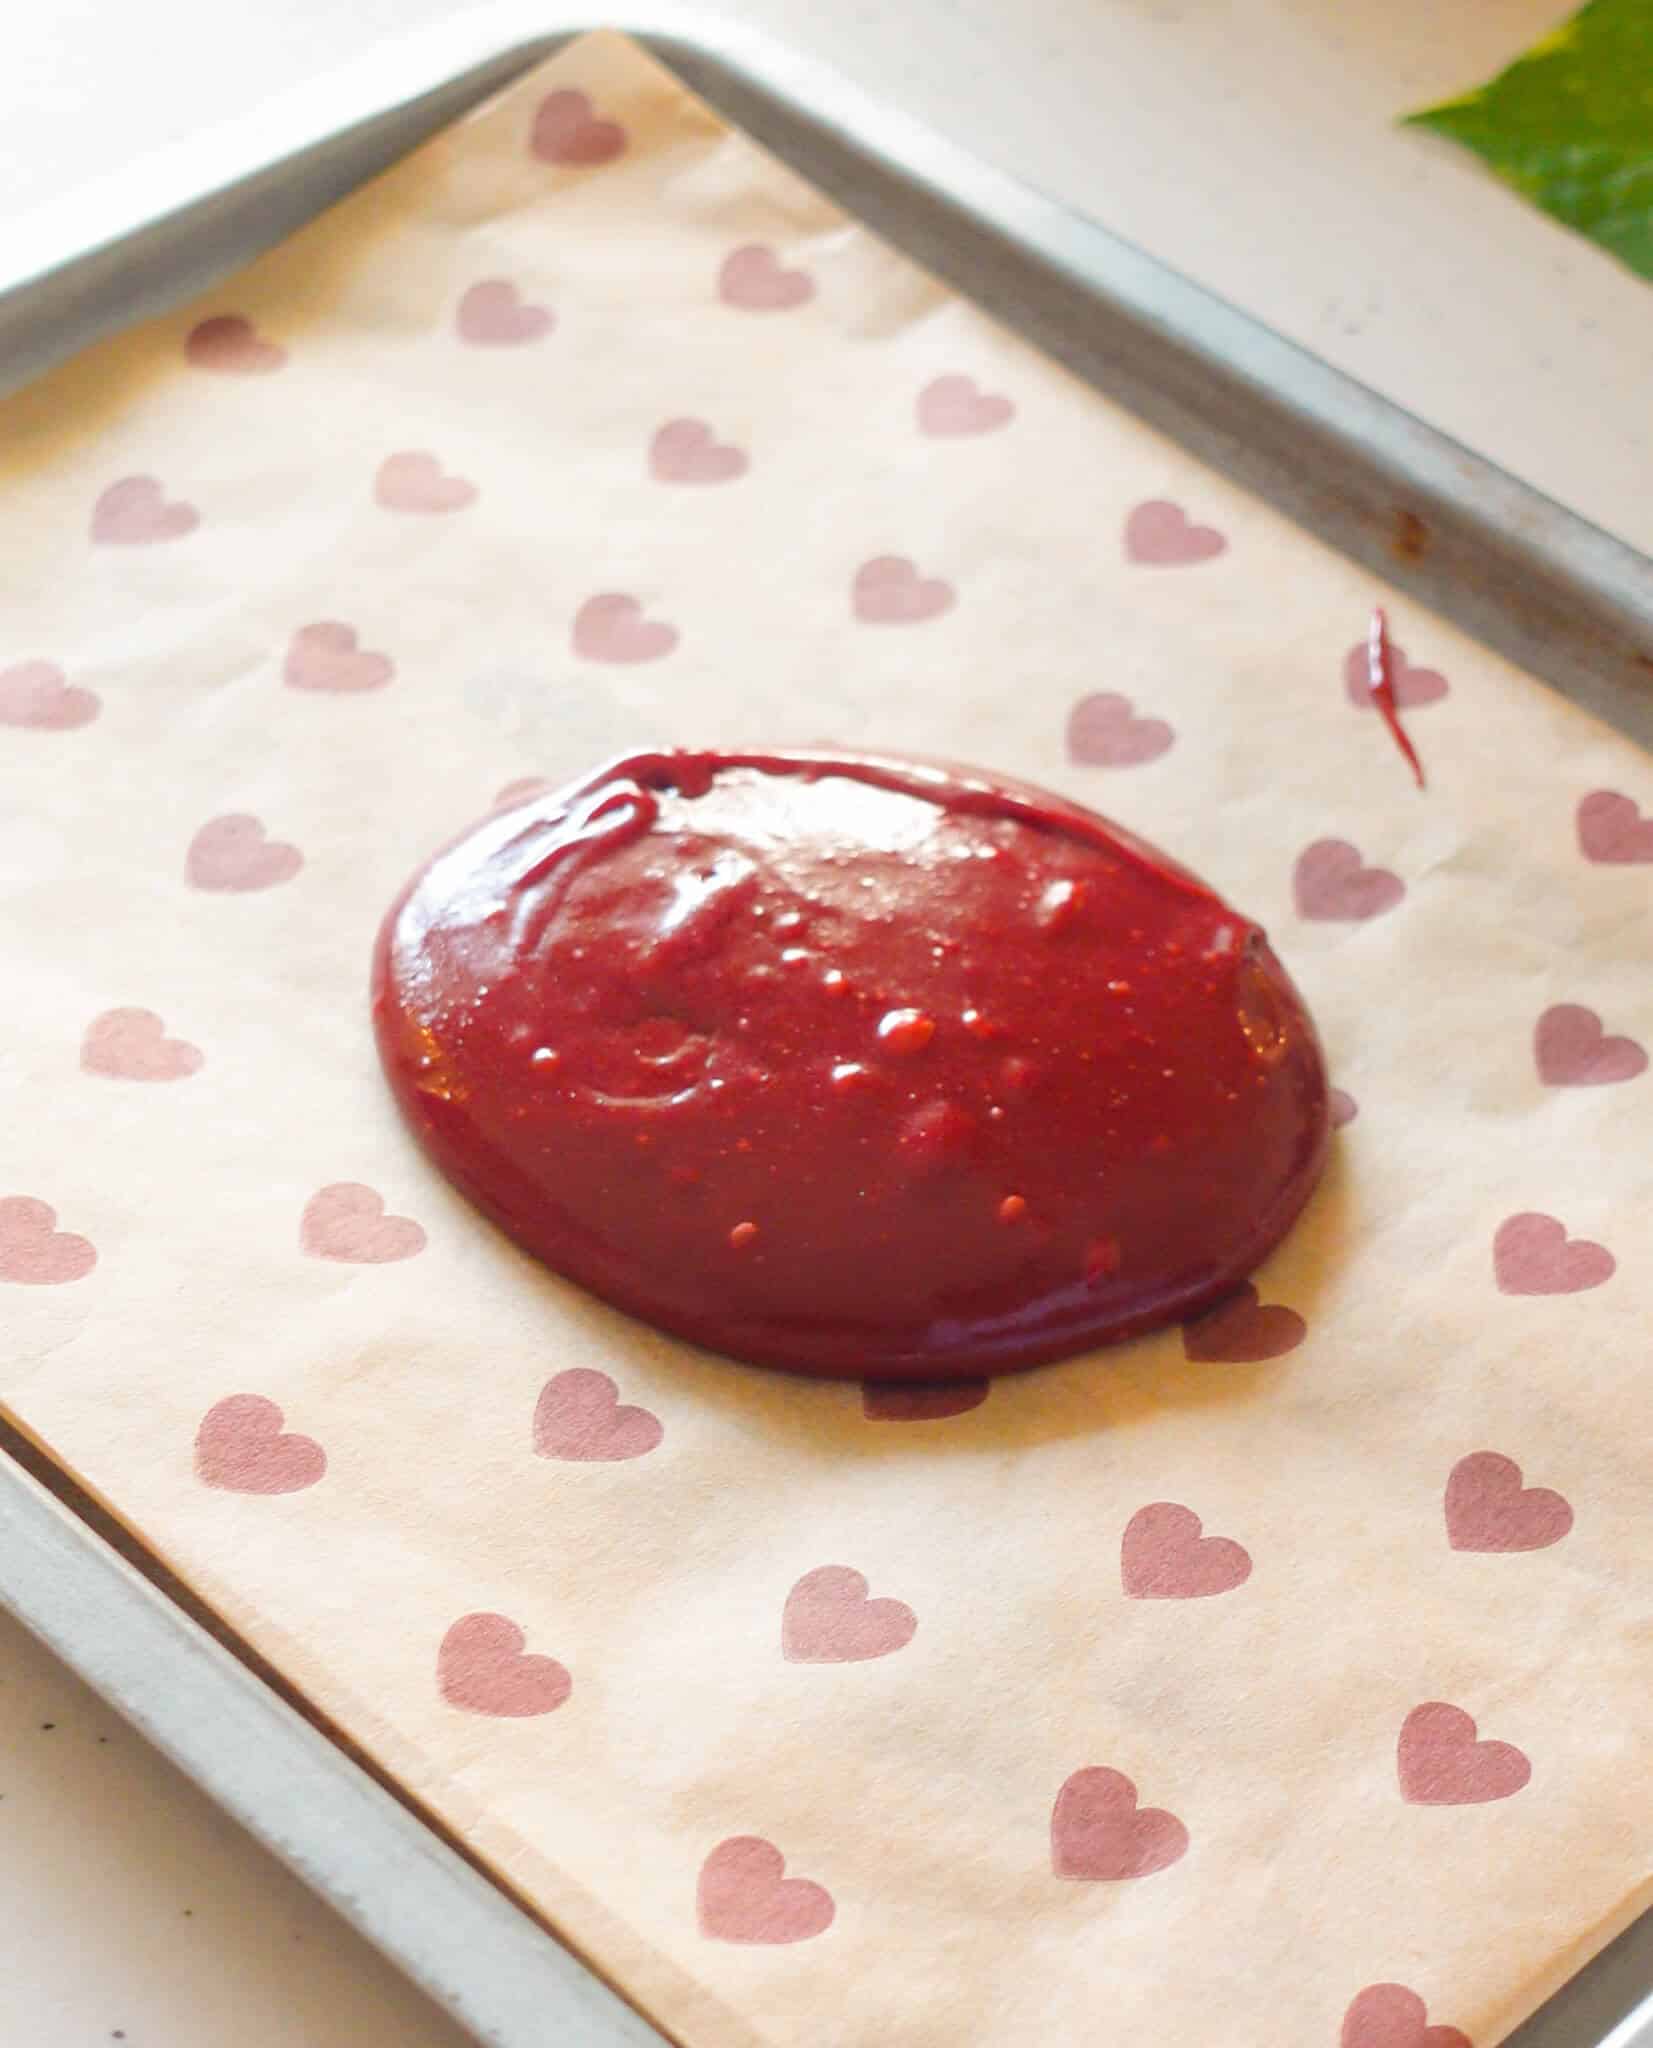
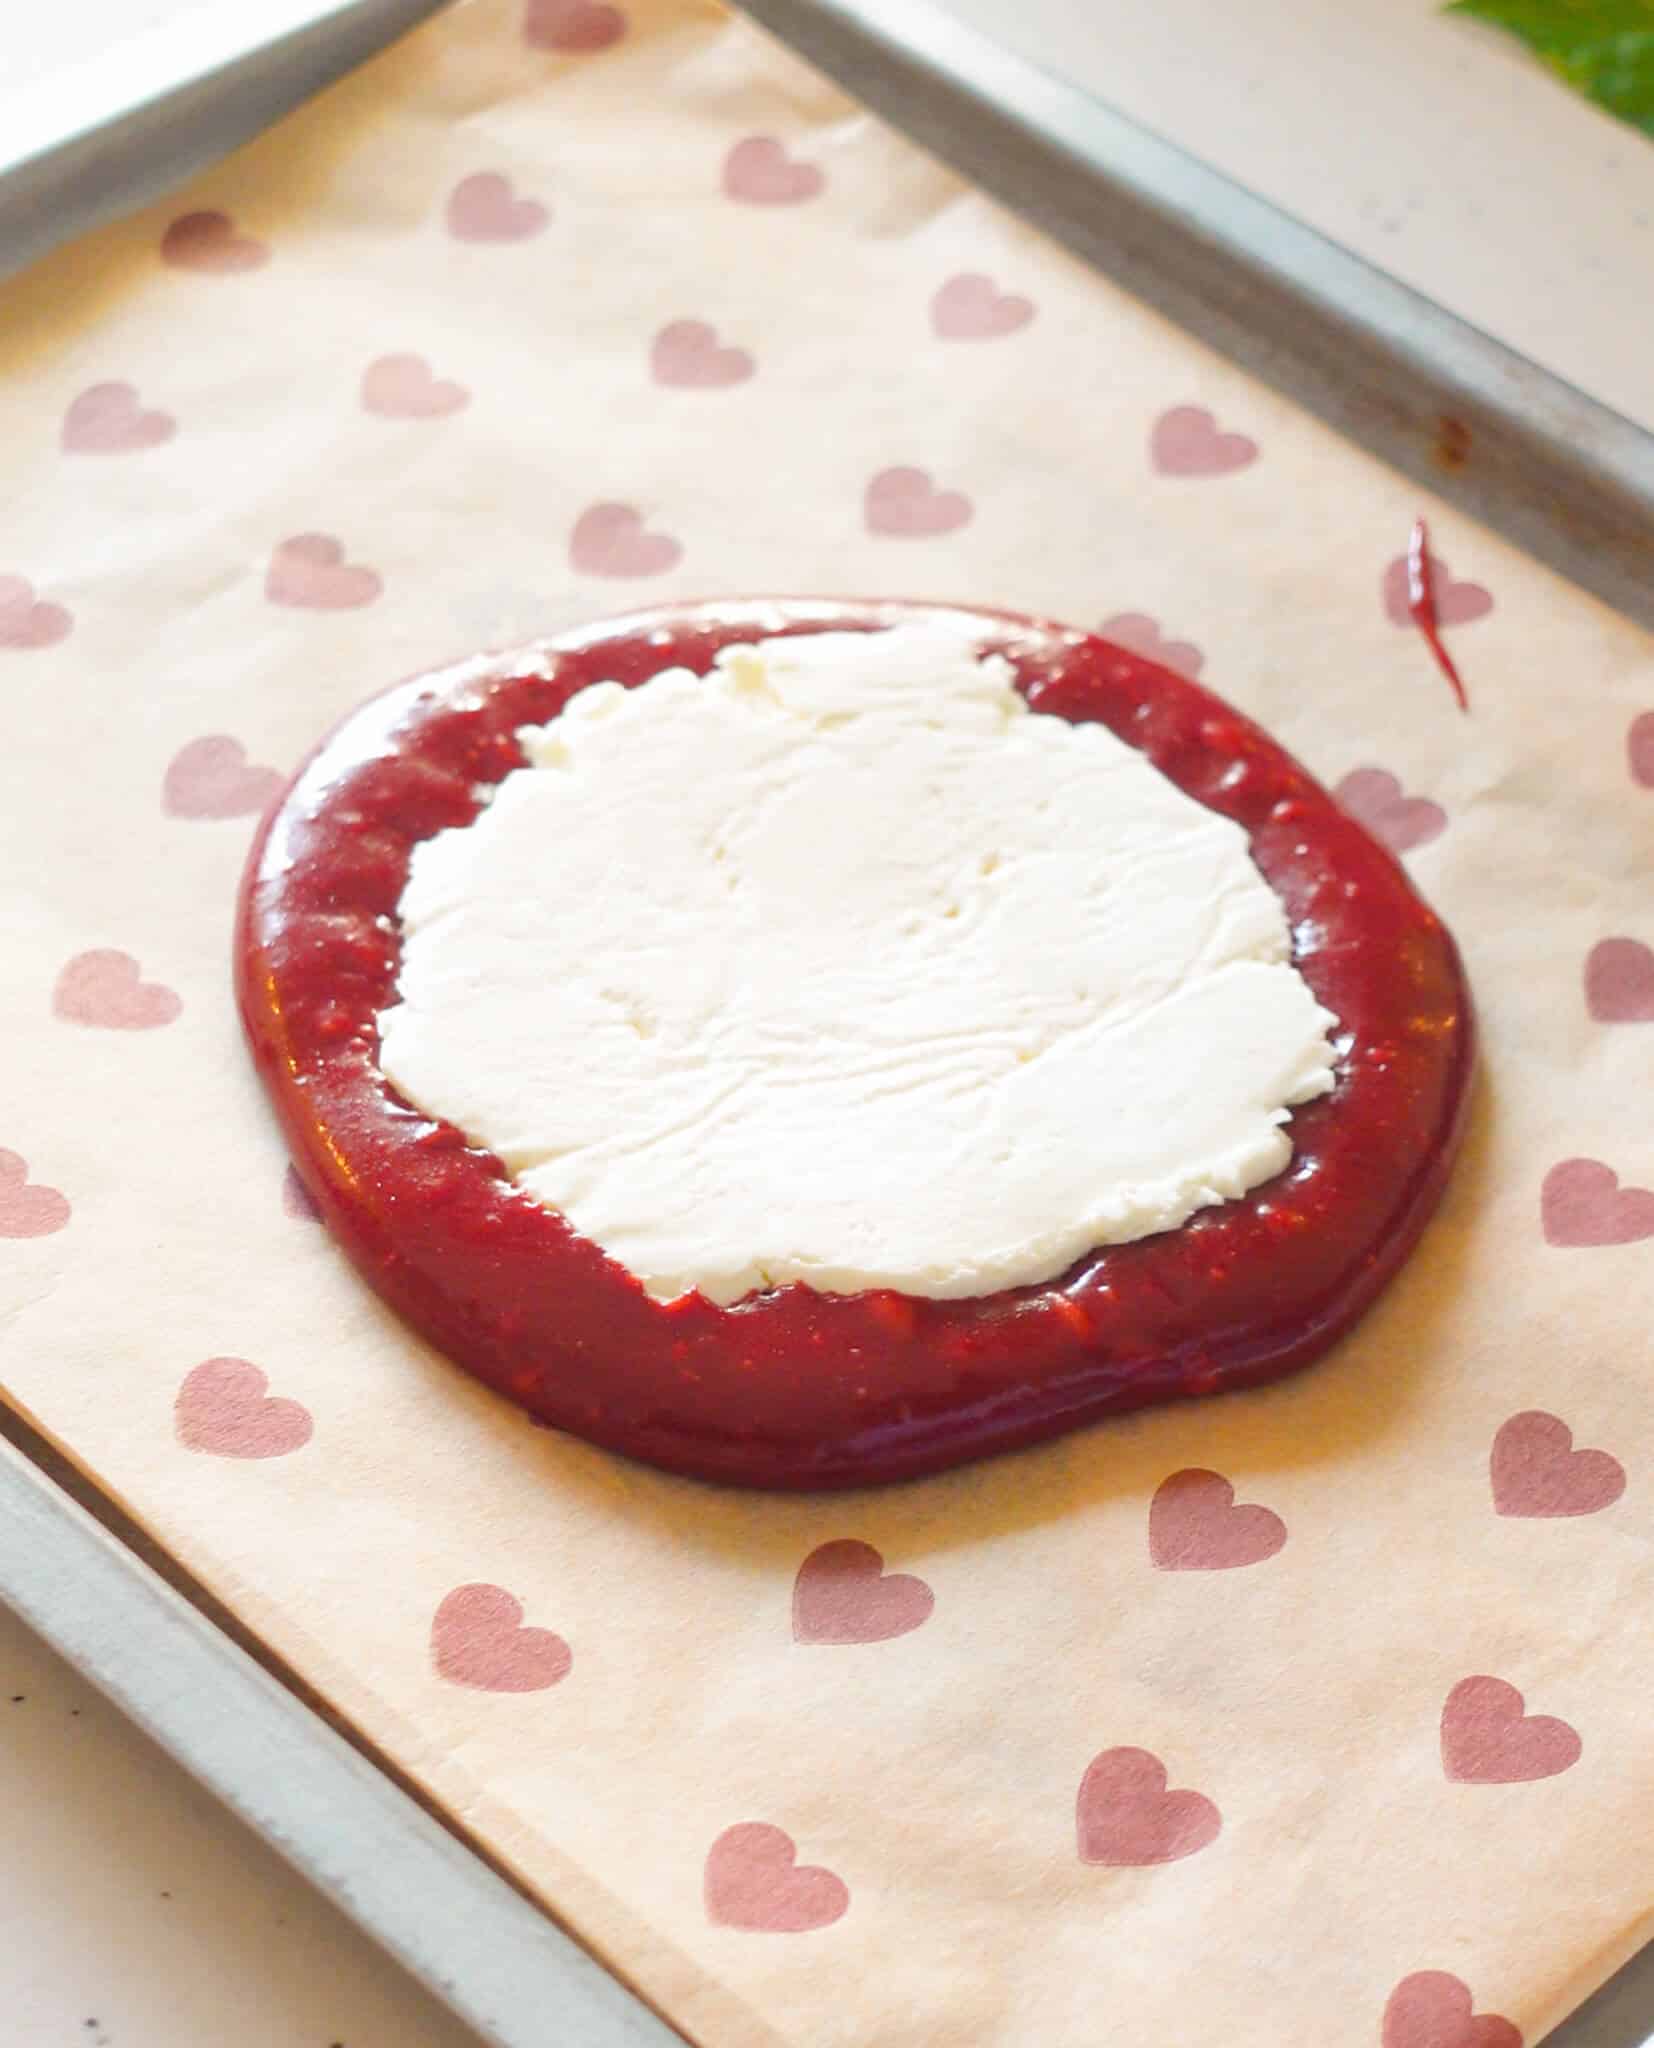
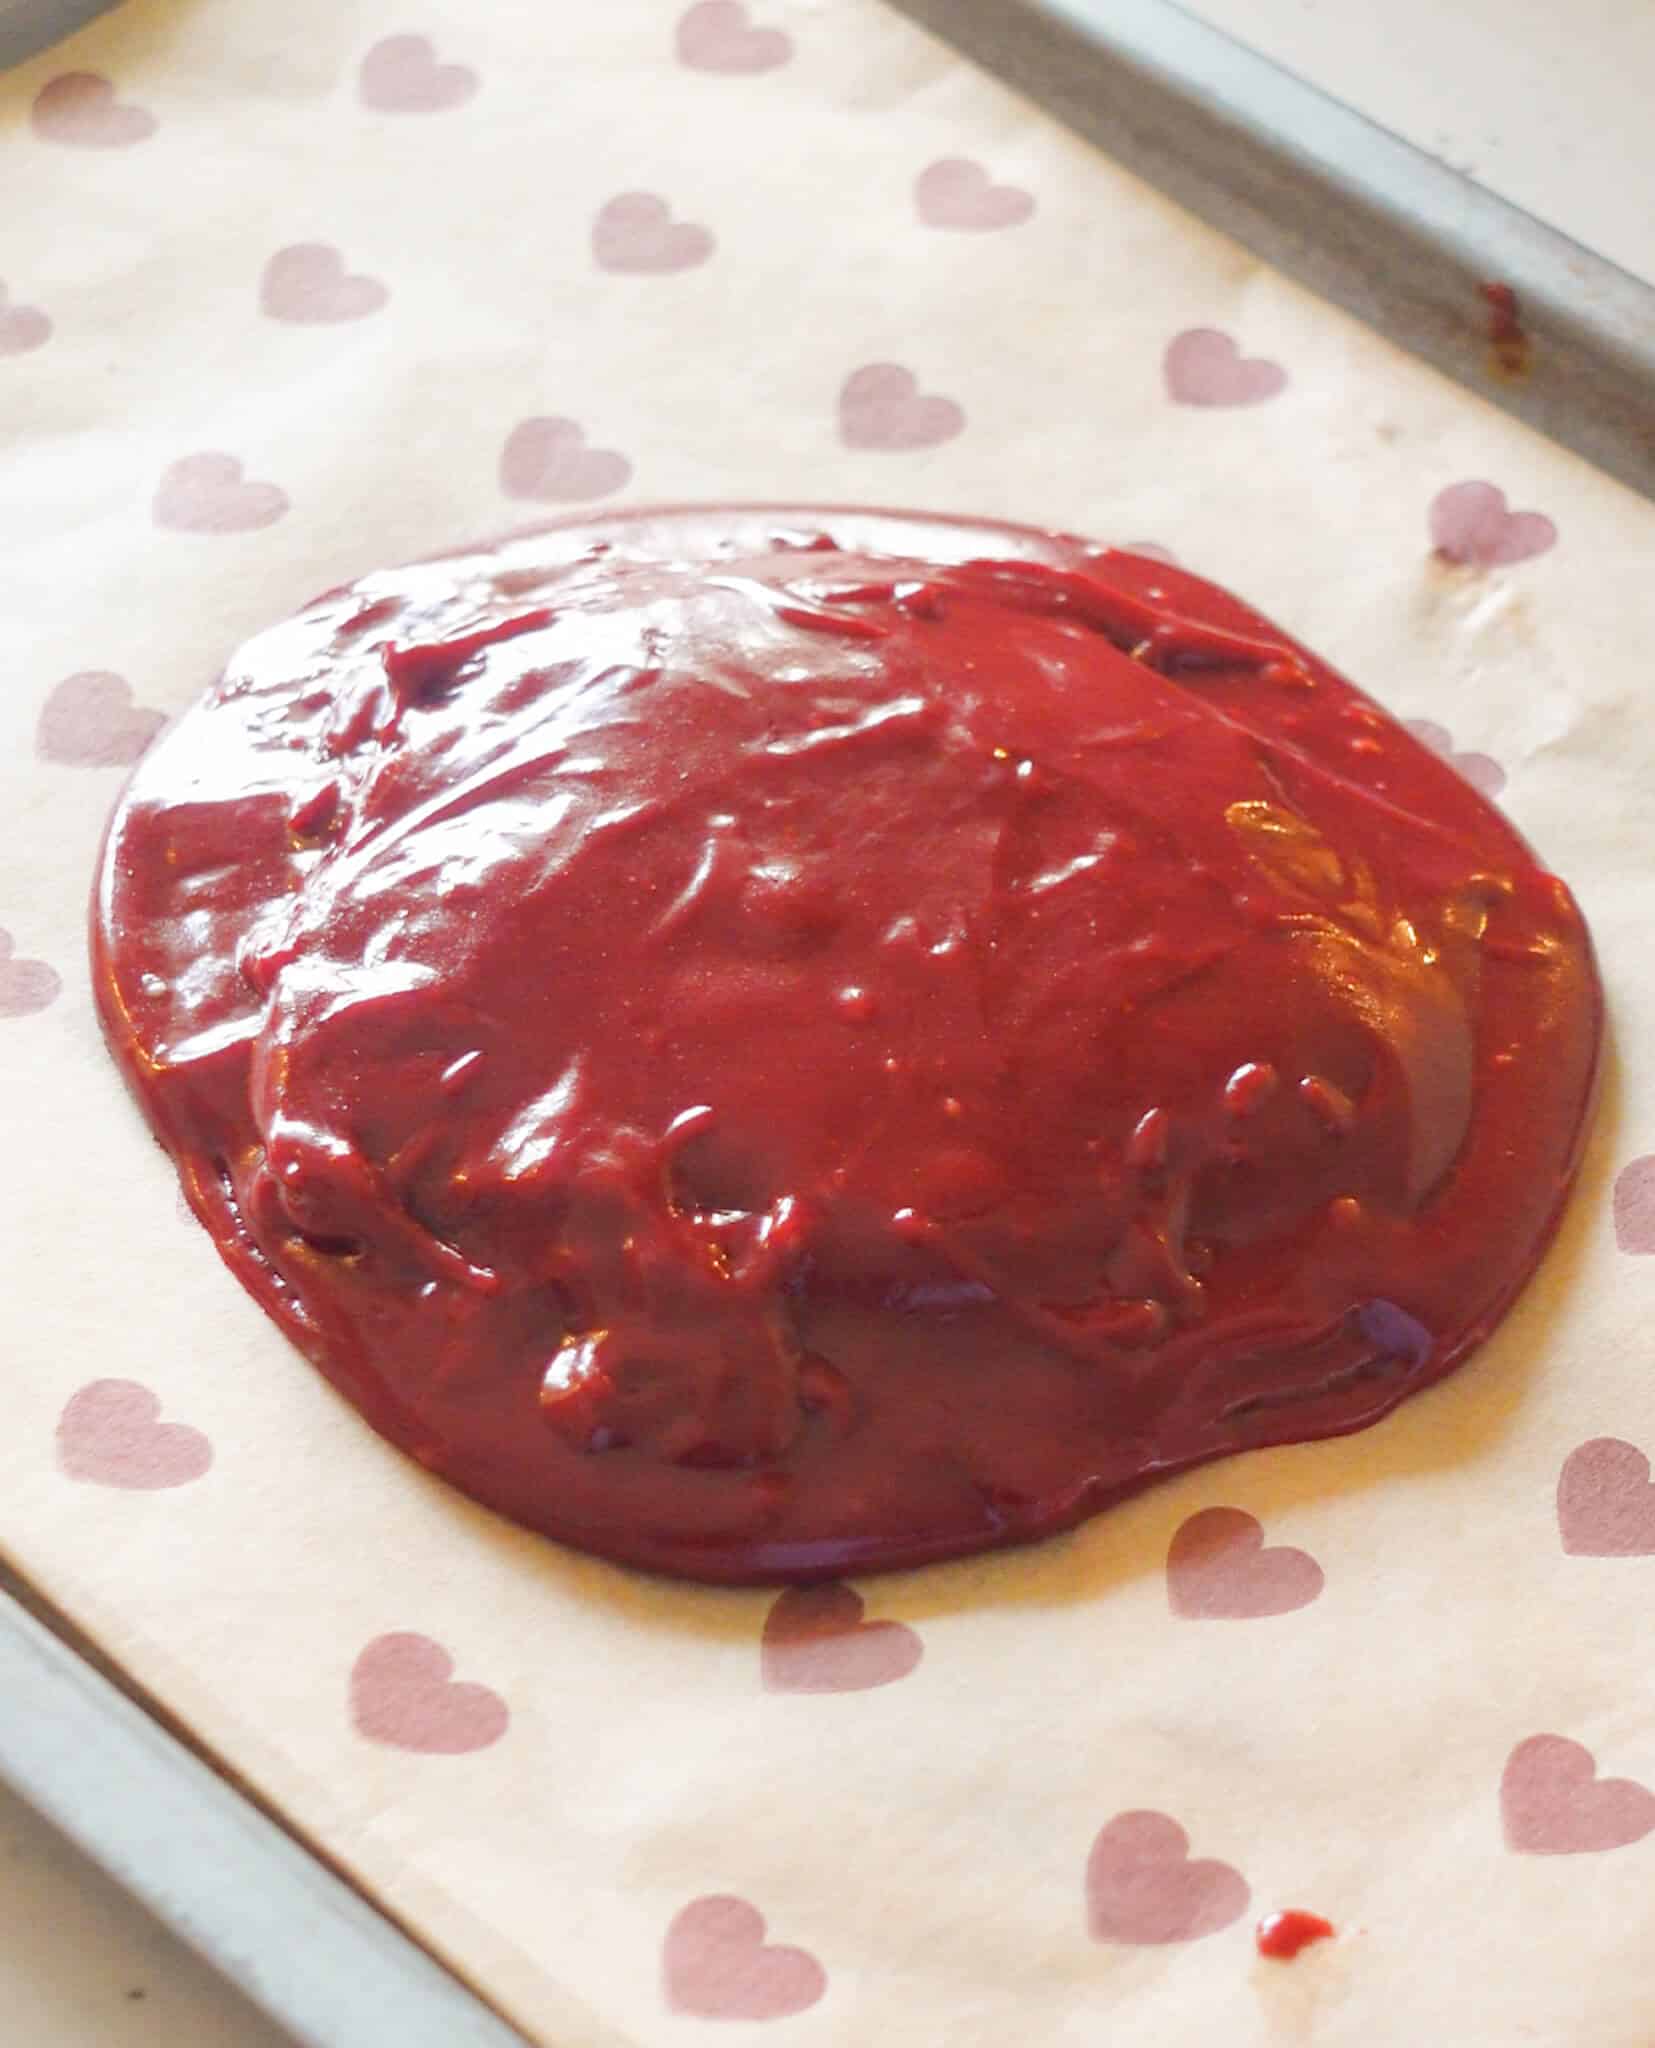
Line a baking tray with parchment paper. Pour 3/4 of the batter, place a dollop of frozen cream cheese in the center and then cover with the remaining 1/4 batter.
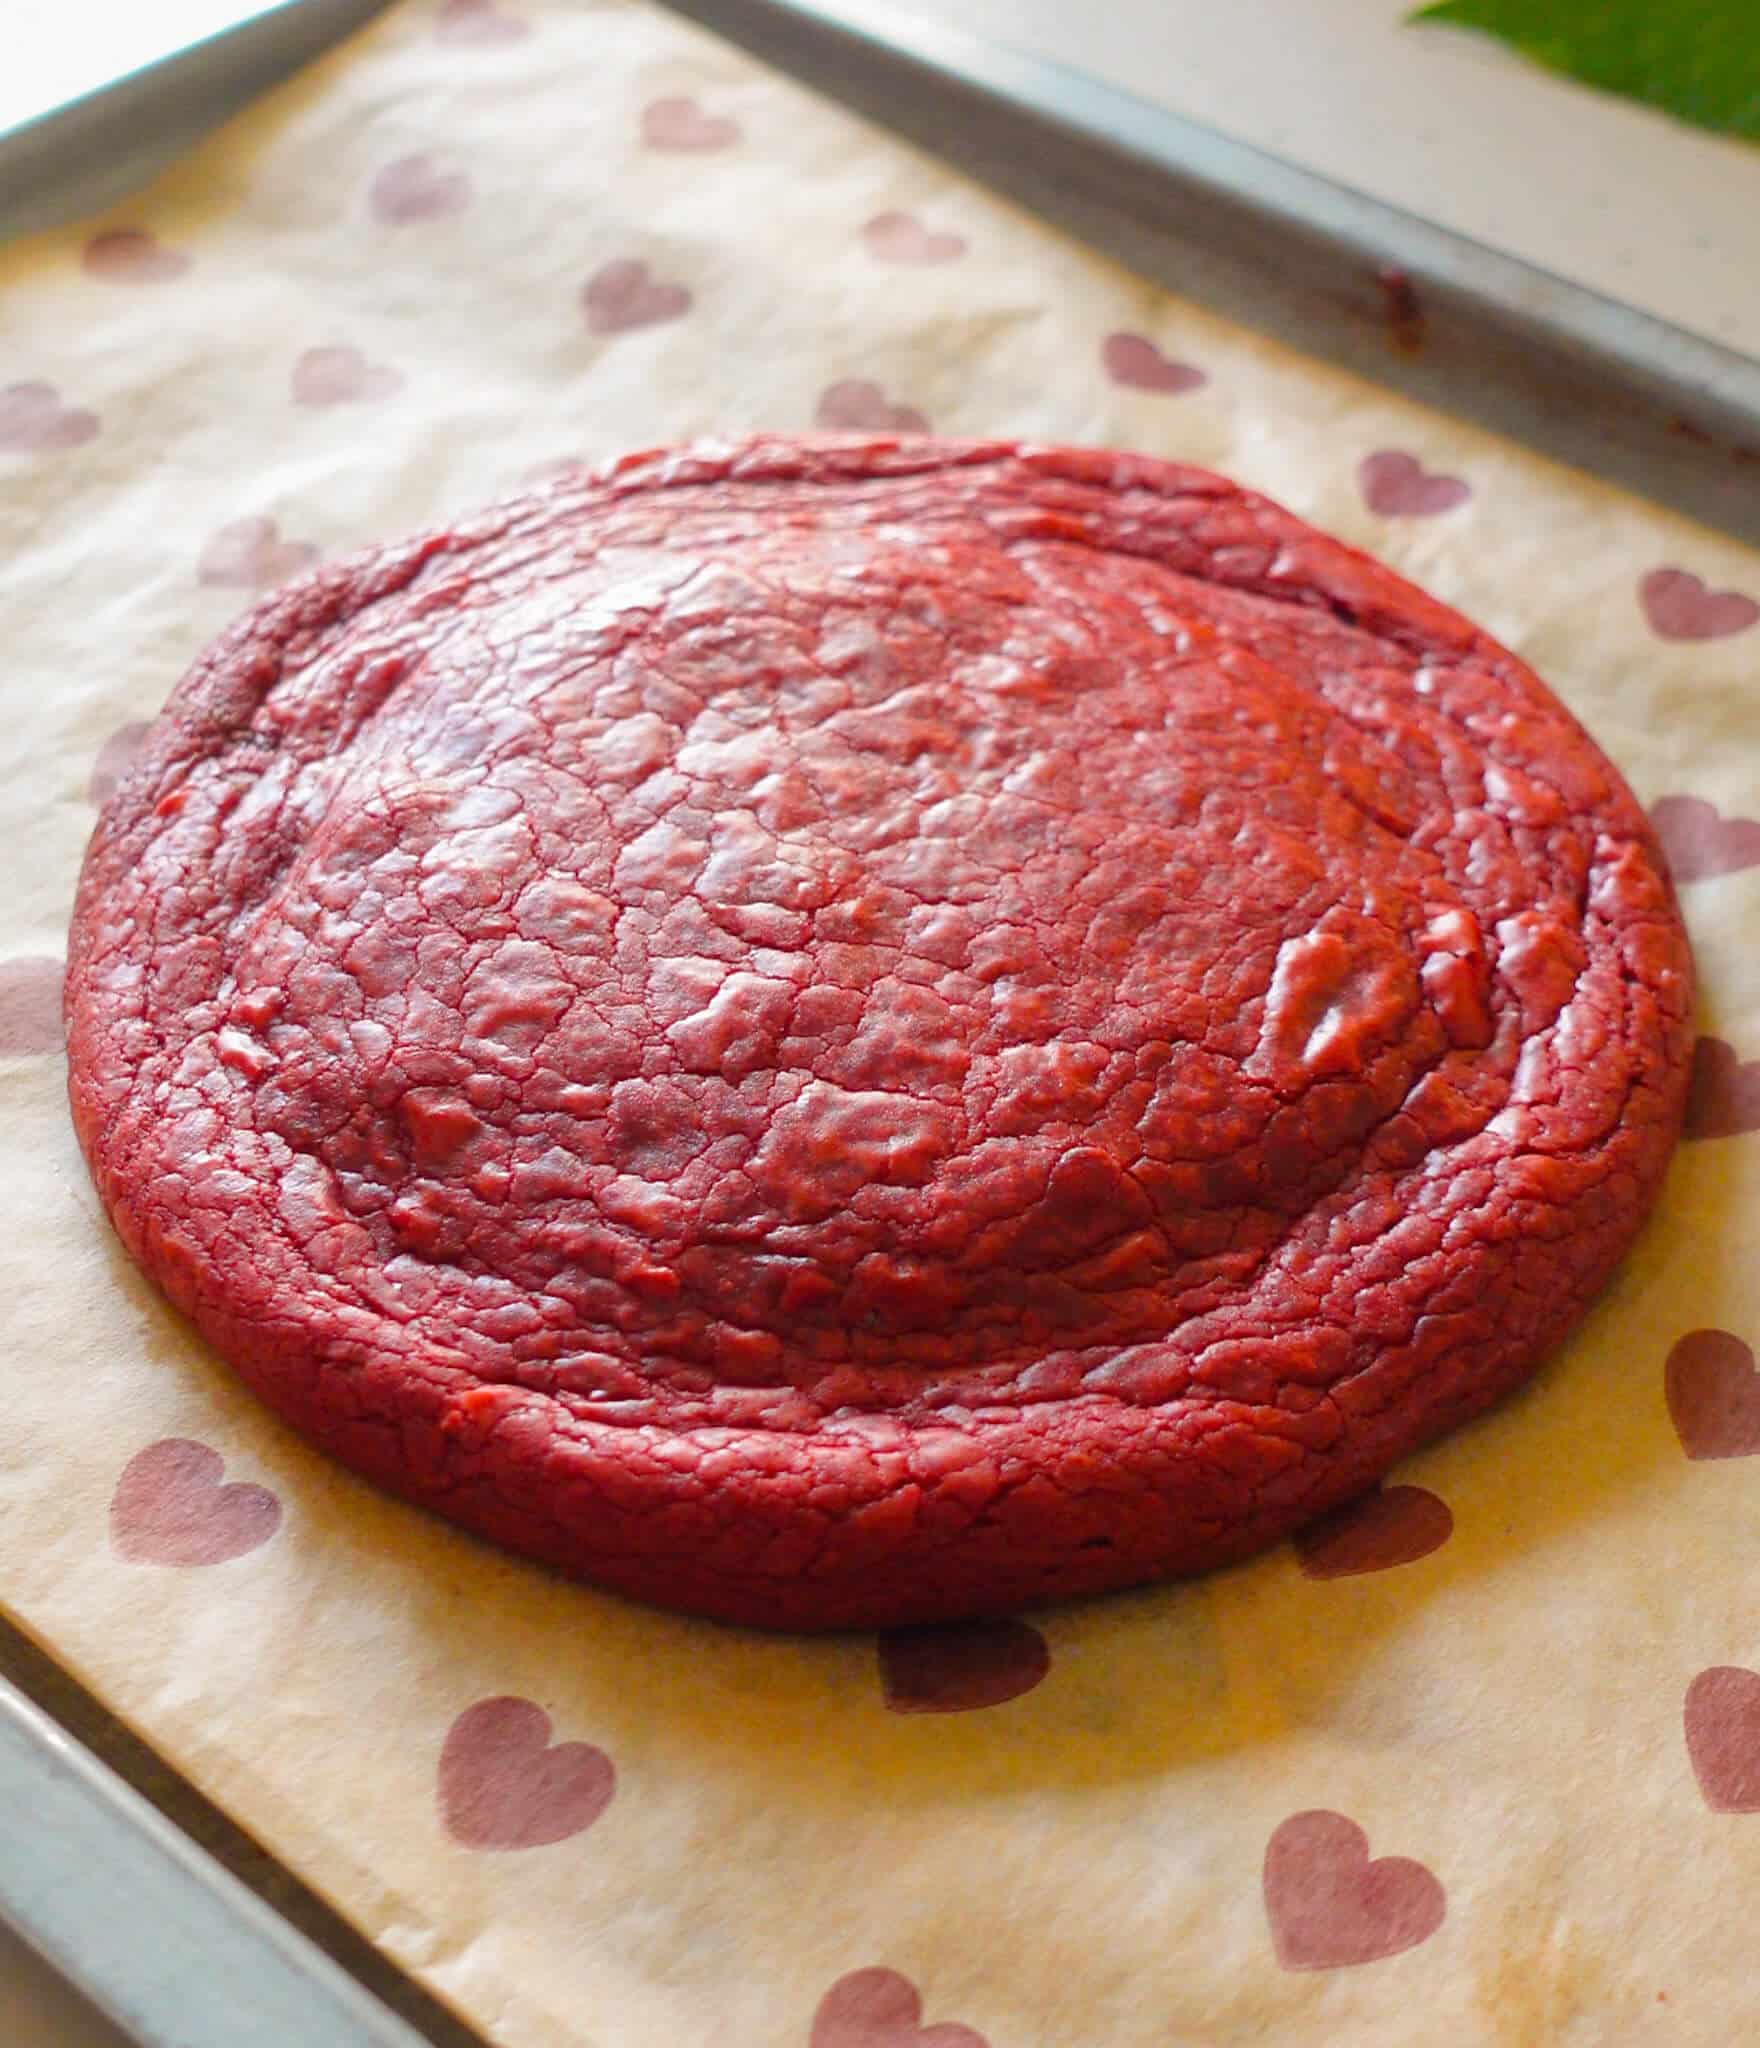
Airfry or Bake till the edges are set and the center is slightly gooey.
Here are the temperature settings you should follow for OTG, oven and airfryer:
Oven: Bake at 180°C for 8-10 minutes.
OTG: Bake at 180°C for 10-13 minutes. For a slightly underbaked, gooey cookie, aim for 10 minutes. For a more baked, crispier cookie, go for 13 minutes.
Airfryer: Airfry at 170°C for 7-9 minutes, depending on how chewy or crispy you like your cookies. Keep a close eye on them towards the end!
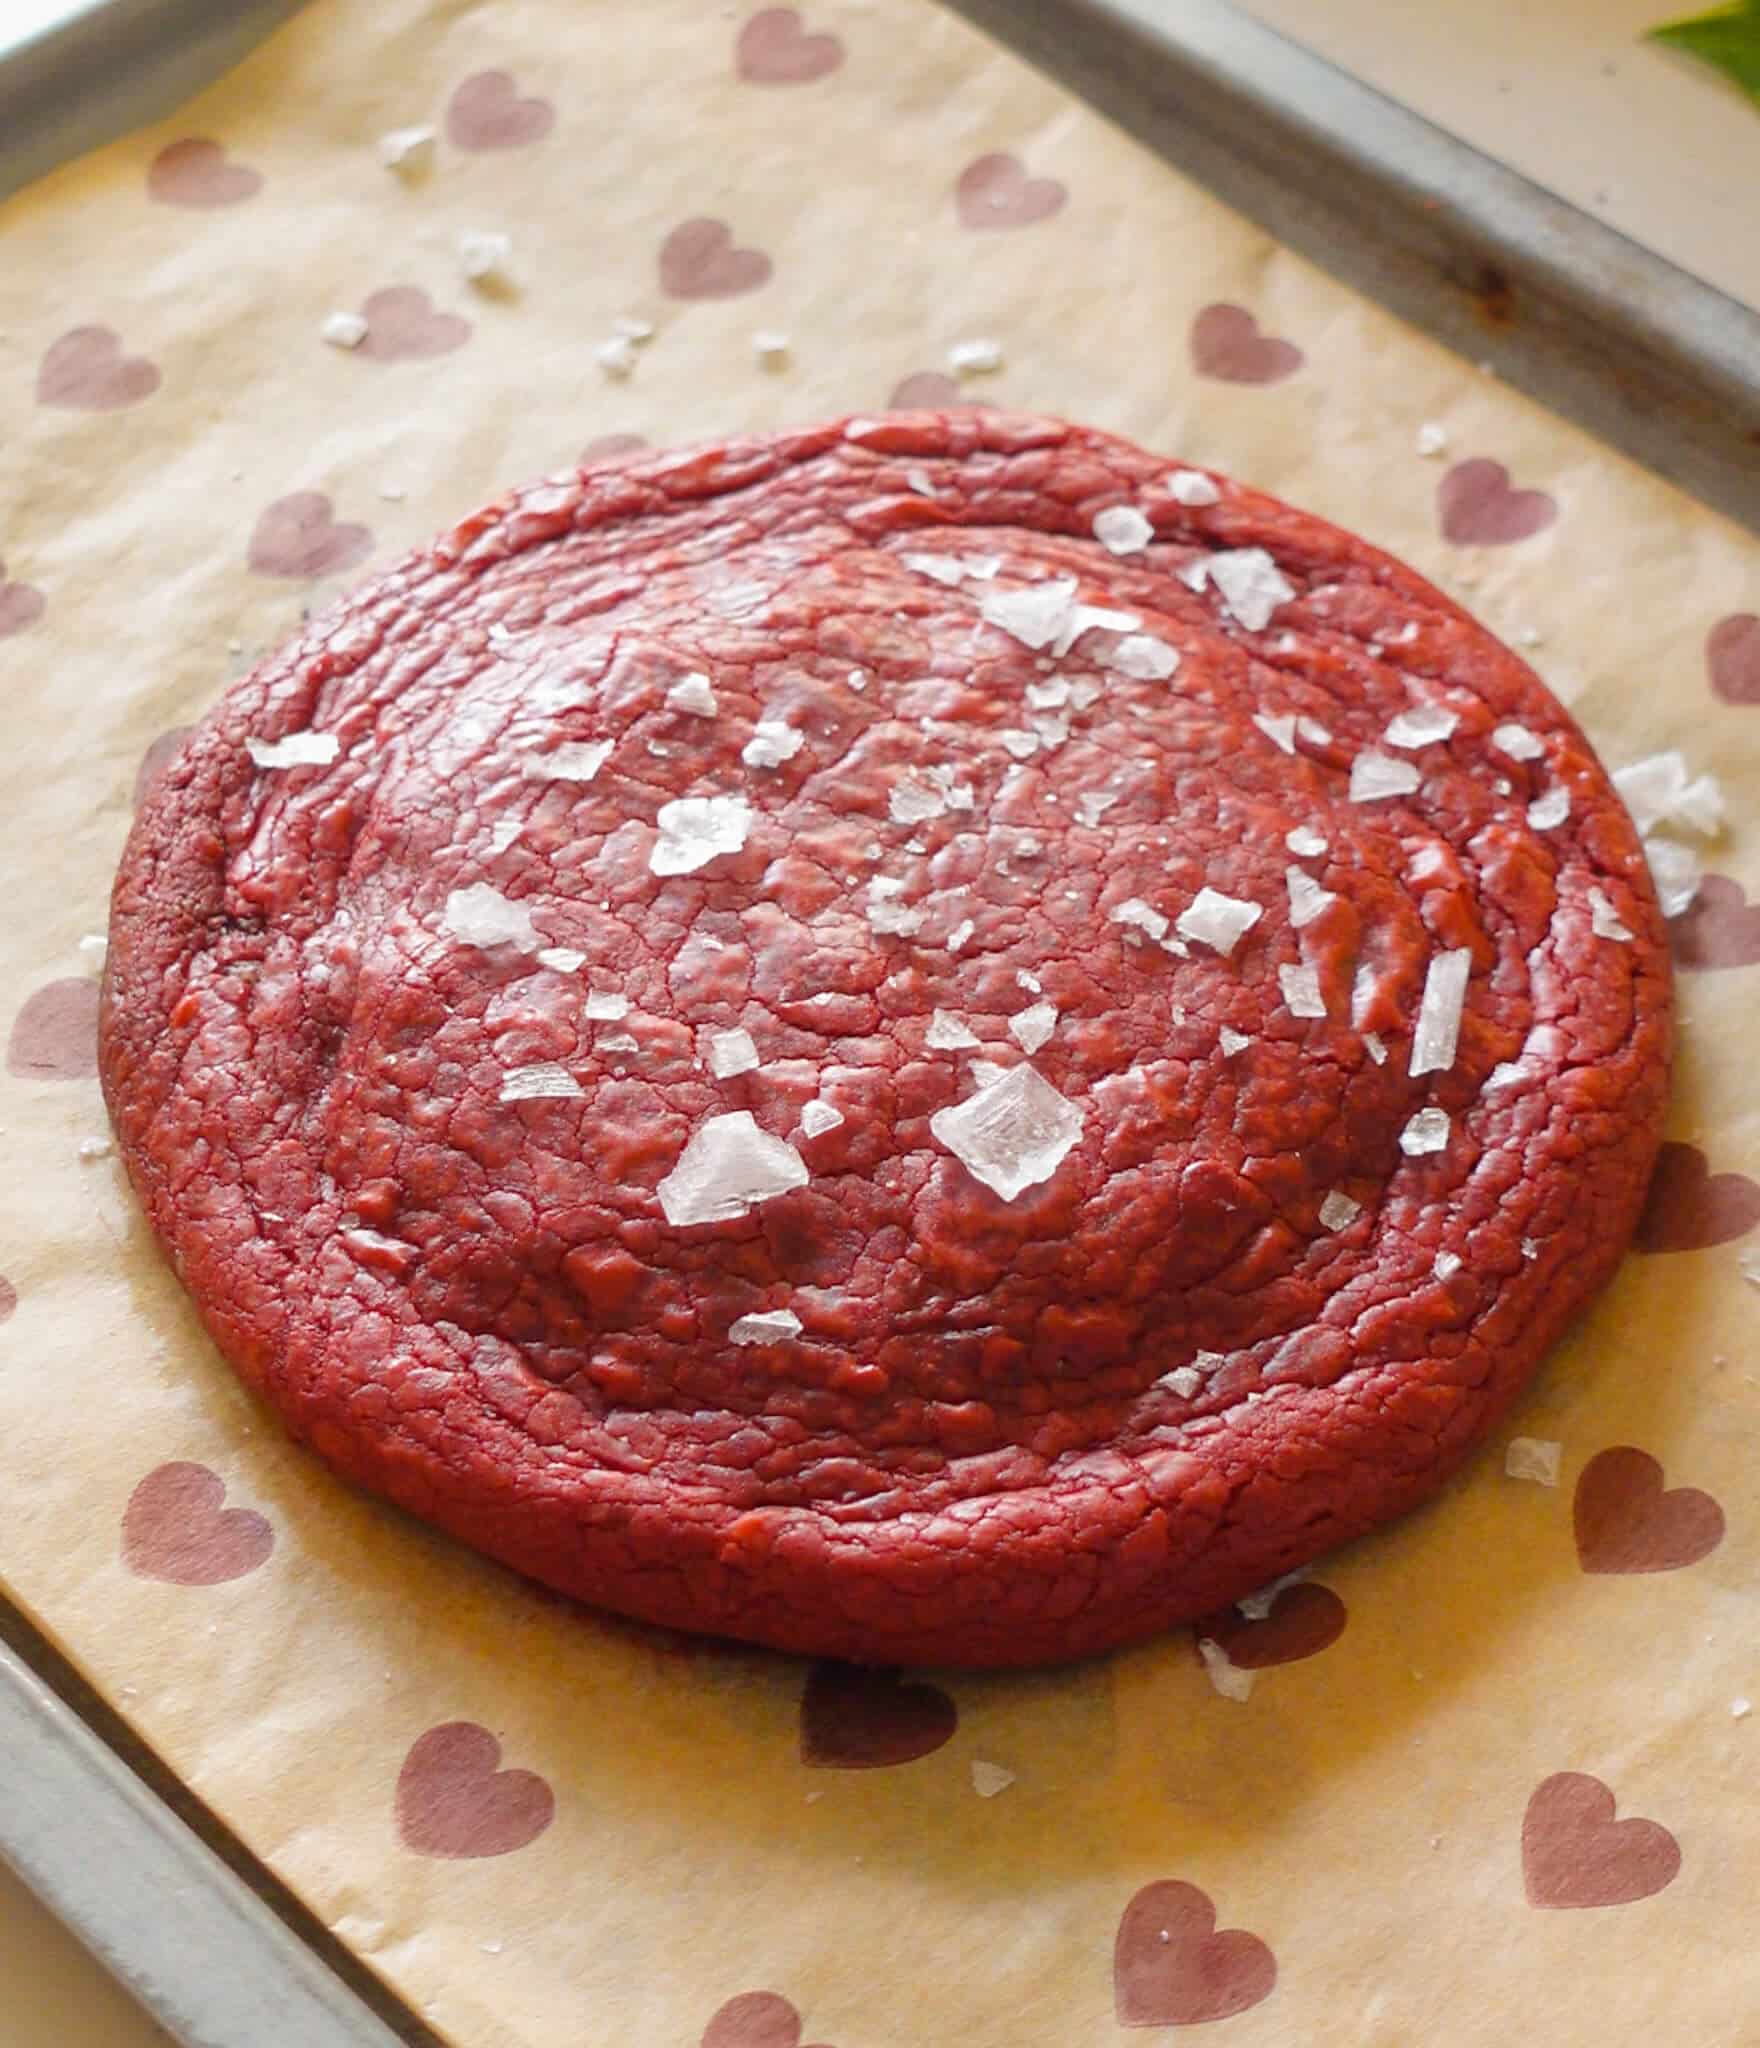
Let it cool completely before topping with flaky salt.
Looking for more eggless single serve cookie recipes?
- Single Serve Chocolate Chip Cookie (in your microwave!)
- Single Serve Crinkle Top Brookie
- Single Serve Strawberry Chocolate Chip Cookie
- Single Serve Red Velvet Cookie
- Single Serve Brookie (brownie + cookie)
- Single Serve Gajar ka Halwa Cookie
- Single Serve Chocolate Chip Cookie (airfryer/oven)
- Chocolate Chip Cookie (30g protein)
Notes
- Don't overmix the dough after adding the dry ingredients- this ensures your cookie stays nicely fudgy and chewy instead of tough.
- Freeze your cream cheese for 20 mins-1 hr before stuffing. This keeps them perfectly creamy after baking.
- Airfryer hack: Fold the corners and edges of your parchment paper slightly to weigh it down- this prevents it from flying up or gathering around the cookie, allowing your cookie to spread perfectly!
Single Serve Red Velvet Brookie
Craving something extra special? You need to make my Single Serve Red Velvet Brookie stuffed with cream cheese: it’s eggless, airfryer friendly and comes together in under 15 minutes!
servings
1
prep time
5 min
cook time
10 min
Ingredients
- 1 ½ tbsp (23 g) white chocolate chips
- ½ tbsp (7 g) dark chocolate chips
- 1 tbsp (15 g) butter, I used salted
- 2 tbsp (30 g) condensed milk
- 1/8 tsp red food colouring
- 1/16 tsp white vingear
- 1/8 tsp vanilla extract
- 2 ½ tbsp (20 g) all purpose flour
- 1/16 tsp (0.25 g) baking soda
Stuffing
- 1 tbsp cream cheese (15g), frozen
Garnish
- flaky salt
Instructions:
- In a microwave safe bowl, combine white and dark chocolate chips with butter. Microwave for 30–60 seconds till the butter is fully melted and the mixture is warm. Whisk till the chocolate is completely melted and smooth.
- While the mixture is still warm (not hot), add in red food colouring, condensed milk, vanilla extract, and vinegar. Mix well until fully combined.
- Add all purpose flour and baking soda, and mix gently until just combined. Do not overmix. The batter will be wet and similar to brownie batter.
- Line a baking tray or ramekin with parchment paper. Pour ¾ of the batter into the lined tray. Place a frozen dollop of cream cheese in the centre and cover it with the remaining ¼ batter, making sure to seal it gently with a spatula.
-
Bake till the edges are set and the centre stays slightly gooey:
• Oven: 180°C for 10–13 minutes
• Airfryer: 170°C for 7–10 minutes - Remove from the oven or air fryer and sprinkle with flaky salt. Let it cool completely or serve warm, optionally (but is it really optional?) topped with a scoop of vanilla ice cream. You’re going to <37 this.
Recipe Video
Leave a Comment
THIS IS JUST SO SO GOOD !!
I will definitely try ..
Can we skip cream cheese
I want this same but microvave friendly please noticed e this and make a vid soon! Lots of love from your subscriber!!